


17. August 2022
Wanderstöcke am Rucksack befestigen

Faltstöcke am Rucksack anbringen: Wie wird es richtig gemacht?
Unterschiedliche Befestigungstipps für Trekkingstöcke
Die Stöcke im Rucksack
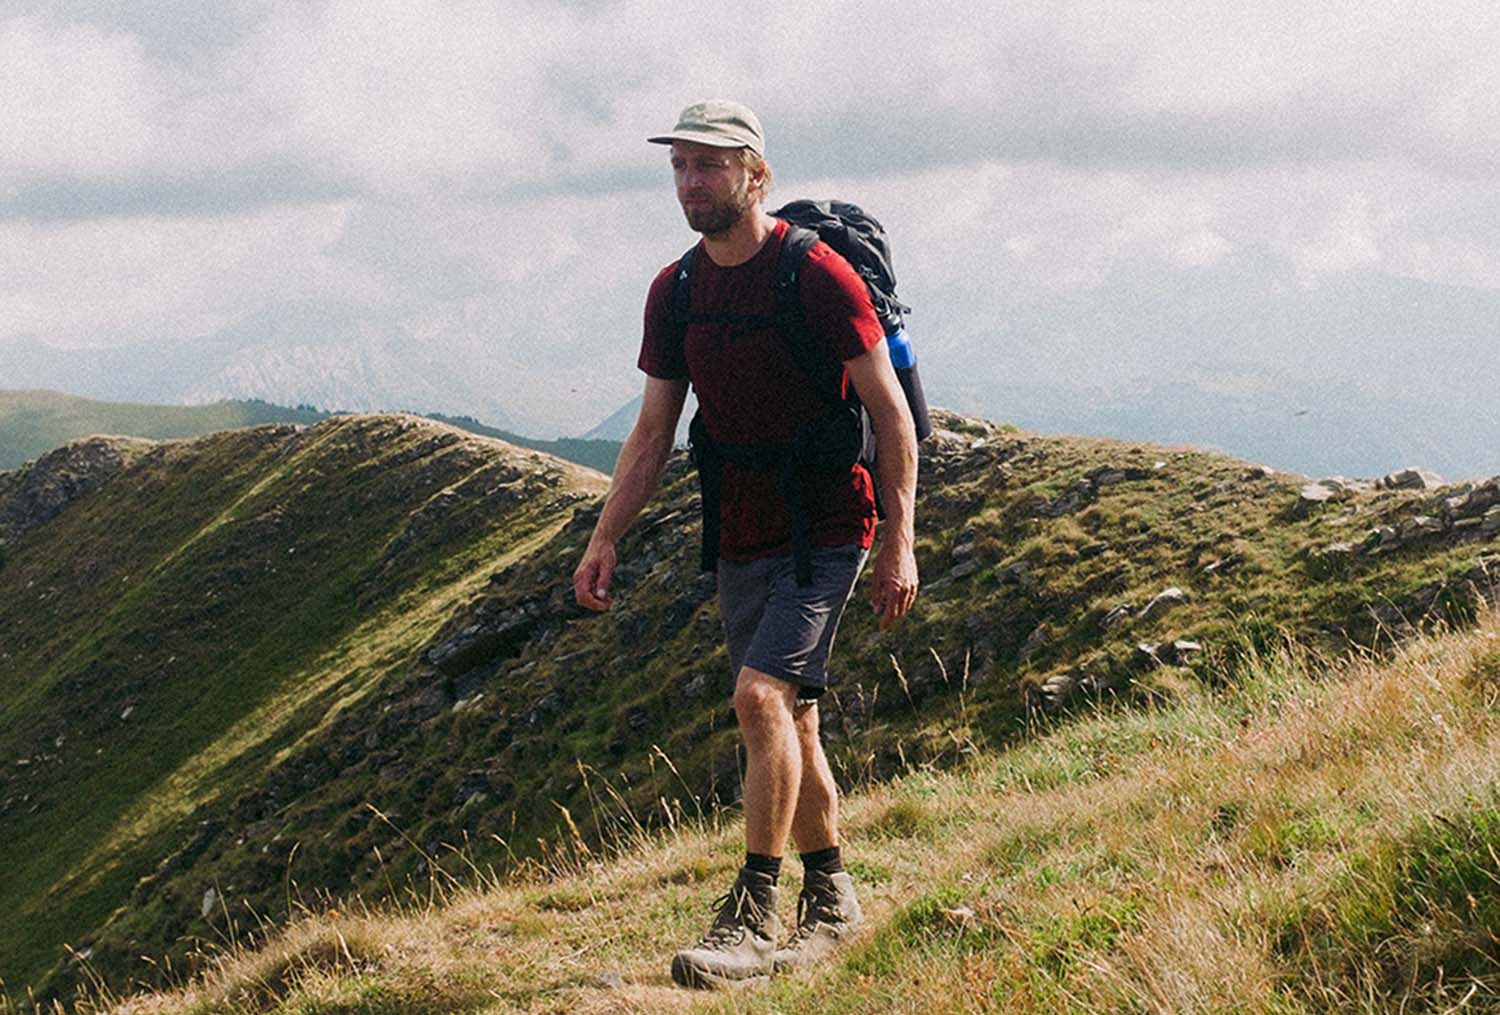
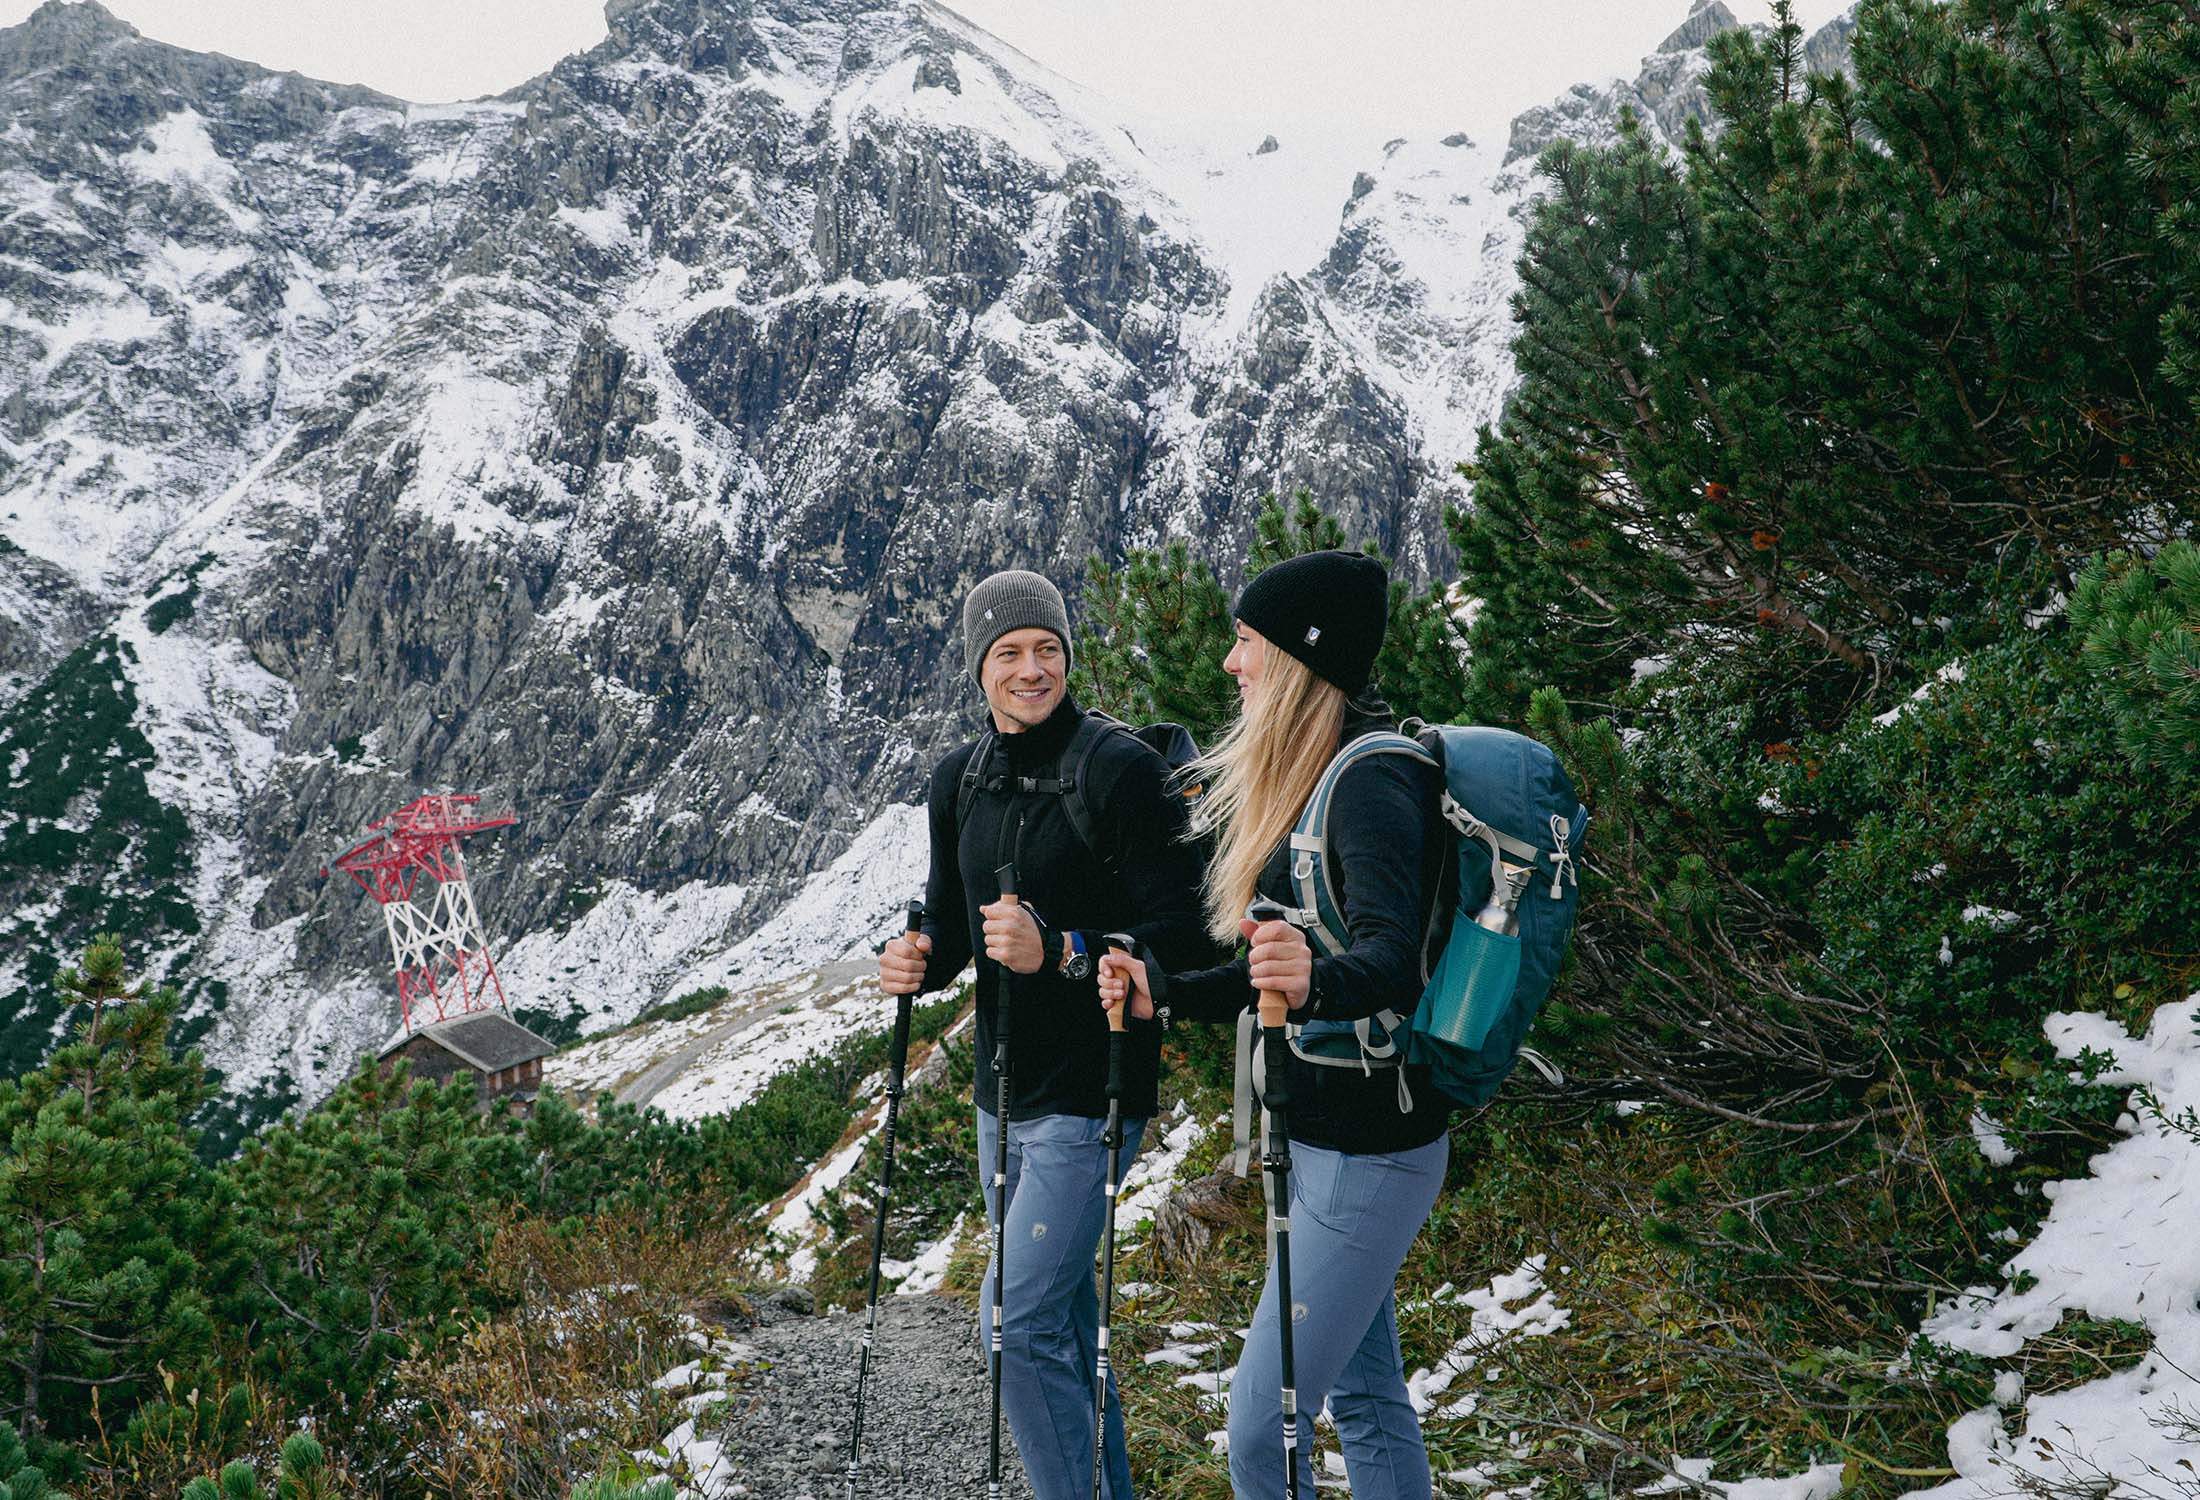
Mittlerweile bieten unzählige Rucksack Firmen unterschiedlichste Anbringungsmöglichkeiten von Wanderstöcken an. Dies bedeutet aber nicht automatisch, dass außen angebrachte Wanderstöcke der Idealfall sind. Im besten Fall solltest Du deinen Rucksack so planen, dass Du außen keine Ausrüstung anbringen musst. Outdoor Equipment, dass außen befestigt ist, kann erhebliche Nachteile mit sich bringen. "Es ist sicherer Trekkingstöcke im Rucksack aufzubewahren. Zum einen können sie leicht verloren gehen und wenn man stürzt ist die Verletzungsgefahr höher", so Wolfang Loacker - österreichischer Berg- und Skiführer. Zusätzlich ist die Gewichtsverteilung, bei außen angebrachten Wanderstöcken, nur suboptimal. Gewicht zieht nach hinten und nach unten. Zum einen wird das Wandern anstrengender, und bei kniffligen Passagen kannst Du ins Schwanken kommen.

Die Spitze am Rucksack
Die Befestigungsmöglichkeit hängt sehr stark von deinem Rucksack ab. Trekking- und Wanderrucksäcke haben in den meisten Fällen Schlaufen und Hacken die es ermöglichen die Stöcke einzustecken und einzufädeln. Bei Schlaufen wird (die Spitze) unten hineingesteckt. Bei Stöcken ohne Teller findet die kleine Schlaufe Verwendung, bei Stöcken mit Tellern die große Schlaufe. Die Teller verhindern üblicherweise ein Durchrutschen. Ansonsten kannst Du Stockteller auch mit wenigen Handgriffen herunter drehen.
Wichtig: Weite Schlaufen sind nicht unbedingt dafür gedacht Wanderstöcke anzubringen. Vor allem an Ski- und Kletterrucksäcken sind weite Schlaufen dafür gedacht, Eisgeräte und Seile festzumachen.
Kompressionsriemen
Kompressionsriemen sind Schlaufen, meist rechts oder links am Rucksack angebracht, die zugezogen werden können. Die Wanderstöcke werden sozusagen umschlossen und festgezogen. So schlenkern deine Stöcke nicht hin- und her und sitzen fest und sicher an deinem Rucksack.

Es gibt unzählige Rucksäcke auf dem Markt. Schlussfolgernd gibt es auch unterschiedliche Befestigungs-möglichkeiten für Trekkingstöcke. Hier ist das Befestigungssystem eine Kordel mit Kordelstopper.
Klett- und Kabelbinder
Eine Alternative sind externe Klettverschlüsse sowie Kabelbinder um Wanderstöcke am Rucksack zu fixieren. Diese Methoden setzen voraus, dass Du am Rucksack schon ein vorhandenes System hast, an denen Du deine externen Klett- oder Kabelbinder einfädeln kannst. Vor allem die Klettverschluss Methode ist nur für den Transport geeignet.
Beispiele für die praktische Anwendung von Kabelbinder an Rucksäcken:
Mit öffentlichen Verkehrsmitteln wie Busse oder Zügen. Wenn Dein Rucksack bspw. auf einem Autodach verstaut wird, hast Du keine direkte Einsicht und kannst im Notfall nicht nachjustieren. Mit fest zugezogenen Kabelbindern halten Deine Trekkingstöcke bombenfest am Rucksack. Gerade auf Backpacking Touren ist man oft mit verschieden Transportmitteln unterwegs. Es kann sinnvoll sein, die Stöcke zusätzlich mit Kabelbindern zu fixieren.
Ähnliche Blog Beiträge
Everything you need to know about hiking poles
Hiking poles are much more than just cool gear. They offer you numerous advantages and can make your hike an absolute highlight. Still, there are some prejudices and misconceptions.
The following blog post sheds light on the subject. Learn:
- The health benefits of hiking poles
- How to use trekking poles
- Which poles suit you best
- How to adjust the poles
- What transport options are available
- How to recognize good hiking poles
Are you more of a video person? No problem, our buying guide covers the topic in detail
Video guide Hiking Poles » How to find the right hiking poles
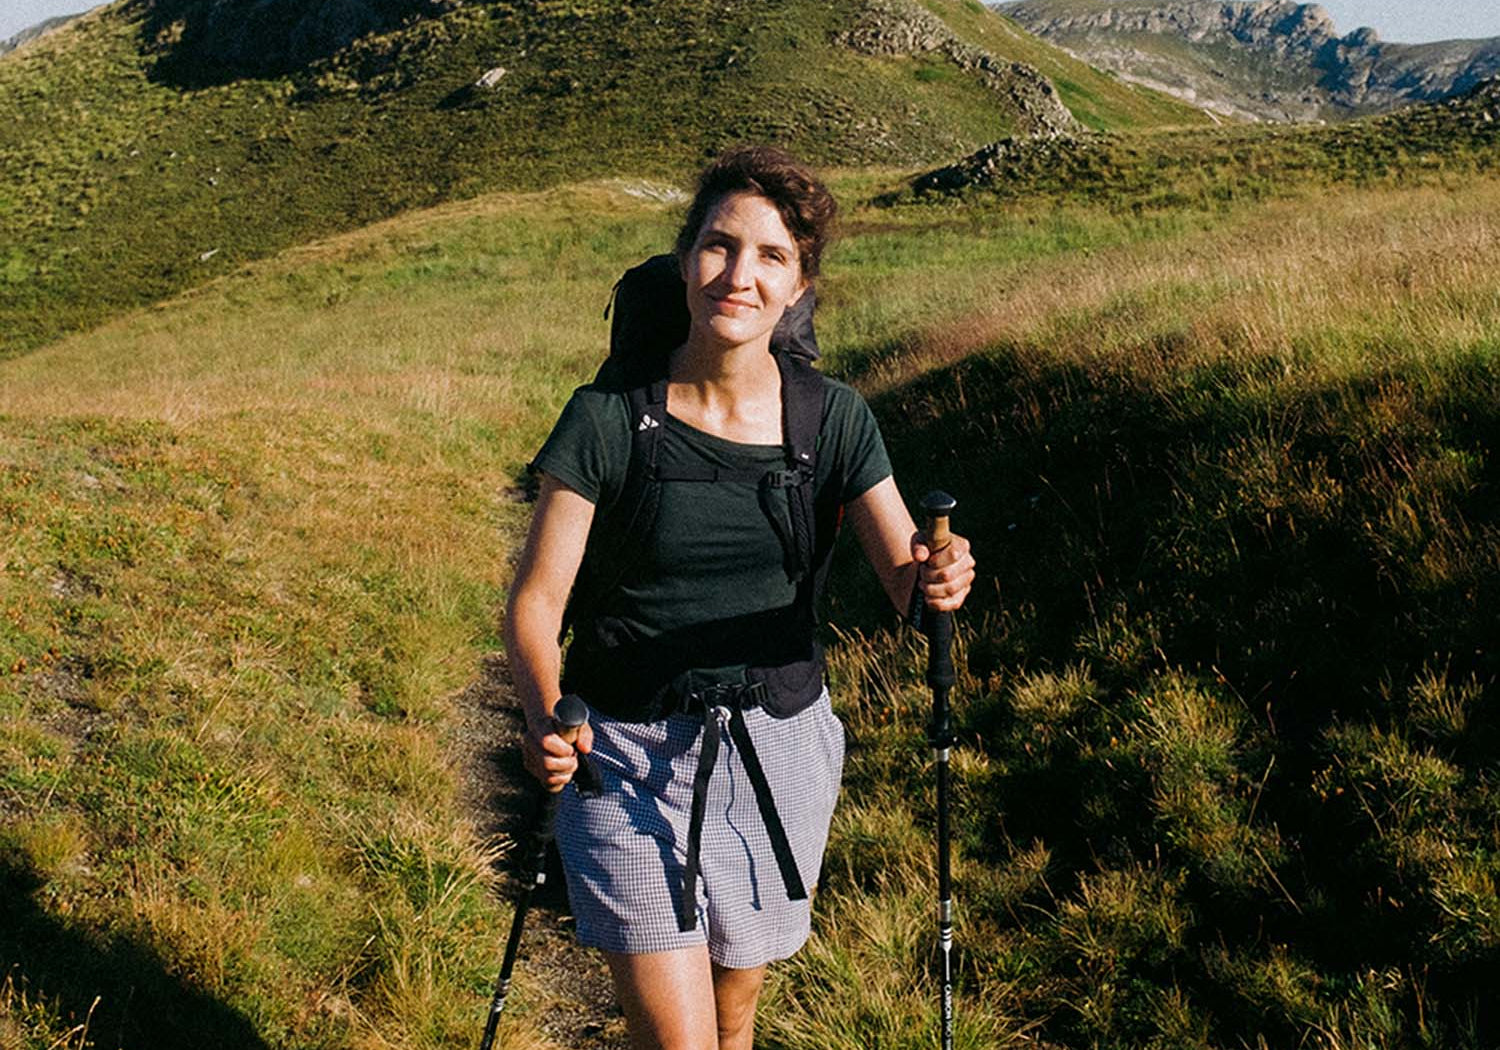
Why are hiking poles useful?
You’ve probably often wondered: “When are trekking poles actually useful?” There are many different reasons why someone uses hiking poles. In principle, Hiking poles many positive qualities and benefits:
1. Joint Support
Hiking poles relieve strain on
- Feet,
- Legs,
- Knees
- and back.
Especially when going downhill, the knees are heavily stressed. Using your trekking poles saves energy, keeps your focus longer, and makes your descent safer.

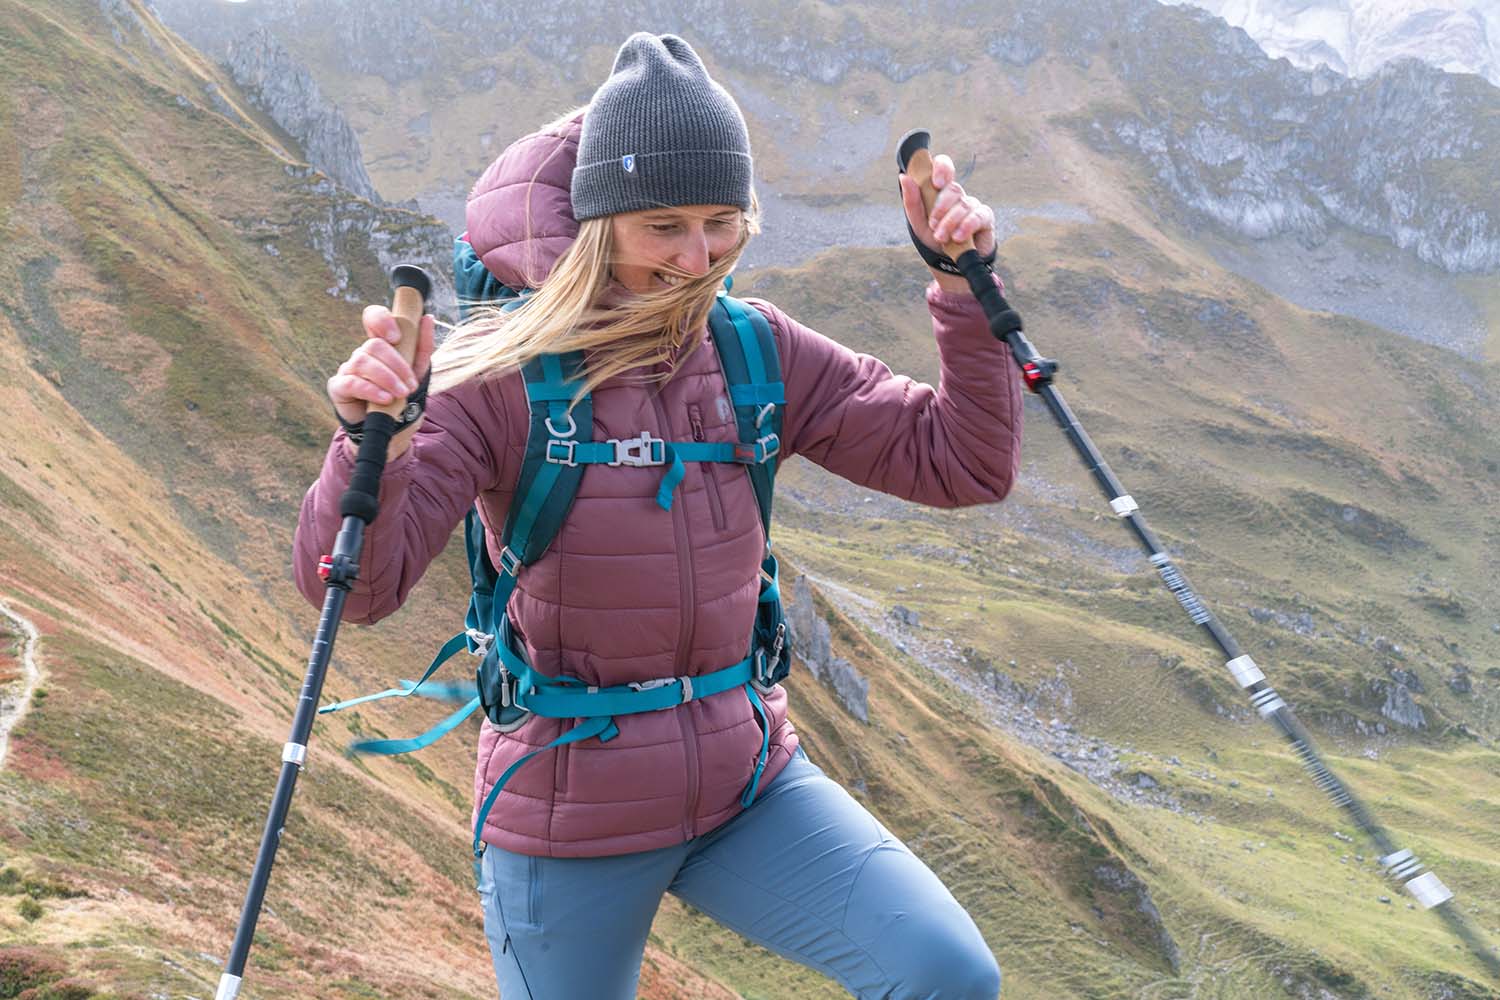
2. Balance
Most hiking accidents happen due to slipping or tripping. If you’re also tired and your concentration drops, the risk of falling increases significantly.
Hiking poles act like extensions of your arms, supporting you and giving you better grip. This provides extra stability and improves your sense of balance.
3. Posture and Breathing
Hikers who use trekking poles can simultaneously improve their posture. If you carry a heavy Outdoor Backpack When you carry a backpack on your back, the poles support your upright posture. This helps relieve your spine as much as possible.
Hiking poles encourage walking with a straight posture. It’s almost impossible to walk upright without them.
- Your shoulders won’t collapse forward.
- Additionally, an upright posture promotes better breathing. You get air more easily.
Expert tip: Conscious breathing is essential in endurance sports so you can stay focused longer, tire less quickly, and thus avoid accidents.
4. Safety
As you can see from the points above, hiking poles help you in many ways. You stay accident-free longer by
- You support your joints,
- You improve your balance,
- You don’t strain your posture further but promote a healthy body alignment.
In general, this walking aid has a positive effect on your energy balance, allowing you to truly enjoy hiking with poles.
5. Nordic Walking
The dynamic movement in Nordic walking
- engages heart and circulation,
- stimulates metabolism,
- strengthens muscles and bones
- and tackle excess pounds.
Those who swing the mountaineering poles back and forth regularly also strengthen their arms, shoulders, and back.

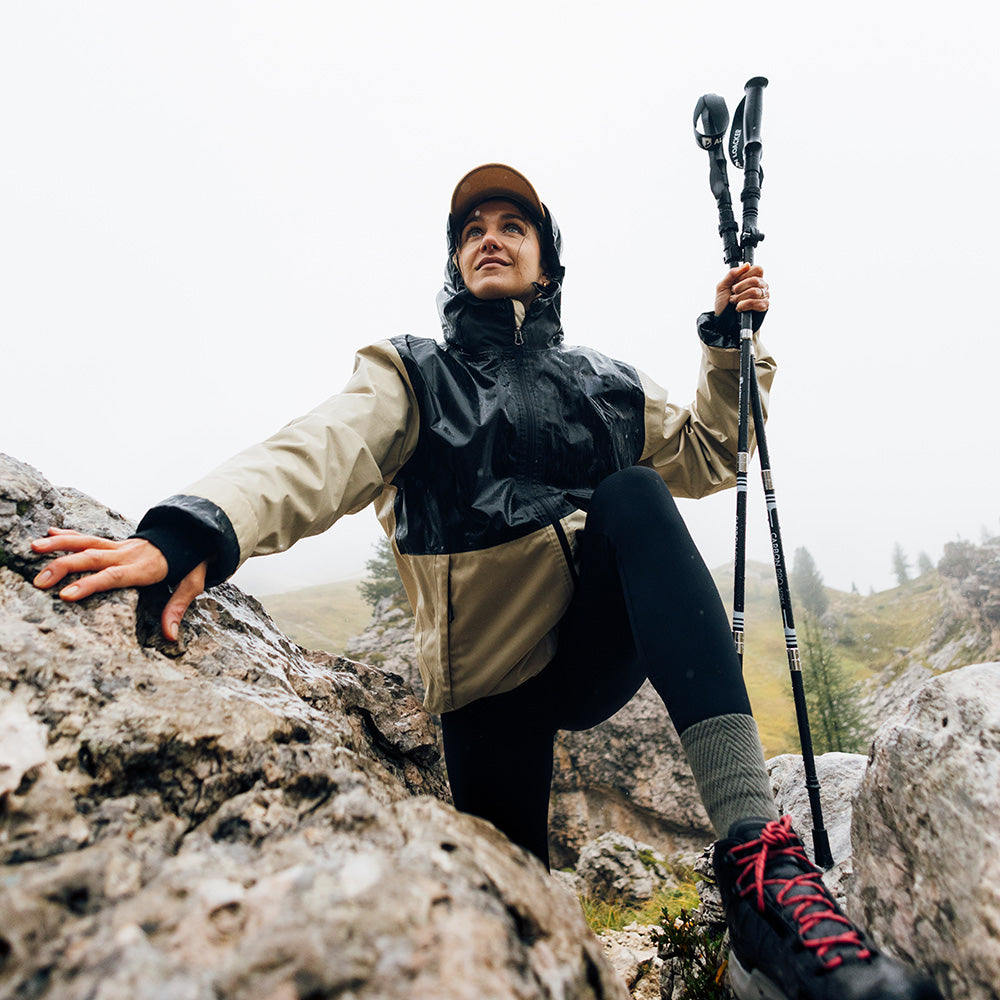
Step-by-step guide: Adjust trekking poles correctly

Step 1: Choose the right trekking poles
Before adjusting your trekking poles, it’s important to choose the right model for your needs. Pay attention to the length, material, and handles of the poles to ensure they fit your height and hiking style.

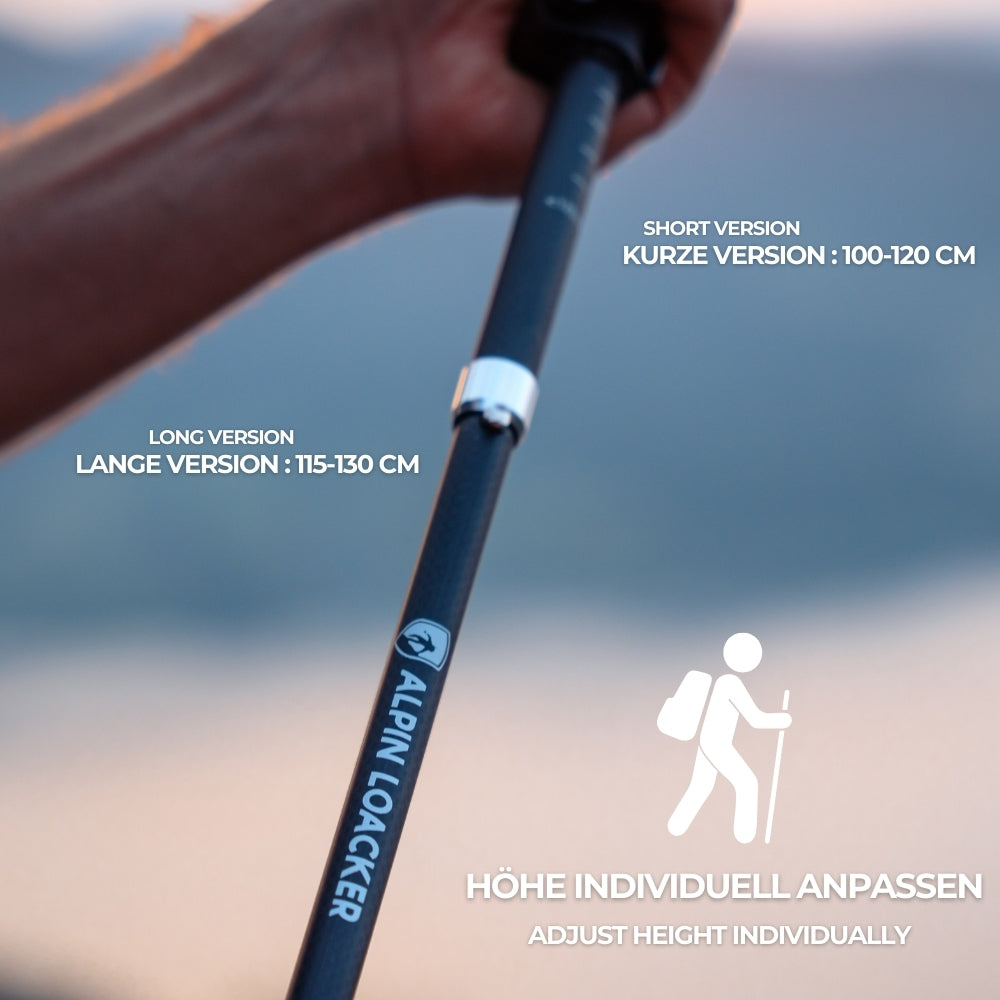
Step 2: Determine the optimal length
The trekking poles should be adjusted to the terrain. When going downhill, the poles should be set slightly longer, and when going uphill, slightly shorter. Generally, however, mountaineering poles should be set so that
- that the hand can easily grip the handle,
- while the arm is at a right angle to the ground.
- The forearm is parallel to the ground and bent at the elbow.
Which trekking poles for which height?
Many companies provide guidelines for the correct length based on height. However, how a pole is adjusted can be very individual. What’s important, as described above, is that the basic setting forms a right angle.
How long should Nordic walking poles be?
Since this question often comes up specifically for Nordic walking poles, we will address it separately here.
- The distance between the pole and your body should be about half an arm’s length.
- When your arm is bent at a 90-degree angle, the poles should end at your forearms.
- The 90-degree principle is exactly the same as with conventional trekking poles.
- There is also a method to calculate the length. Multiply your height in centimeters by 0.7. The result is the pole length.

Step 3: Adjust trekking pole height
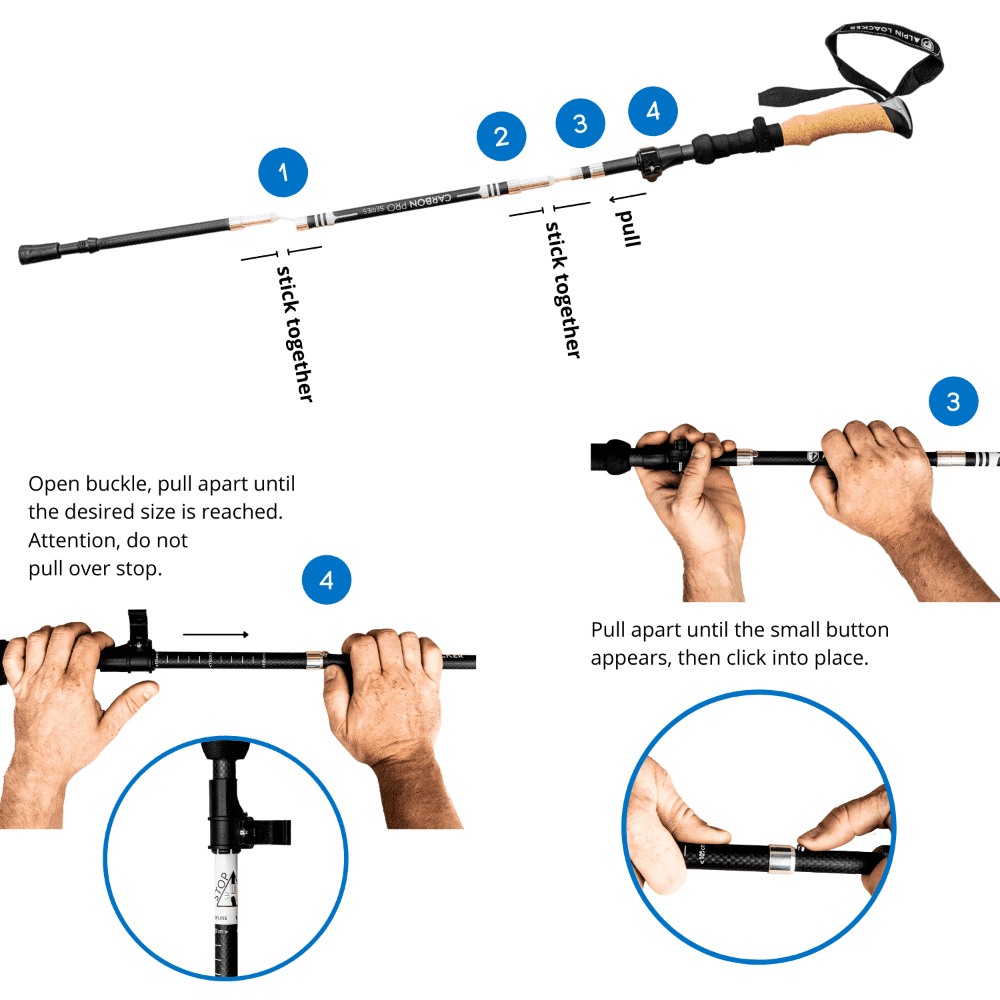
Look for the adjustment mechanism on your trekking poles. This could be a twist lock, a folding system, or a snap lock. Release the lock to adjust the poles. Pull or push the telescopic sections to set the desired height. Make sure the markings on the parts align to ensure both poles are set to the same height.

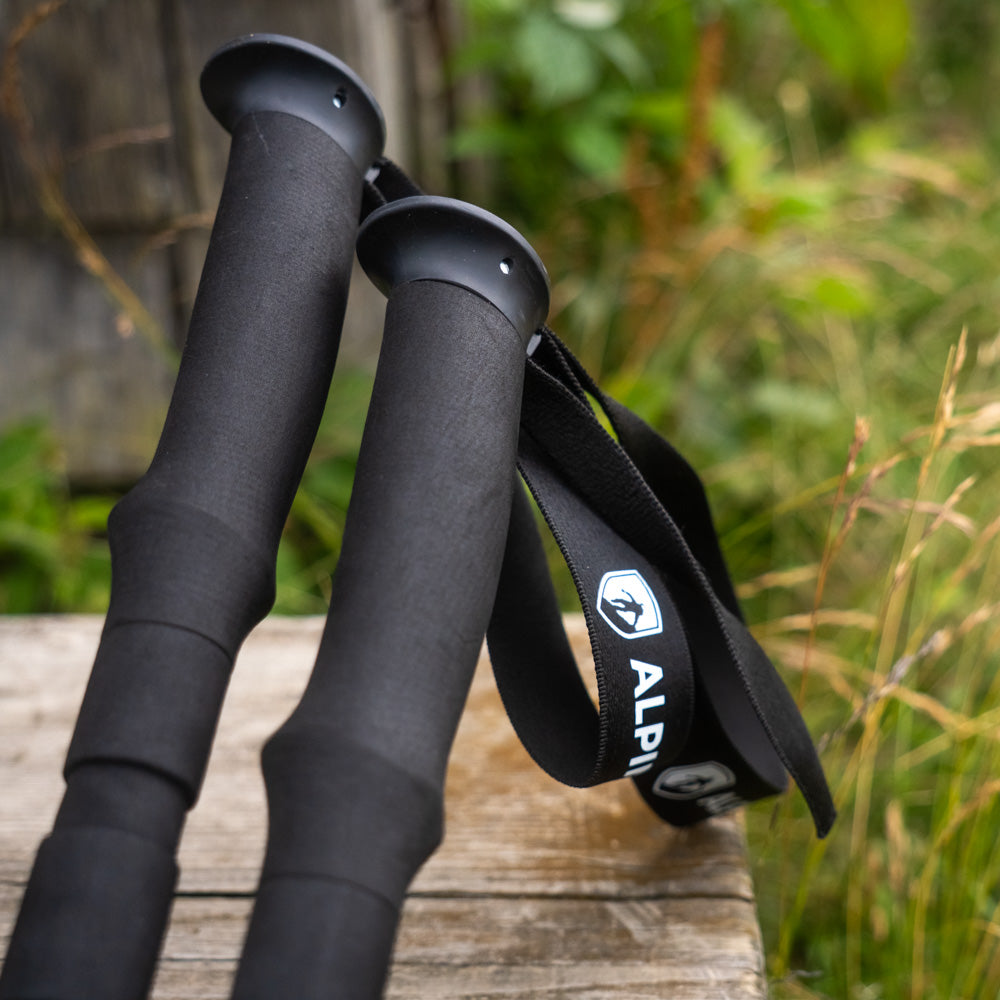
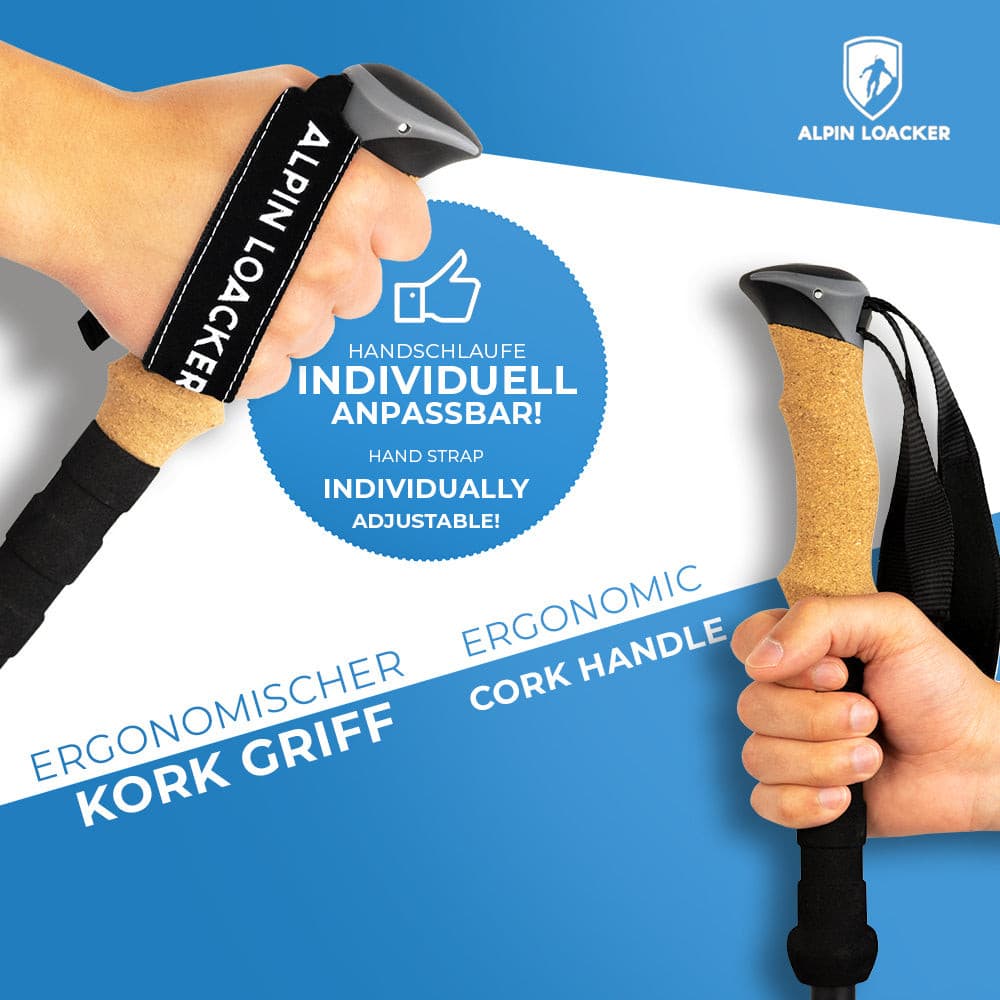
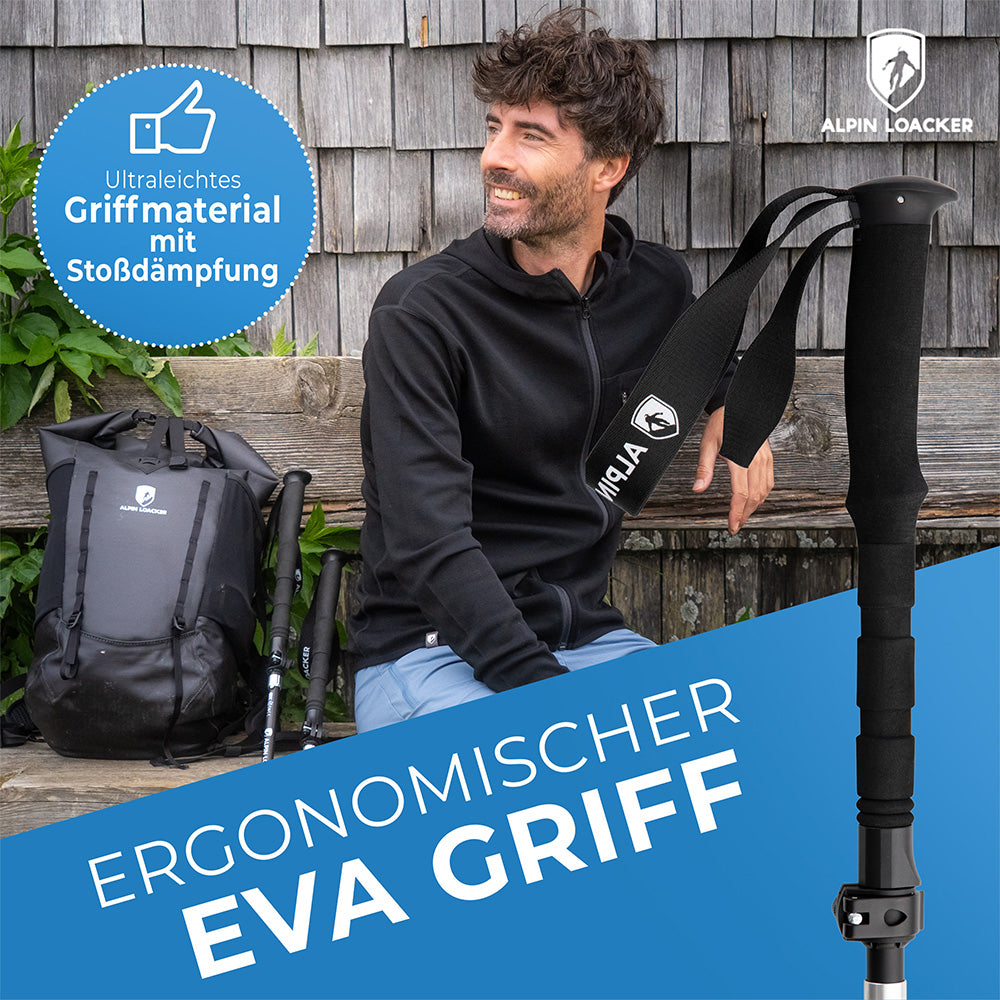
Step 4: Adjust the wrist straps
Trekking poles usually come with wrist straps that allow you to hold the poles without gripping them tightly. Slip your hand through the strap and adjust its size so it fits comfortably. You should set the strap so you can easily slide your hand in and out without it being too loose or too tight.

Step 5: Check the tips
Check the tips of your trekking poles to ensure they are intact and sharp enough to provide good grip on various surfaces. If necessary, you can replace or change worn tips.
Step 6: Test walk and fine-tuning
Before you head out on a longer hike with your adjusted trekking poles, do a short test walk. Take a few steps and check if the length and settings feel comfortable and good. Adjust the settings if needed to achieve the best hiking experience.
How to use trekking poles correctly?
When hiking, we often just start walking without thinking about our walking technique. This is not surprising since our walking is automated.
However, if you want to fully unlock the potential of your trekking poles, you should keep a few points in mind when using them:
1. Adjusting the size correctly
First of all, adjust your trekking poles to the right size. See our step-by-step guide.
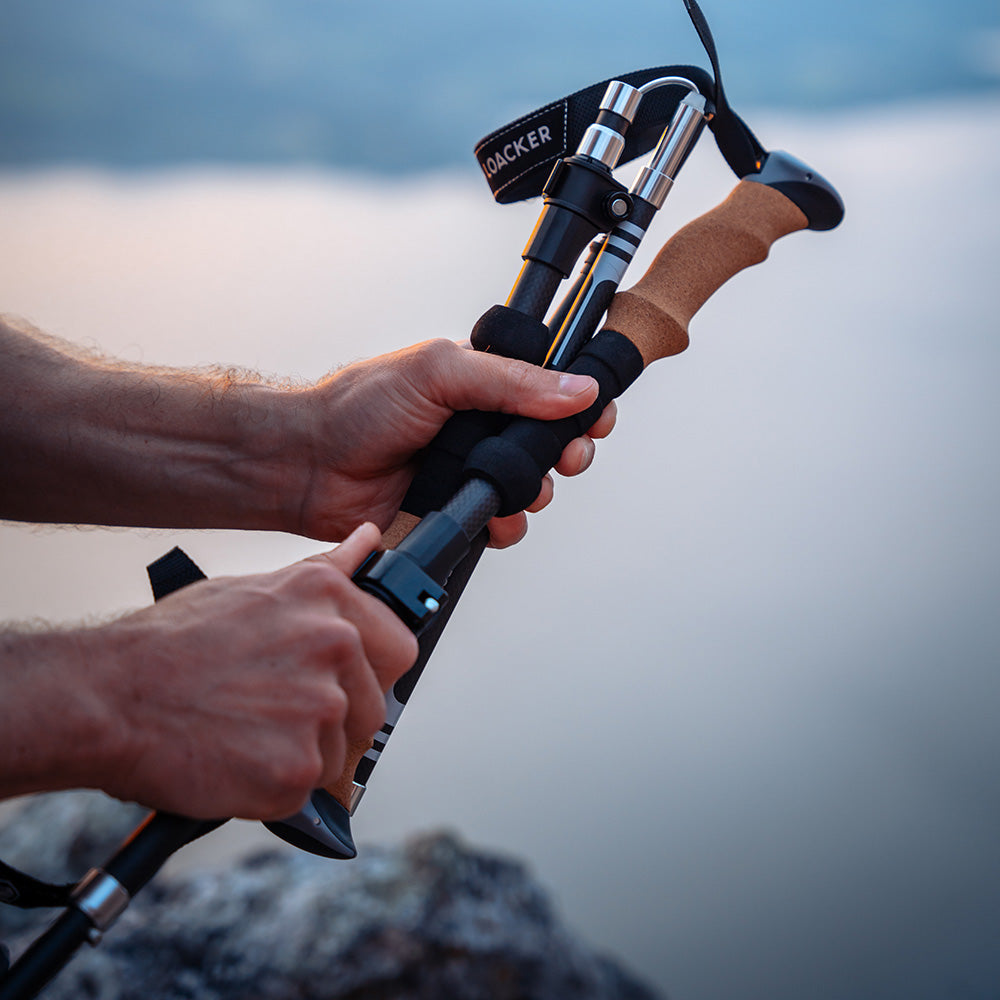
2. Holding the grip correctly
A common mistake is the wrong grip, where the strap is often simply threaded from above. Correctly, you should reach through the strap from below so that even with an open or relaxed hand, you can apply pressure to the pole.
This allows you to open your hands during the backswing without losing the support.
Expert tip: To prevent your hands from cramping, make sure to keep the grip loose during the backswing.
Important: The strap should only be used on relatively flat terrain. If you fall and get caught in the strap, you won’t be able to grab the grip or support yourself. This significantly increases the risk of injury.
3. The correct posture
To achieve the best effect, it’s advisable to keep the poles close to your body at all times. On flat terrain, the poles are used diagonally to the legs and alternated according to the natural movement pattern.
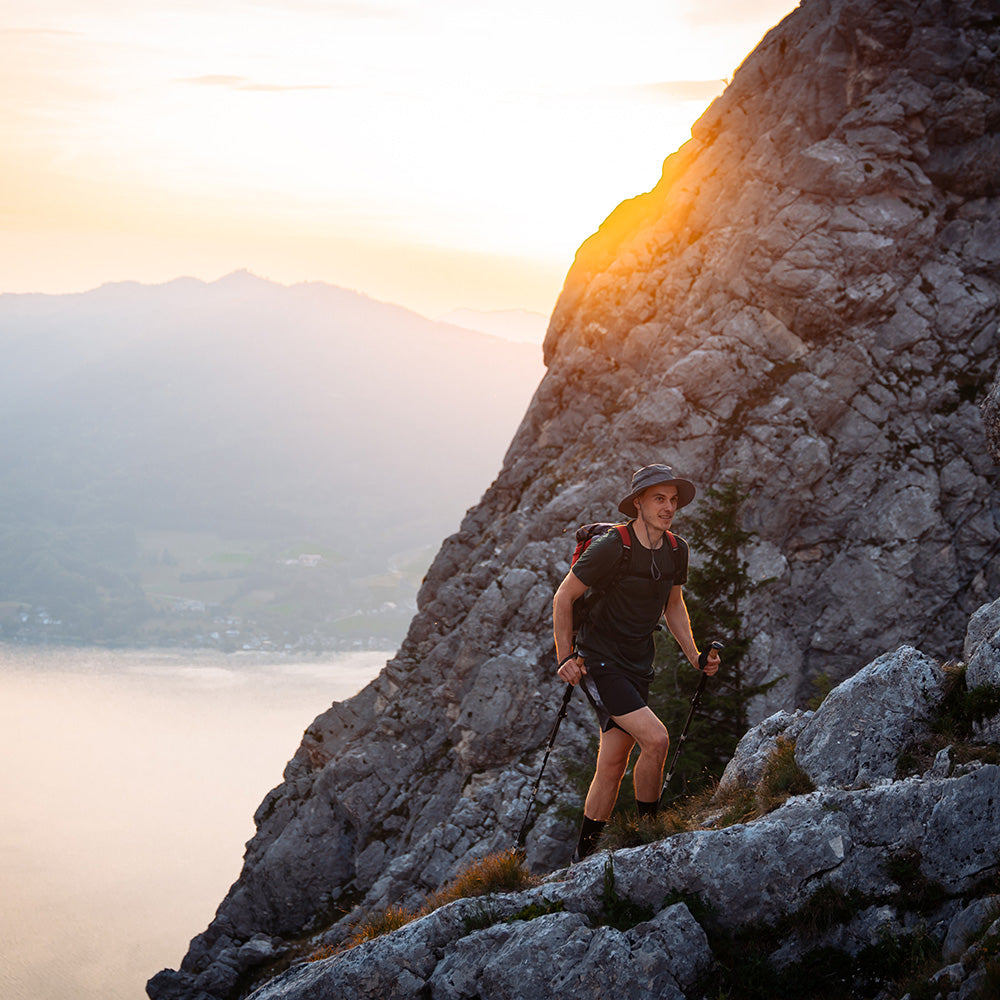
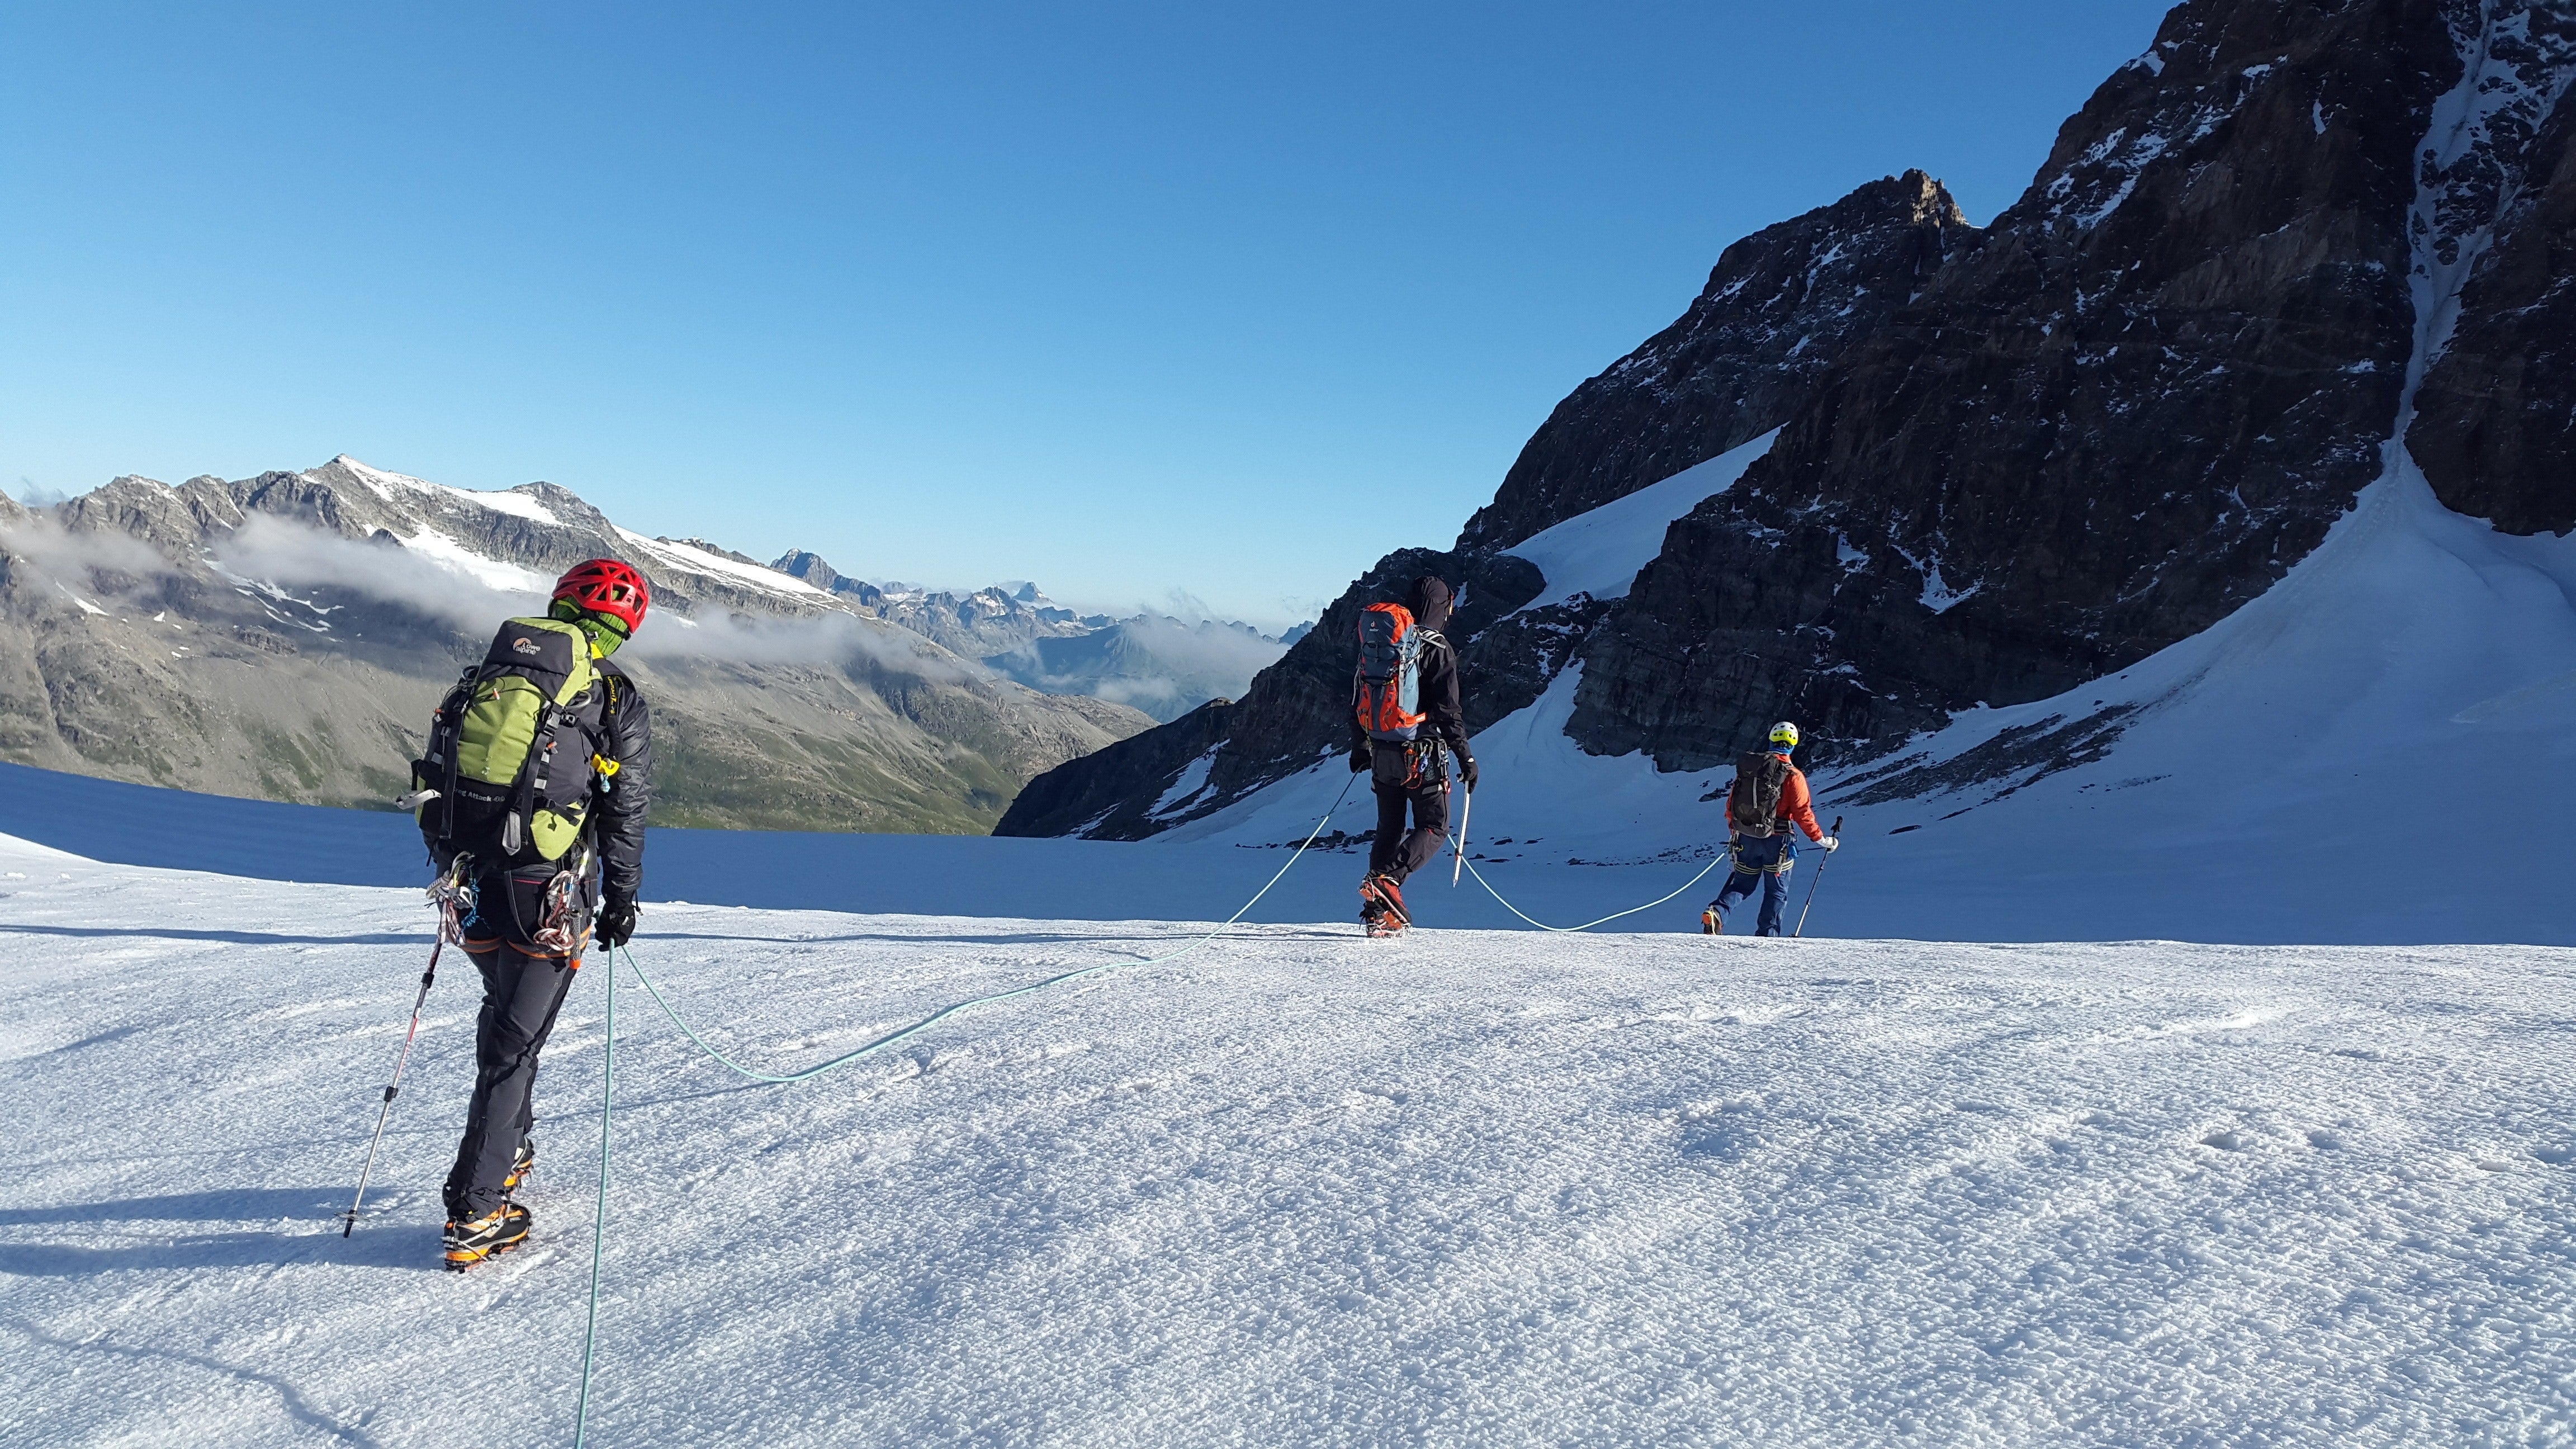
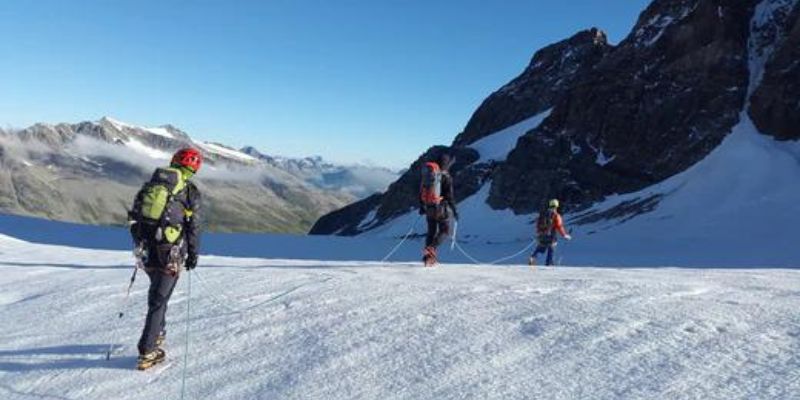
4. Walking in steep terrain
In steep terrain, using both poles is the method you should apply. The poles are usually planted every second step during ascent and descent, and you push yourself powerfully upward with both arms. This ensures stability and relief.
5. Going downhill
Even when going downhill, the double-pole technique is the best choice. You should not dig the pole tips into the ground but hold the grip in a way that allows you to perform a clean technique. This way, you won’t slip and can avoid falls.
6. Crossings
When crossing, poles don’t necessarily need to be adjusted differently. It’s enough to hold the uphill pole below the grip and grasp the downhill grip like a knob from above.
7. Very steep terrain and traverses
You should pass very steep terrain and traverses without looping in. The pole should ‘only’ be used as support here. There is also the option to hold a pole with both hands.
“That’s an old method, how mountaineers used to do it back then,” says Wolfgang Loacker, experienced mountain and ski guide in Montafon.
You should only tackle steep terrain if you are fit enough and experienced, or if you have an expert with you.
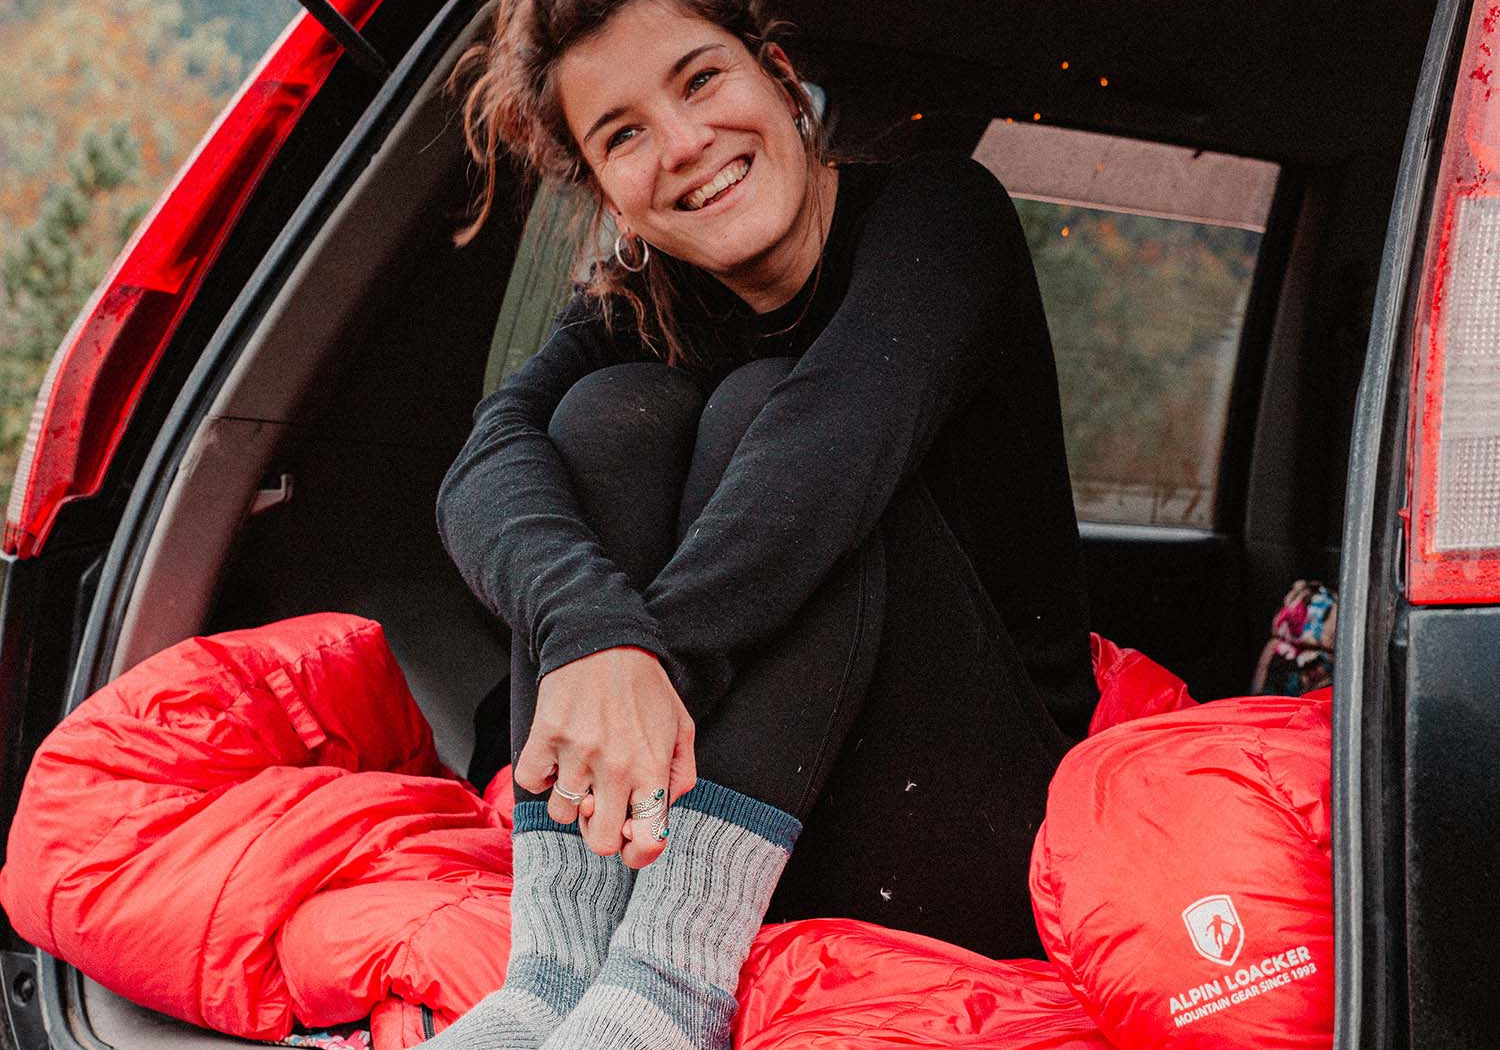
Attaching folding poles to the backpack
On some stages or on buses and trains, you won’t need your trekking poles. Folding poles have a decisive advantage here.
They fold up in no time and are ultra-light to carry due to their small packed size and weight. Here’s what you should know about transporting your trekking poles:
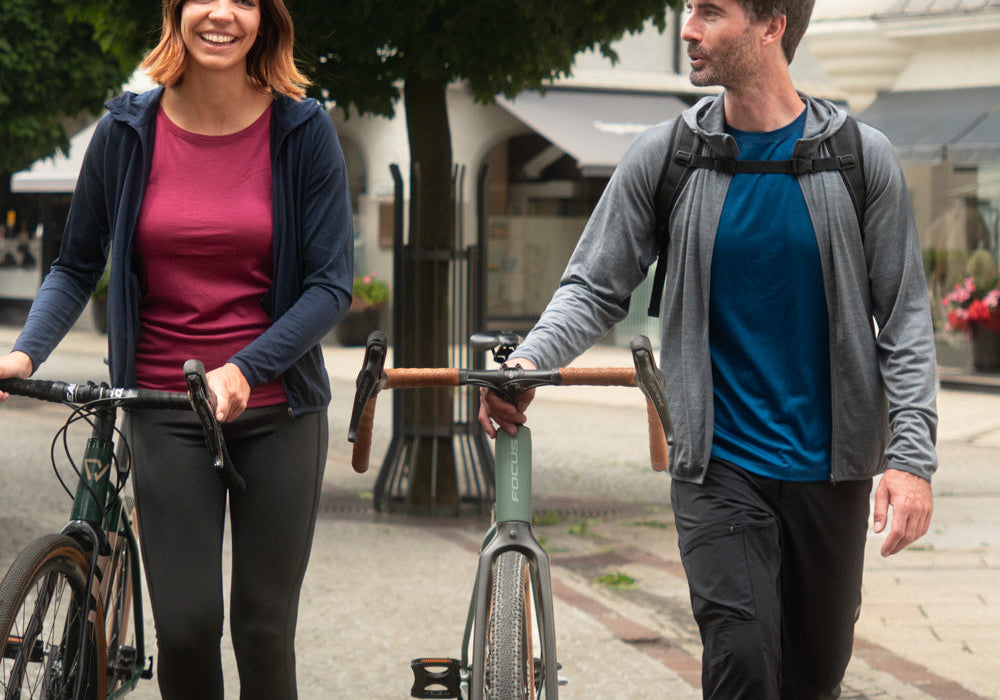
The poles inside the backpack
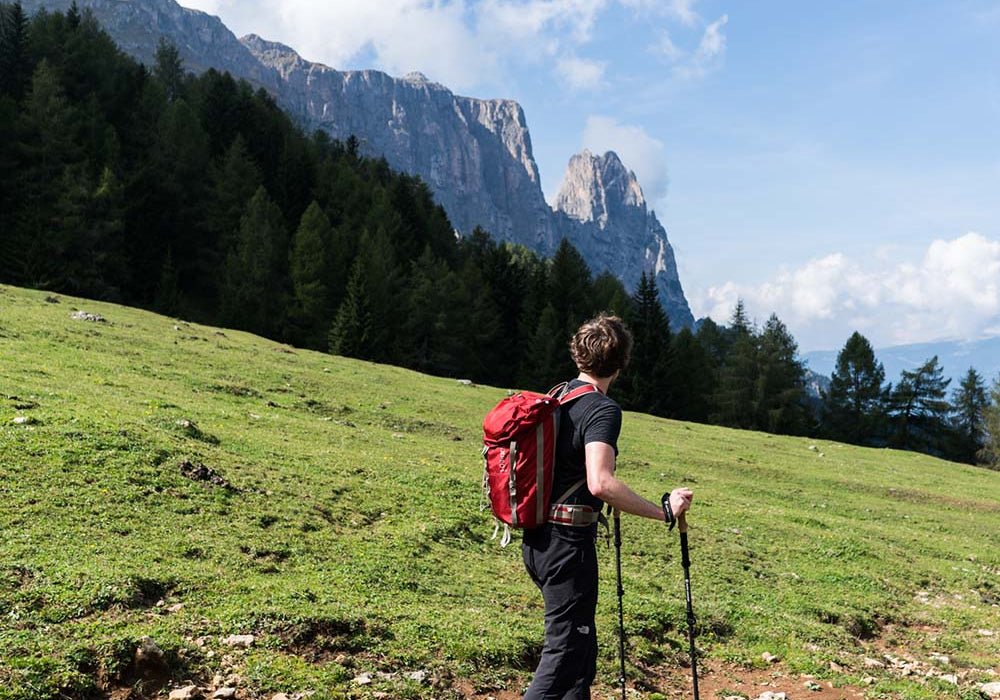
Ideally, you shouldn’t attach any gear to the outside of your backpack.
“It’s safer to store trekking poles inside the backpack. On the one hand, they can easily get lost, and if you fall, the risk of injury is higher,” says Wolfgang Loacker, Austrian mountain and ski guide.
Also, hiking with poles attached to the hiking backpack becomes more difficult and dangerous. The weight pulls backward and downward. This strains your spine and costs energy.
The tip on the backpack
The attachment option depends heavily on your backpack. Trekking and hiking backpacks usually have loops and hooks that allow you to insert and thread the poles.
With loops, the (tip) is inserted at the bottom. For poles without baskets, the small loop is used; for poles with baskets, the large loop.
The baskets usually prevent the pole tips from slipping through. Otherwise, you can Pole baskets can also be folded down with just a few quick moves.
Compression straps
Compression straps are loops mostly attached to the right or left side of the backpack that can be tightened. The trekking poles are basically enclosed and tightened. This way, your poles won’t swing around and stay firmly and securely attached to your backpack.
Velcro and cable ties
An alternative is external Velcro straps or cable ties to secure trekking poles to your backpack. These methods require that your backpack already has a system where you can thread your external Velcro or cable ties. Especially the Velcro method is only suitable for transport.
How do I transport trekking poles on a plane?
Hiking or trekking poles are not allowed in carry-on luggage. This also applies to Telescopic Hiking polesthat can be collapsed. The reason is that hiking or trekking poles are considered dangerous items at security checks because they could potentially be used as weapons.
Hiking poles can only be taken in checked luggage. Foldable or telescopic hiking poles are advantageous here. They can be easily stored in your suitcase or backpack. No extra fee is required, and the suitcase can be packed space-efficiently.
For non-folding poles, an additional fee must be paid because they count as oversized luggage and this type of pole does not fit in a suitcase. The only exception for carry-on luggage are walking aids like crutches or canes if they are medically necessary.
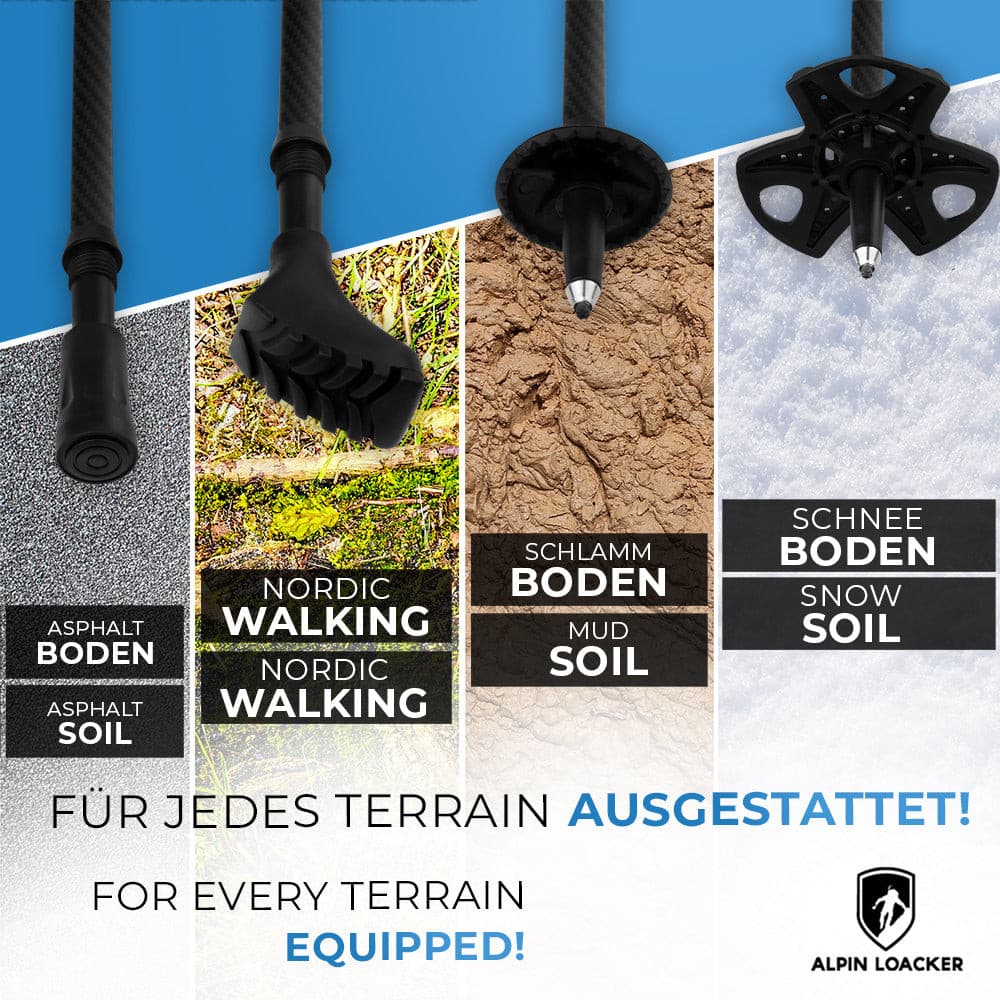
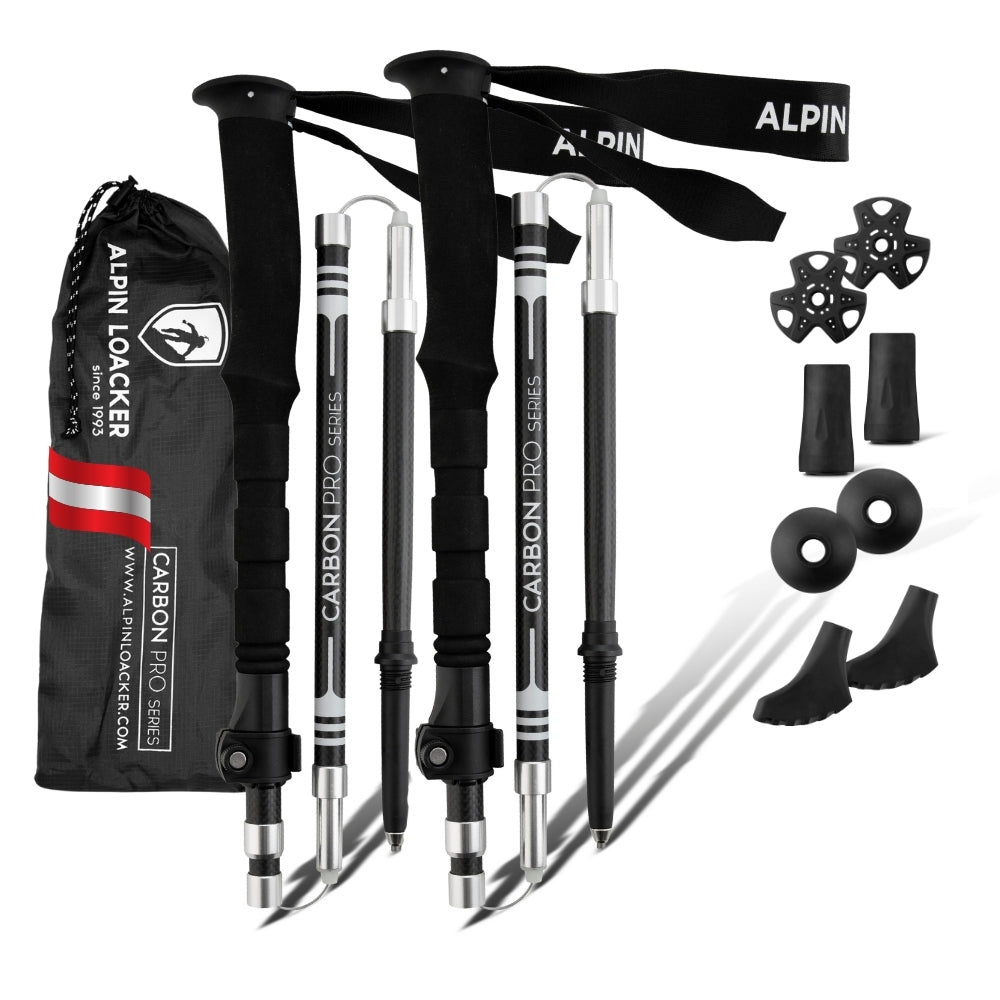
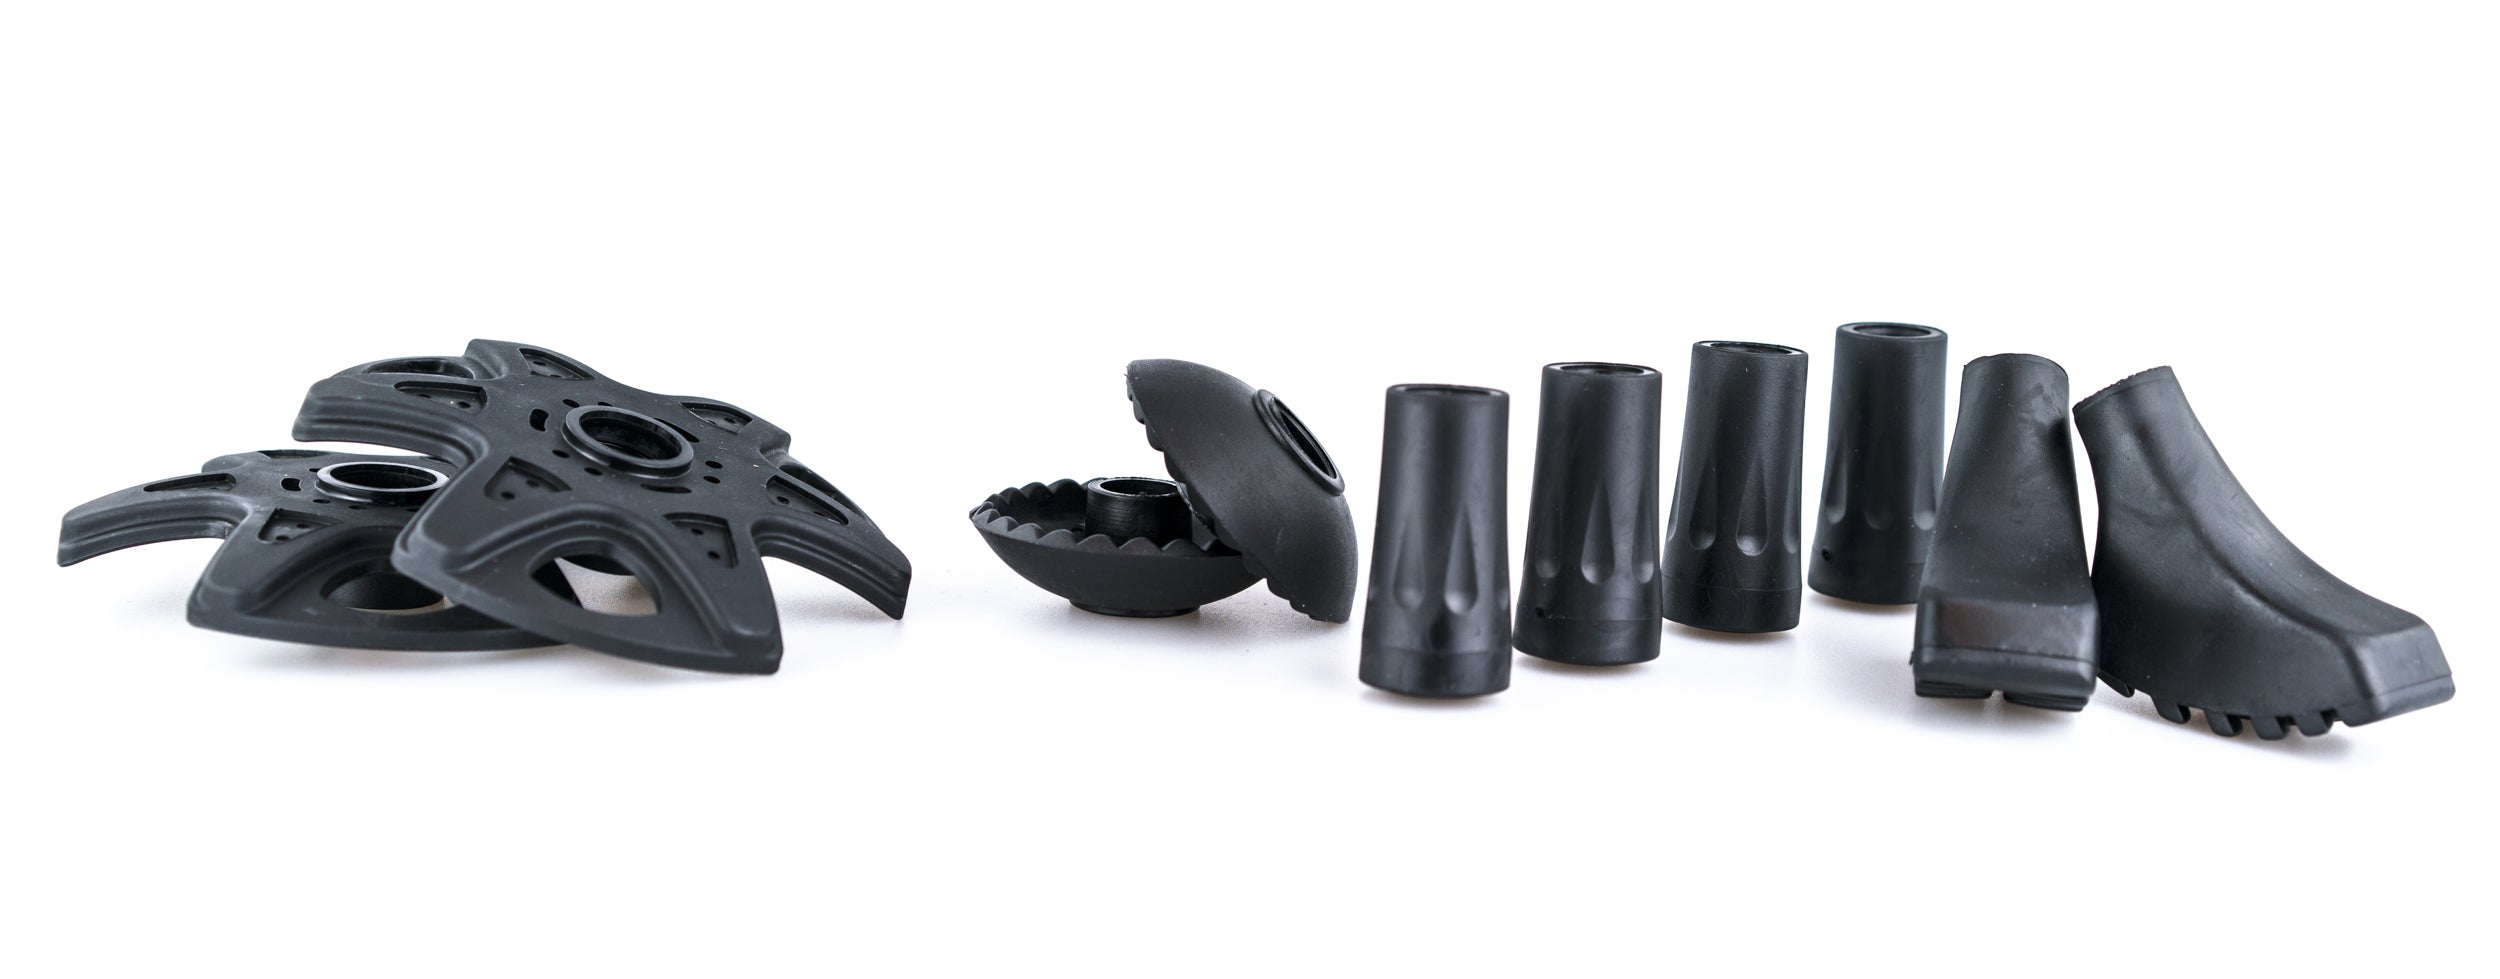
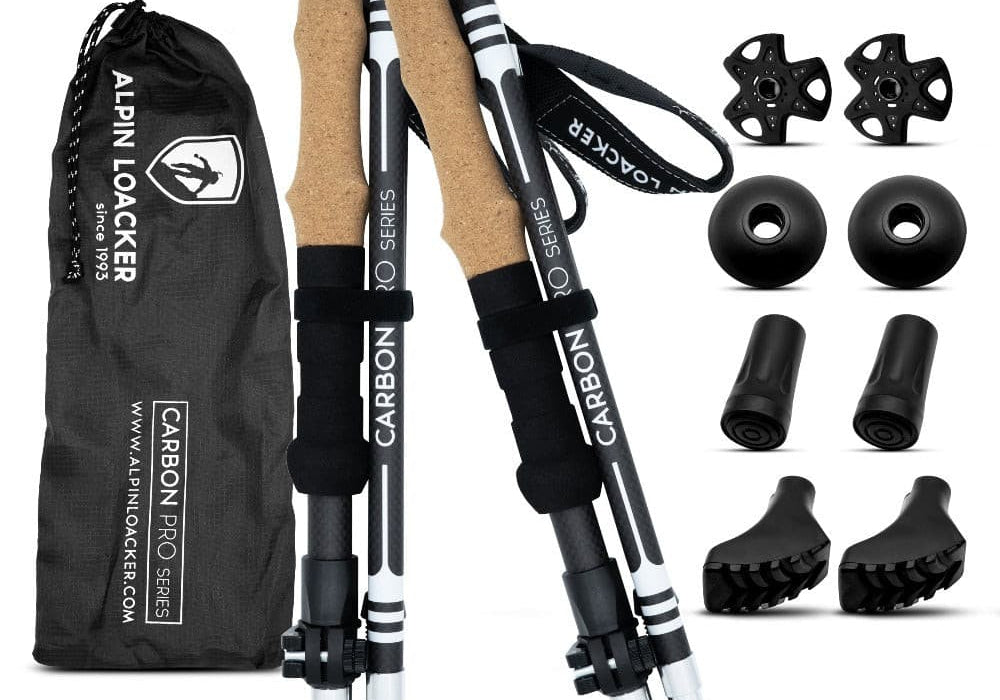
Which Tip for Which Terrain?
On your tour, you will often encounter different surfaces. That’s why our hiking poles come with various attachments included.
- For use on hard surfaces, asphalt tips are especially suitable. They protect the metal tip of the hiking pole from unnecessary wear.
- For use in the mountains, you should use your poles without any additional attachments.
- Unless you’re hiking over scree. In that case, it’s recommended to screw on the mud baskets. They prevent sinking. As the name suggests, you can also use these in mud, on soil, and sand.
The included Nordic walking tips make it easier for you to walk quickly and boost your speed.
Can I hike on snow and ice with hiking poles?
Yes! Thanks to the included snow baskets, you can use your hiking poles in winter as well. The attachments are perfect for use on snow. If you want to cross icy sections, you should use the tip without any attachment. This gives you maximum grip.
Conclusion: What makes good hiking poles?
Your own needs come first. This is the primary guideline for how you should choose your poles to make sure they are a "good" fit for you. Your height and weight will help you here. For good hiking poles, the price-performance ratio should always come second. Comparing options and reading reviews can help.
If you're not sure for which occasions you'll be using the poles, it's wise not to shop too specifically. Instead, get a pair of poles that can be used for multiple purposes.
Otherwise, you should choose poles based on their intended use. If you mainly need poles for relaxed hikes on flat terrain, aluminum telescopic poles should be more than sufficient.
If you plan multi-day tours or mountain hikes, foldable aluminum or carbon poles are recommended. There is no clear answer to what makes a good hiking pole and what doesn’t.
With incorrect use and handling, even the most expensive and lightest carbon pole won’t help you. It’s much more important to understand the material and know your own needs to choose the right pole.
FAQ About Hiking Poles:
Should I Choose Fixed or Telescopic Hiking Poles?
This question can’t be answered universally. The choice of different models is partly a matter of personal preference. On the other hand, the use also depends on the area of application. If you value low weight and compact size, you should choose telescopic hiking poles.
These can be adjusted and ready to use in no time. However, if you value stiffness and put a lot of demand on your poles, fixed hiking poles are better suited.
My Hiking Poles Won't Lock Anymore: What Can I Do?
If your hiking poles no longer lock in place, there are a few possible solutions you can try:
Check the locks: Make sure the locks or clamps on the hiking poles are properly closed. Sometimes they can accidentally loosen or fail to lock correctly.
Clean the poles: Dirt, sand, or moisture can affect the mechanisms of hiking poles. Clean the poles thoroughly to ensure they work perfectly.
Lubricate the locks: If the locks are stuck or hard to move, you can apply some lubricant or silicone spray to the mechanisms to make them move smoothly again.
How Do I Clean My Hiking Poles?
With proper care and handling, hiking poles can be a reliable companion for many years. If your hiking poles get wet, adjust them to their full length and wipe them down with a clean cloth. This also applies if your poles come into contact with dirt or dust.
Be sure to avoid getting dirt inside the individual segments, as this can affect their function. If you plan to give your hiking poles a longer break, store them in a dry and clean place. A damp basement or garage is not ideal.
More Guides About Hiking Poles
- Hiking Poles Test 2026: Carbon vs. Aluminum – with Comparison Tables
- Hiking Poles Made of Carbon or Aluminum? Buying Guide
- Which Tip for Which Terrain?
- How to Properly Attach Hiking Poles to Your Backpack
All Hiking Poles: Premium Hiking Poles from Alpin Loacker →