


Trekking poles reduce knee strain by up to 30%, improve balance and pace. But if set up incorrectly or used wrong, they won't help much. This guide explains everything you need to know.
Contents:
How to Adjust Trekking Poles Correctly
Golden rule: Arm at 90° angle (elbow = 90°), then the length is correct. Your forearm points horizontally to the ground when the pole is planted.
- Uphill: 5–10cm shorter than base length
- Downhill: 5–10cm longer than base length
- Traversing: Uphill-side pole shorter, downhill-side pole longer
Carbon vs. Aluminium
| Feature | Carbon | Aluminium |
|---|---|---|
| Weight (pair) | 200–350g | 350–600g |
| Break behaviour | Breaks (no warning) | Bends (warning) |
| Vibration damping | ★★★★★ | ★★★☆☆ |
| Price | 80–200€ | 30–100€ |
| For whom? | Ultralight hikers, pros | Beginners, occasional use |
Telescoping vs. Folding Poles
- Telescoping pole: Continuously adjustable, robust, simple — ideal for most hikers
- Folding pole: Very compact (40–45cm), lightweight — ideal for runners and ultralight hikers
Correct Technique
- Feed wrist through the strap from below — don't just slip it over
- Hold the pole with a relaxed grip — the strap carries the weight
- Plant poles diagonally: left pole = right leg
- Downhill: plant poles in front of your body for braking effect
Buying Guide — What to Look For?
- Weight: Under 300g/pair for day hikes, under 200g for ultralight
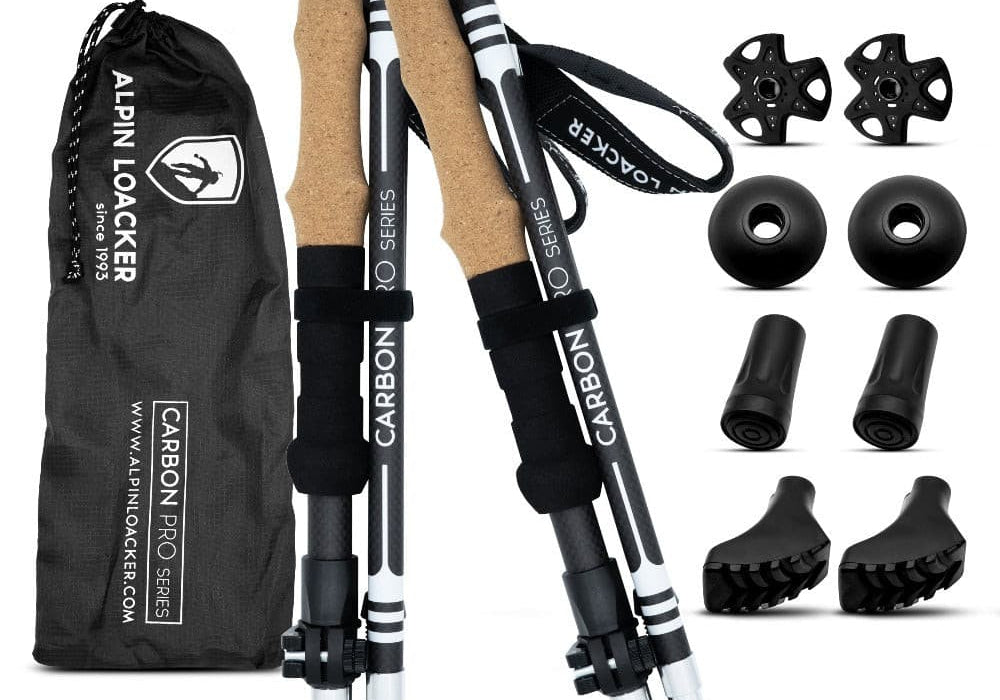
- Grip: Cork (doesn't sweat), foam (soft), rubber (cold)
- Lock: Twist-lock (quick) vs. lever lock (more secure)
- Length: Telescoping 60–135cm fits most; buy folding poles sized to your height
High-quality outdoor gear direct from the manufacturer
30-day returns · Free shipping from €50 · 15% off your first order
Shop gear Get 15% voucher