


10. August 2022
Wanderstöcke welche Spitze für welchen Untergrund

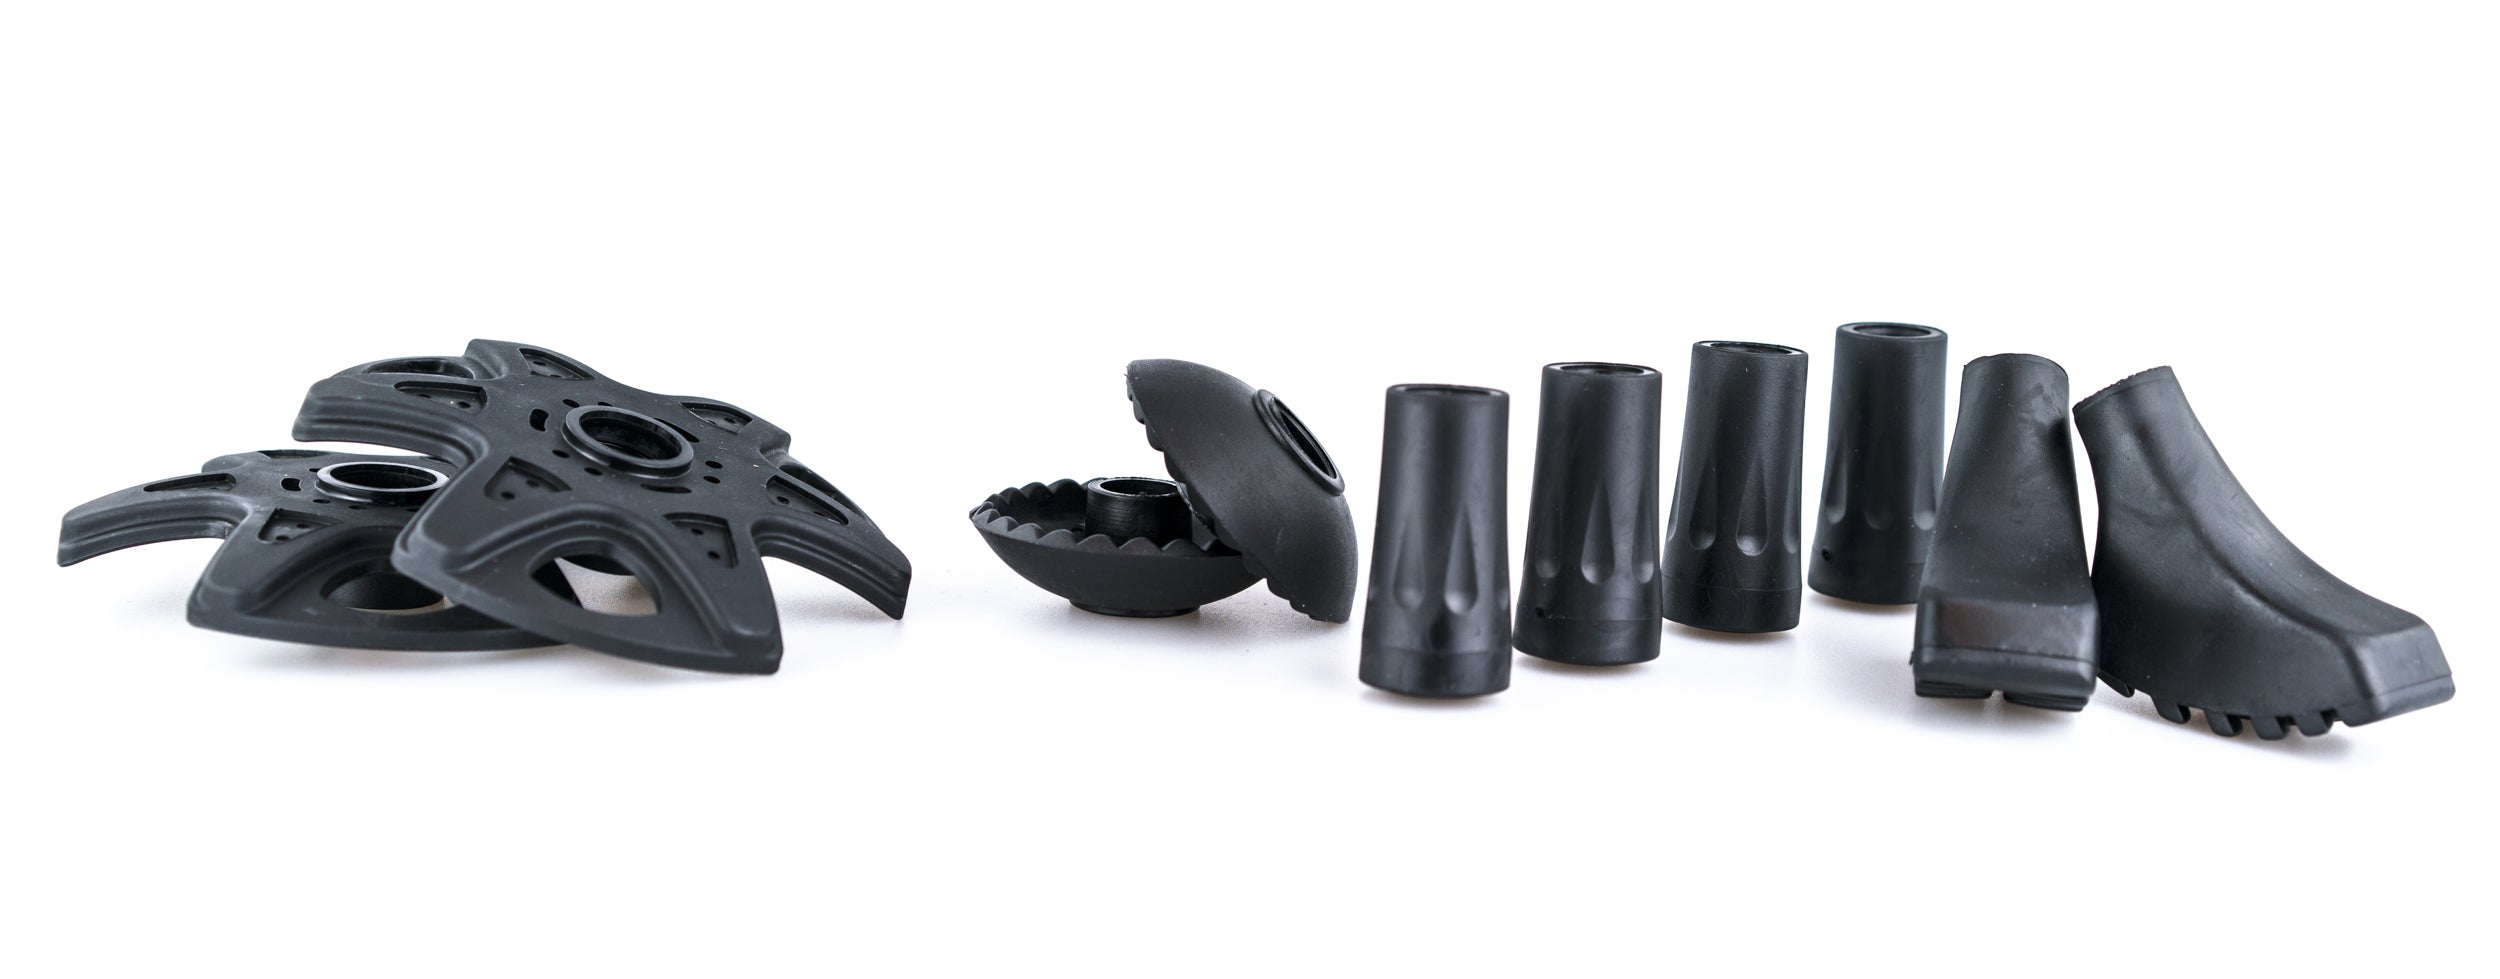
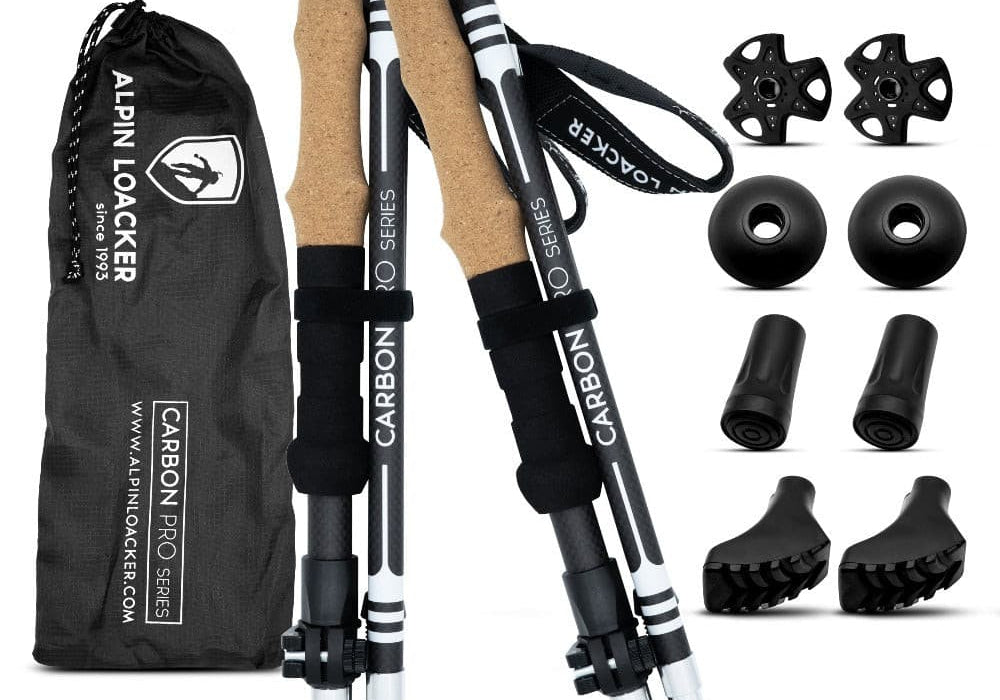
Aufsätze für Wanderstöcke
Trekkingstöcke haben vier unterschiedliche Puffer für Spitzen. Welche Aufsätze für Wanderstöcke die richtigen für Dich sind, hängt vom Gelände und der Aktivität ab.
Asphalt Aufsätze
Asphalt Aufsätze werden, wie der Name schon sagt, auf sehr hartem Untergrund verwendet. Beton- bzw. Asphaltböden schaden bei dauerhaftem Gebrauch der Stockspitze. Deshalb gibt es den kleinen schwarzen Gummischuh, um die Spitze Deiner Gehhilfe zu schützen.

Es macht keinen Sinn Gummifüße für Asphalt mit Schlammteller zu kombinieren. Die Zwei Komponenten sind für völlig unterschiedliches Terrain.
Wichtig: Gummiaufsätze werden nie im Gebirge verwendet! Der Gummipuffer auf der Stockspitze verhindert einen richtigen Halt!
Nordic Walking Aufsätze
Es gibt unterschiedliche Aufsätze für Nordic Walking Stöcke. Zum einen gibt es die oben erwähnten Asphalt Aufsätze, und zum anderen gibt es Gummipuffer die Aussehen wie kleine Schuhe. Gummipuffer für Nordic Walking Aufsätze sind an der Unterseite abgerundet. Dies erleichtert das schnelle Gehen, so dass Du noch mehr Geschwindigkeit aufbauen kann.

Nordic Walking Aufsätze können für unterschiedliche Outdoor Untergründe verwendet werden: Asphalt, Wiese, Kiesweg und Waldboden, wenn er nicht zu weich ist.
Schlamm Aufsätze
Schlammteller verhindern das Einsinken in Sand, Erde oder in den Matsch. Zusätzlich ist der Schlammaufsatz eine Hilfe für die Stockspitze, damit sie nicht zu tief in Geröll einsinken kann, oder in kleine Spalten rutscht und somit eingeklemmt werden könnte. Schlamm Aufsätze für Wanderstöcke haben ein Drehgewinde und werden auf die Stockspitze aufgeschraubt.

Matschteller Aufsätze für Wanderstöcke haben einen kleineren Durchmesser wie Schneeteller.
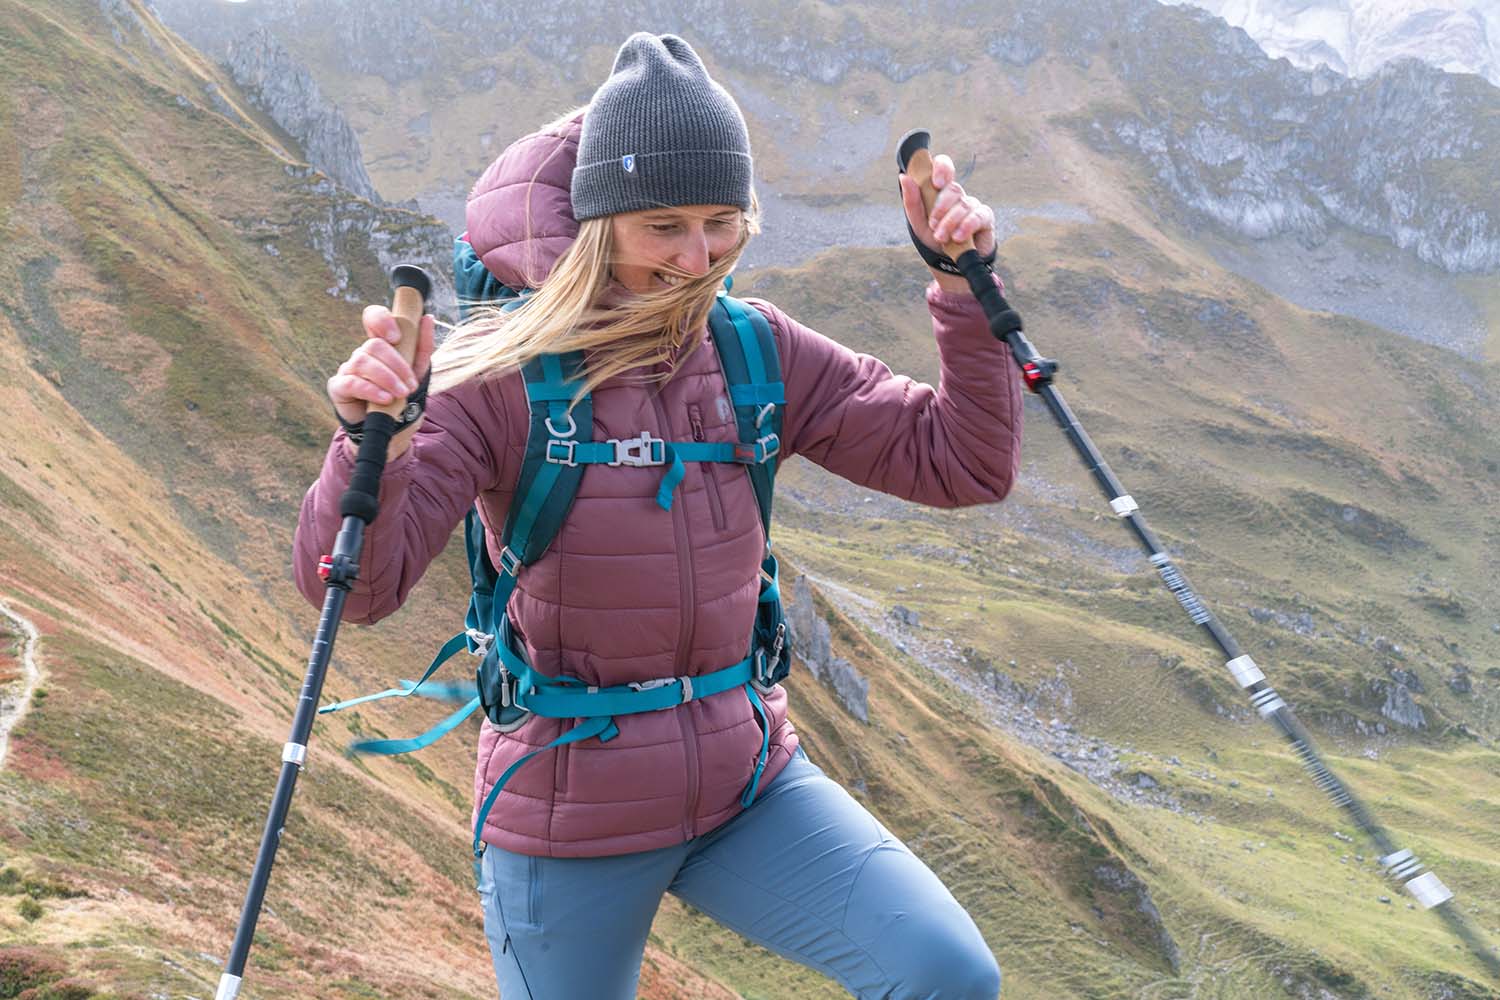
Schnee Aufsätze
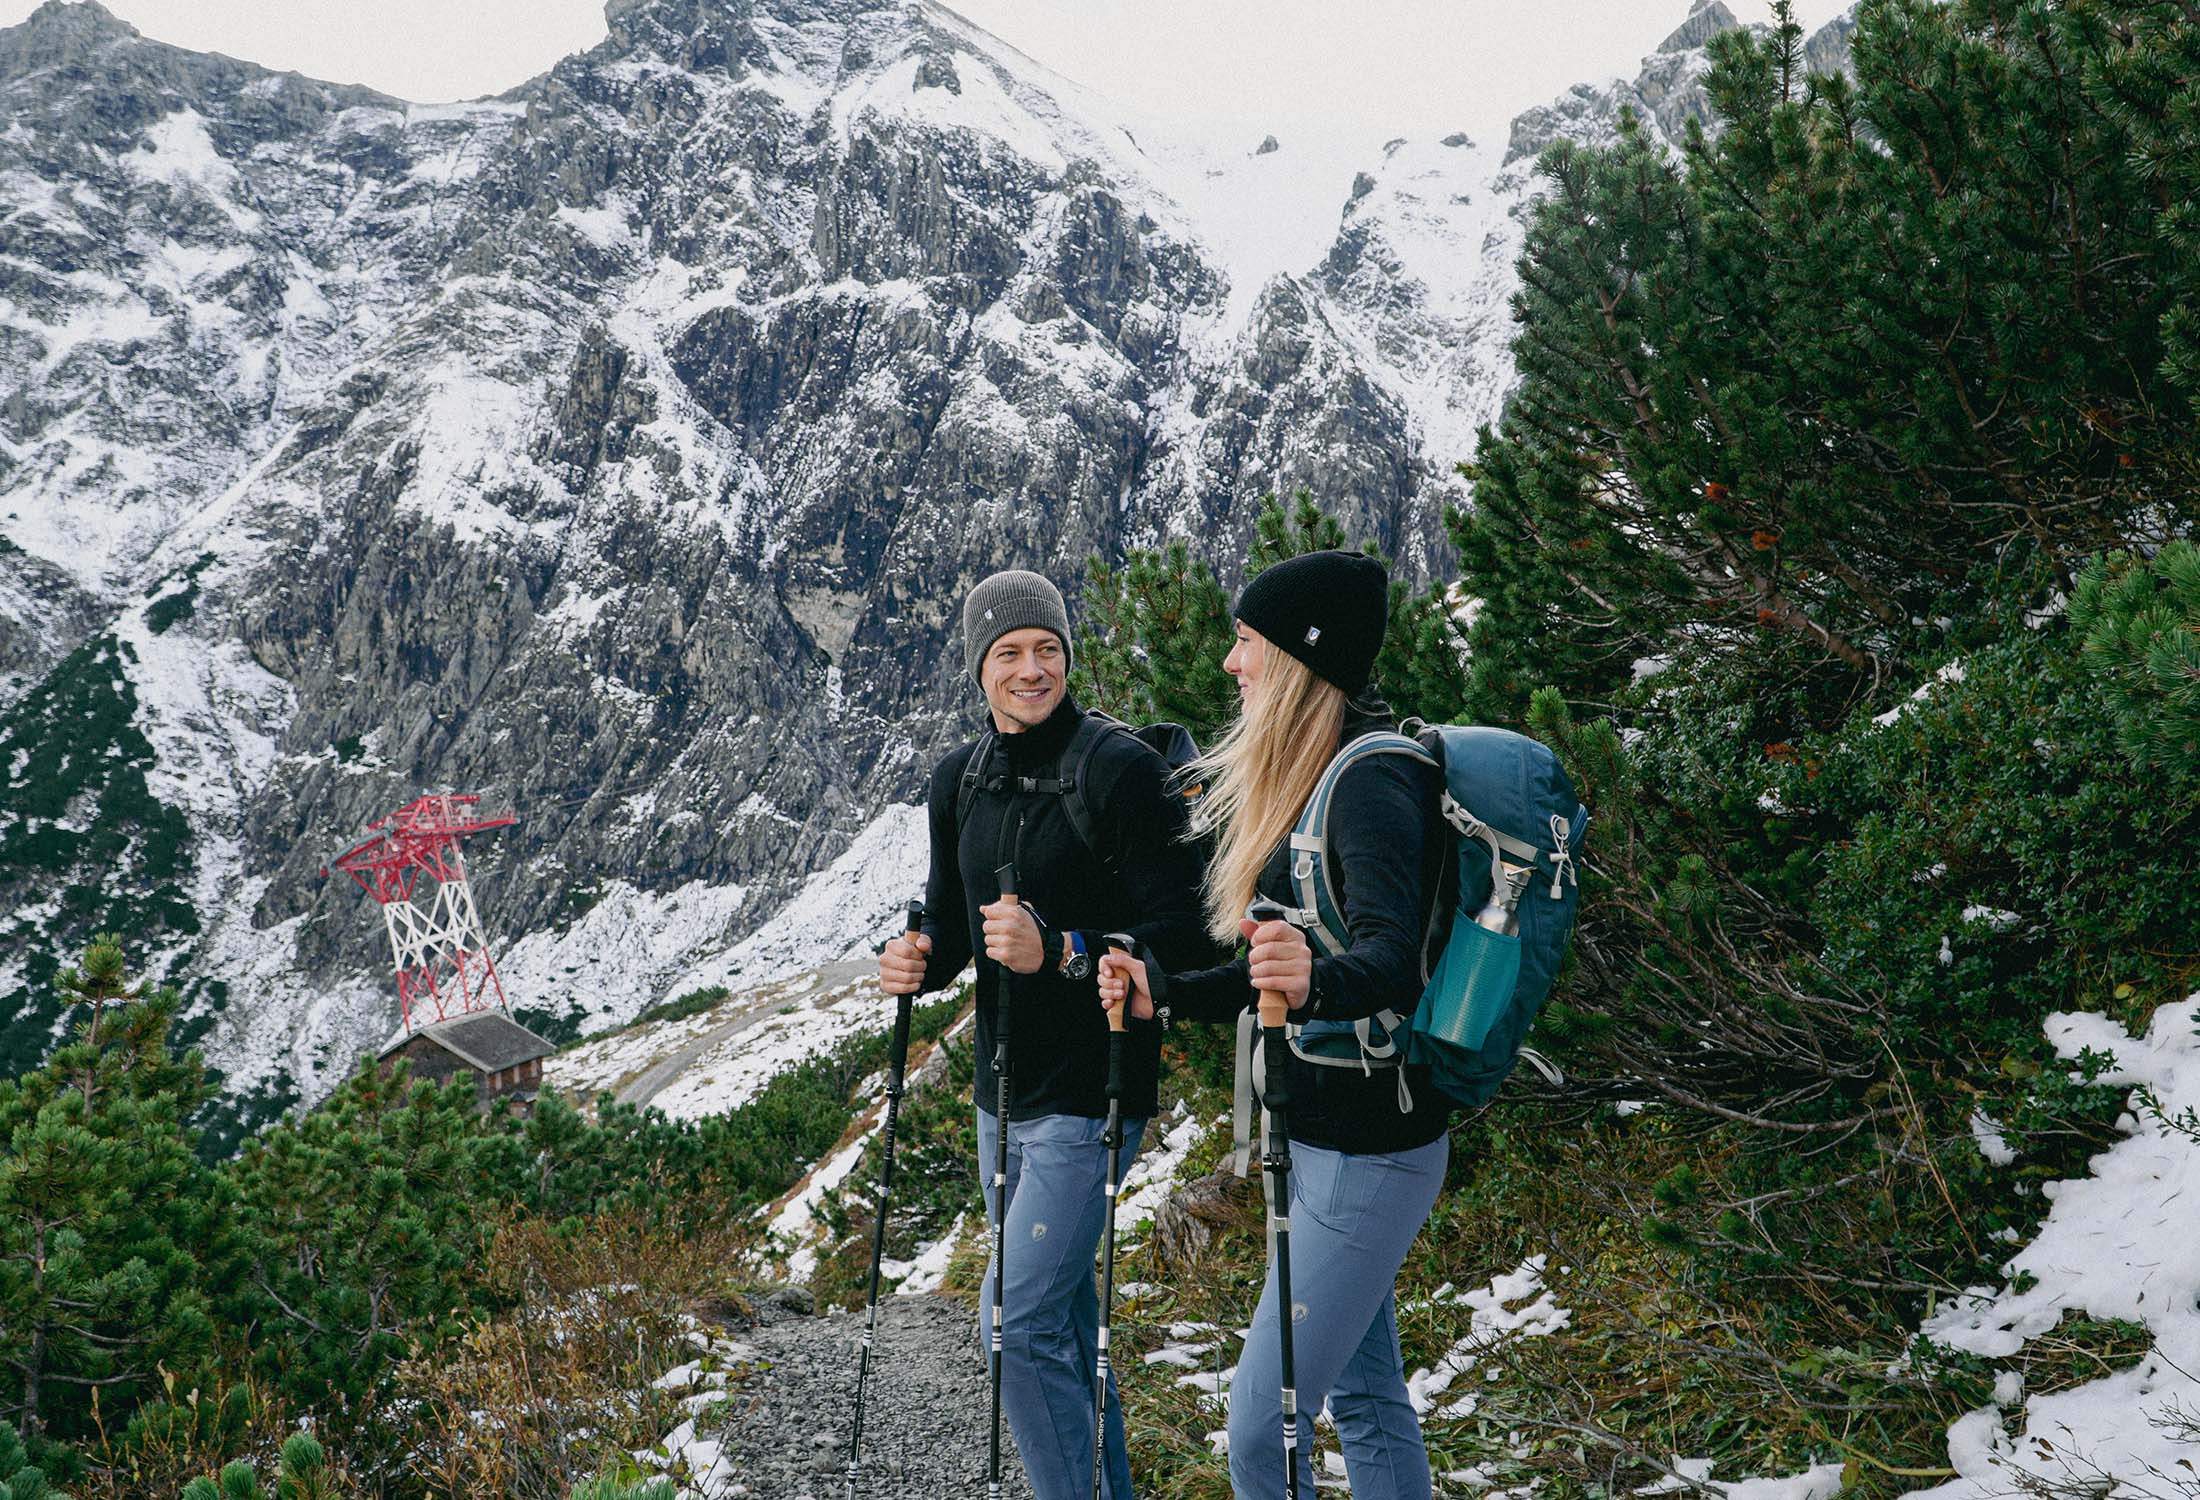
Schneeteller sind eigens für die kalte Jahreszeit gemacht. Dieser Stockaufsatz für den Winter, kann nicht nur für Spaziergänge im Schnee verwendet werden, sondern auch für das Schneeschuh-Wandern.
Vor allem im Winter werden Schneeteller für das Touren Gehen verwendet. Egal ob Skifahrer*in oder Snowboardfahrer*in, werden Dir Wanderstöcke mit Schneeteller, den Aufstieg maßgeblich erleichtern. Wenn Du Snowboarder*in bist, und Du deine Stöcke nicht für die Abfahrt verwendest, raten wir Dir zu leichten faltbaren Trekkingstöcken, die während der Abfahrt im Rucksack verstaut werden können.

Schneeteller werden wie die Schlammteller auf die Stockspitze aufgeschraubt.
Aufsatz Verwendung ohne Gummipuffer
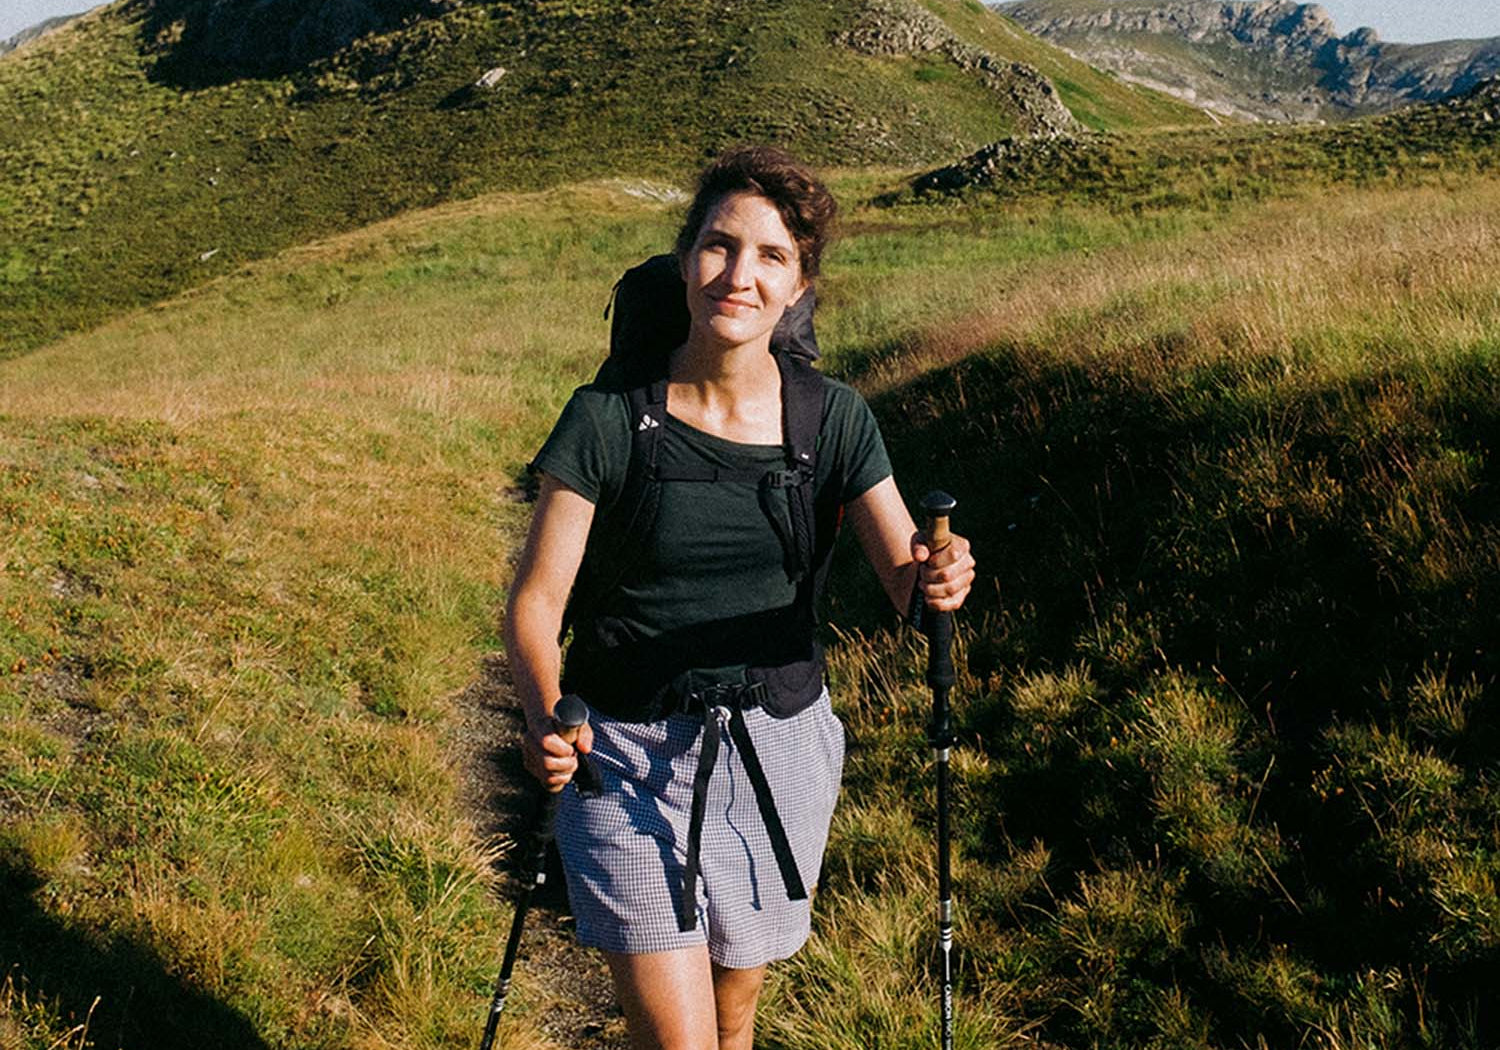
Keine Aufsätze solltest Du immer dann verwenden, wenn Du auf weichen Untergründen gehst. Dies ist bspw. der Waldboden oder im Schnee.
Hier brauchst Du keine extra Pads, da das Eindringen der Spitze deutlich mehr Halt gibt. Bei zu Weichen Böden, greifst Du wieder auf die Teller zurück, damit deine Stockspitzen nicht stecken bleiben. Bei Pulverschnee in den Du einsinken kannst, würdest Du bspw. wieder auf Telleraufsätze zurückgreifen.

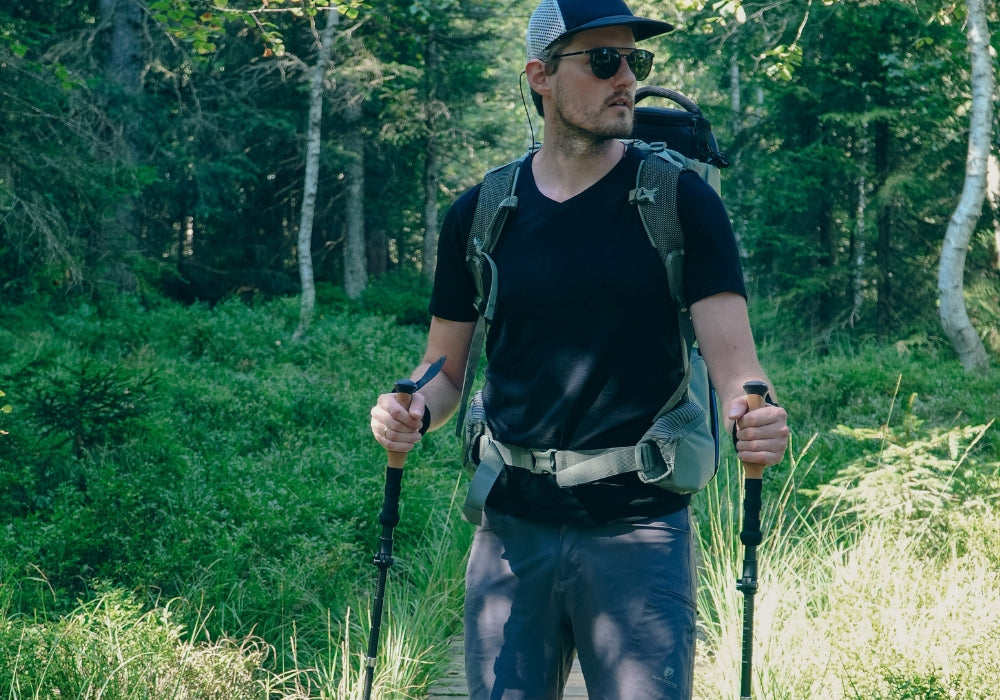
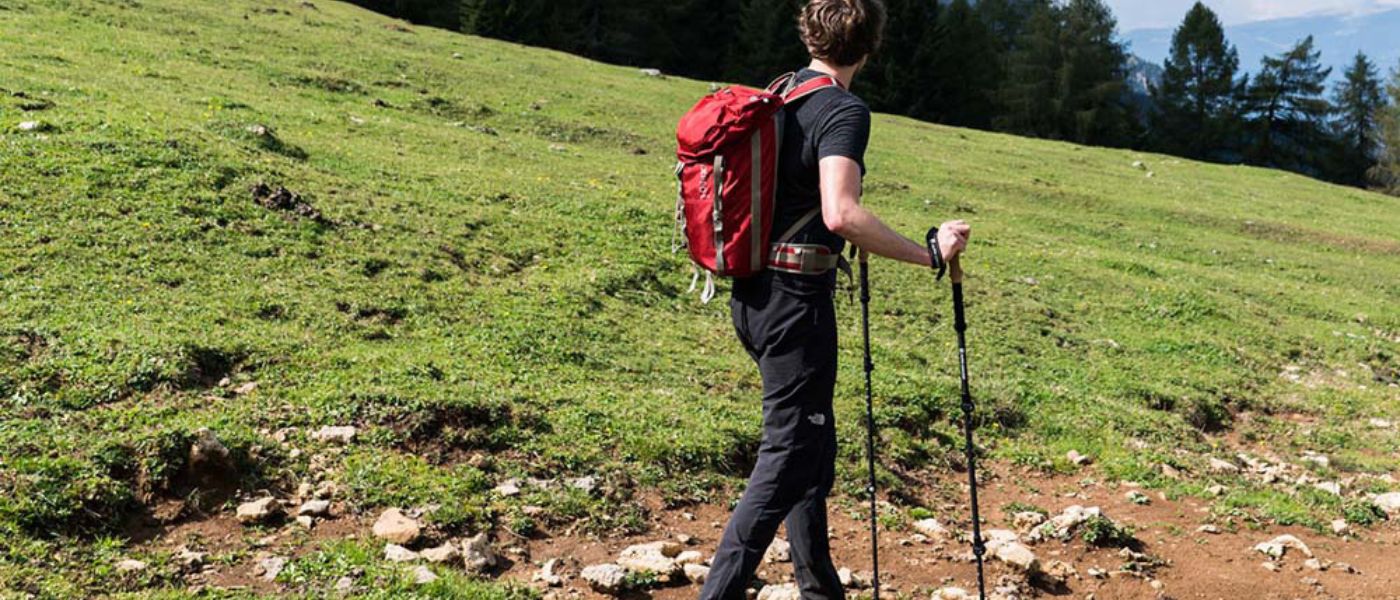
In diesem eher trockenen Terrain werden Wanderstöcke ohne Aufsatz verwendet. Die Spitze bietet genug halt. Die Wanderstöcke können nicht einsinken, und brauchen deshalb auch keinen Schlammaufsatz.
Ähnliche Blog Beiträge
Using hiking poles correctly: This is how hiking poles really make a difference
Hiking poles aren’t just for older generations. Hikers of all ages benefit from using poles. With the right walking technique, they can best support your legwork and sense of balance. Additionally, trekking poles help protect your joints.
However, there are a few points to consider when using them, which we’ll show you in the following blog post.
When should you use hiking poles? use?
Hiking poles are a valuable companion on every hike. Especially when going uphill and downhill, using poles pays off. They reduce your effort and the strain on
- Muscles,
- Tendons
- and joints.
But even in rough terrain, trekking poles give you the edge. Especially on slippery, rocky, or muddy ground, they provide you with optimal grip and prevent slipping.
Are you more of a video person? No problem, our buying guide covers the topic in detail.
Video guide Hiking poles » How to find the right hiking poles
What are the benefits of using hiking poles?
Experienced and sure-footed hikers can sometimes use poles to relieve their knees and improve balance. Still, your body should often have the chance to move freely (without poles) to train your sense of balance.
If the Telescopic hiking poles When not in use, they should rest loosely in your hand and be held in the middle. That way, they won’t get in your way.
Can hiking poles also be used when hiking in snow?
Yes! Our telescopic and folding poles come with various attachments included. The so-called snow baskets are primarily designed for use in snow. This means nothing stands in the way of a winter snow hike. Even in the other seasons, trekking poles can serve you well. The attachments can be swapped out in no time, giving you the right grip for any weather and terrain:
- Snow baskets are ideal for snow hiking.
- Asphalt tips are suitable for use on hard surfaces.
- Poles without rubber tips have proven effective on dry mountain terrain. (In very rocky areas, you can also use the mud tips to prevent sinking.)
- Mud tips are ideal for sand, soil, and mud.
- Nordic walking tips make fast walking on firm ground easier.
Proper hiking with poles: These techniques exist
As is well known, many paths lead to the goal. This also applies to trekking pole techniques. The following three techniques are used:
1. The diagonal technique:
This technique is used in moderate terrain. This mainly includes flat routes with slight inclines.
- As you are used to walking, arms and legs move in opposition.
- If your left leg is forward, the right pole is used at the same time – and vice versa.
You can apply this diagonal technique quite intuitively.

2. The double pole placement:
With the double pole technique, you are well equipped for steep terrain.
- Both poles are placed clearly in front of the body and feet.
- Then you walk through them in two to four steps.
- On steep traverses, it’s helpful to hold the poles at different heights: uphill side below the grip – downhill side you can lean on the knob.
3. The side support method:
This method is used in extremely steep terrain.
- Here you need to hold one or both poles.
- You grip the pole with the uphill hand near the tip and with the downhill hand about two-thirds down the length or at the handles.
- Then you place the tip in front of your body (to the side and about hip height) into the slope.
- The uphill arm is extended, and the body leans on that side, while the other hand presses the poles against the slope.
- You take two steps, then repeat the process.
Expert tip: When descending, you only relieve your knees with the poles if you place them parallel in front of your body. This involves leaning your upper body forward and bending your legs to then place the poles far forward and downward.
This pole placement is only done every two to three steps. On steep descents, the trekking poles should be set slightly longer.
When should trekking poles not be used?
In fall-risk rocky terrain, the poles should be stored in the Outdoor Backpack be. They absolutely do not belong on the wrists. Anyone who carries hiking poles on the outside of the Backpack attached, you should make sure the poles are properly secured. Otherwise, they can become an obstacle.
Pole Loops
The Loops of the Hiking Poles should really only be used on completely flat terrain. If your hands are in the pole loops and you trip, you’re otherwise “tied up” and can neither hold on nor support yourself.
Conclusion
When used correctly, hiking poles are a valuable support on every tour. Although the diagonal technique requires no prior knowledge and is intuitive, it shouldn’t be used in every terrain. Especially on steep terrain, you should opt for using two poles or the side support method.
FAQ
Can I Use Hiking Poles on Steep Downhill Sections?
Yes, of course you can use hiking poles downhill. Even on steep descents, hiking poles are a helpful piece of equipment. Here, it’s best to use the side support method as described above.
Use One or Two Hiking Poles?
Whether you take one or two hiking poles is up to you. For longer hikes with heavier gear, it’s generally recommended to use two poles. For shorter trips on flatter terrain, one trekking pole is perfectly fine.
How Do I Store My Hiking Poles When Not in Use?
When you don’t need your hiking poles, the best place for them is in your backpack. Telescopic poles can be collapsed with just a few simple steps.
You can fold folding hiking poles in no time. Thanks to their compact size and light weight, both models fit into any hiking backpack.
Want to Learn More About Hiking Poles? Read On Here: