Dhe idea behind trekking poles is to support footwork and balance. Trekking poles offer knee protection and balance, but there are a few points you should bear in mind when using hiking poles correctly.
When are walking poles useful?
Experienced and sure-footed walkers can use poles in places to take the strain off their knees and improve their balance. Nevertheless, the body should also have the opportunity to move freely without poles often enough to gain balance experience. When the trekking poles are not in use, they should lie loosely in the hand and be held centrally so that they do not get in the way.
Hiking poles are absolutely unsuitable for steep or exposed terrain. They can even become a deadly danger in the event of a fall.
What walking pole techniques are there?
There are three pole techniques in total:
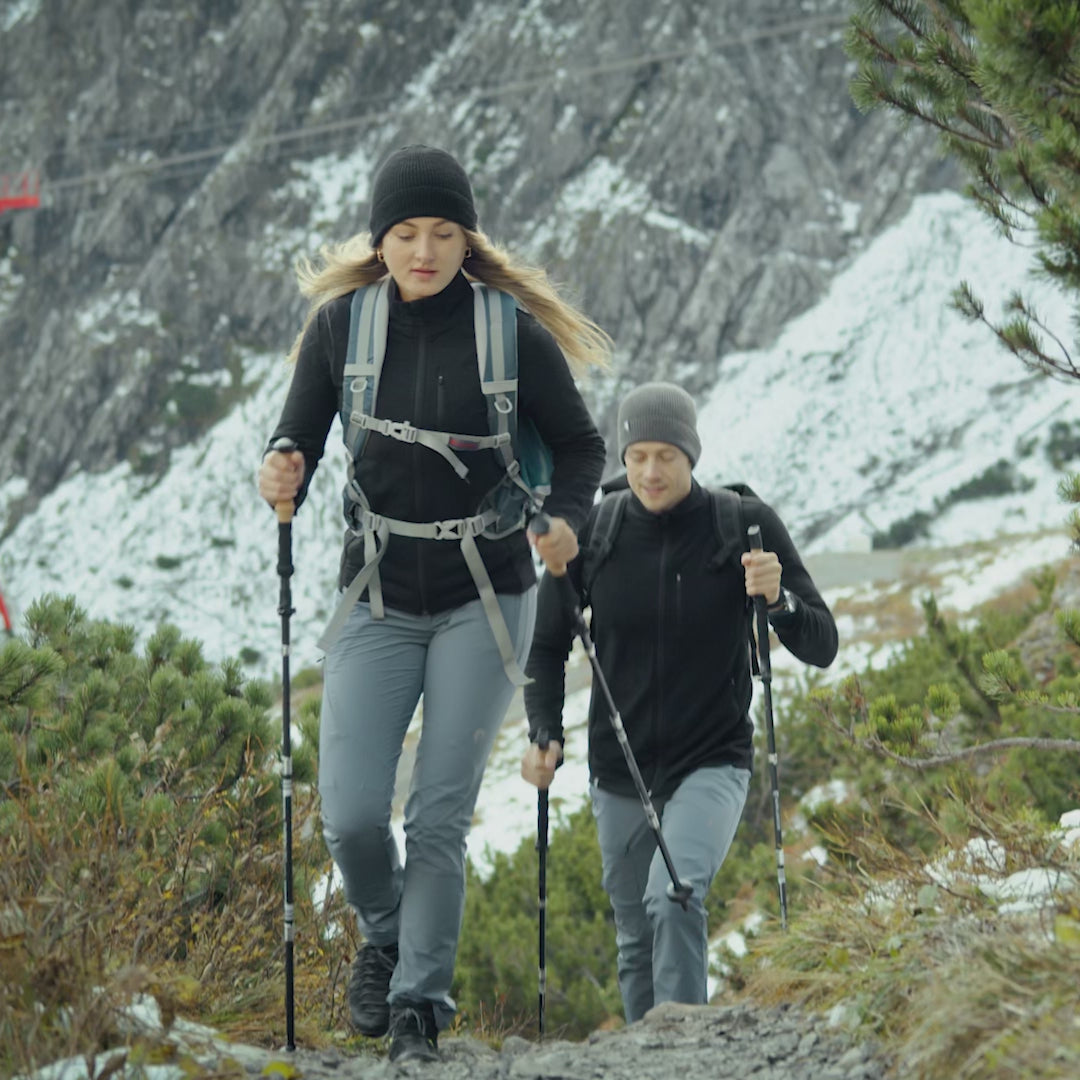
1. The diagonal technique: On less steep terrain
right pole, left leg.
2. The double pole technique: On higher steps up and down
Here, both poles are placed clearly in front of the body and feet, then you walk between them in two to four steps. On steep cross-paths, it is a good idea to hold the poles at different heights: On the uphill side below the handle, on the downhill side you can lean on the pommel.

In the double pole technique, both poles are placed in front of the body.
3. the side support method: for extremely steep terrain
You can hold one or both poles. Grip the pole with your uphill hand close to the tip and with your downhill hand approximately two thirds of the way up or at the handles. Now place the tip in front of your body to the side and at about hip height on the slope. The uphill arm is stretched out and the body is supported on this side, the other hand presses the poles against the slope. Take two steps, then repeat the whole thing.

Side support technique: Here you use the poles to support yourself sideways on the slope.
Important: When descending, the poles will only take the strain off your knees if you place them parallel in front of your body. This involves bringing your upper body forward and bending your legs in order to place the poles far forward and down.
This pole use is only done every two to three steps. On steep slopes, the walking poles must be set a little longer on the descent.
This pole insert is only done every two to three steps.
When should trekking poles not be used?
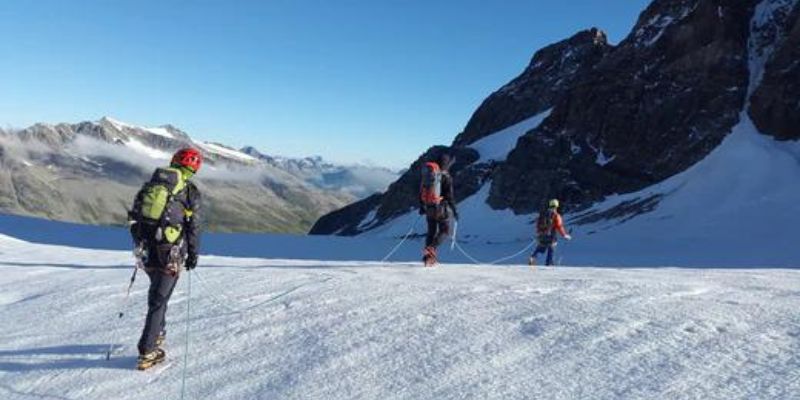
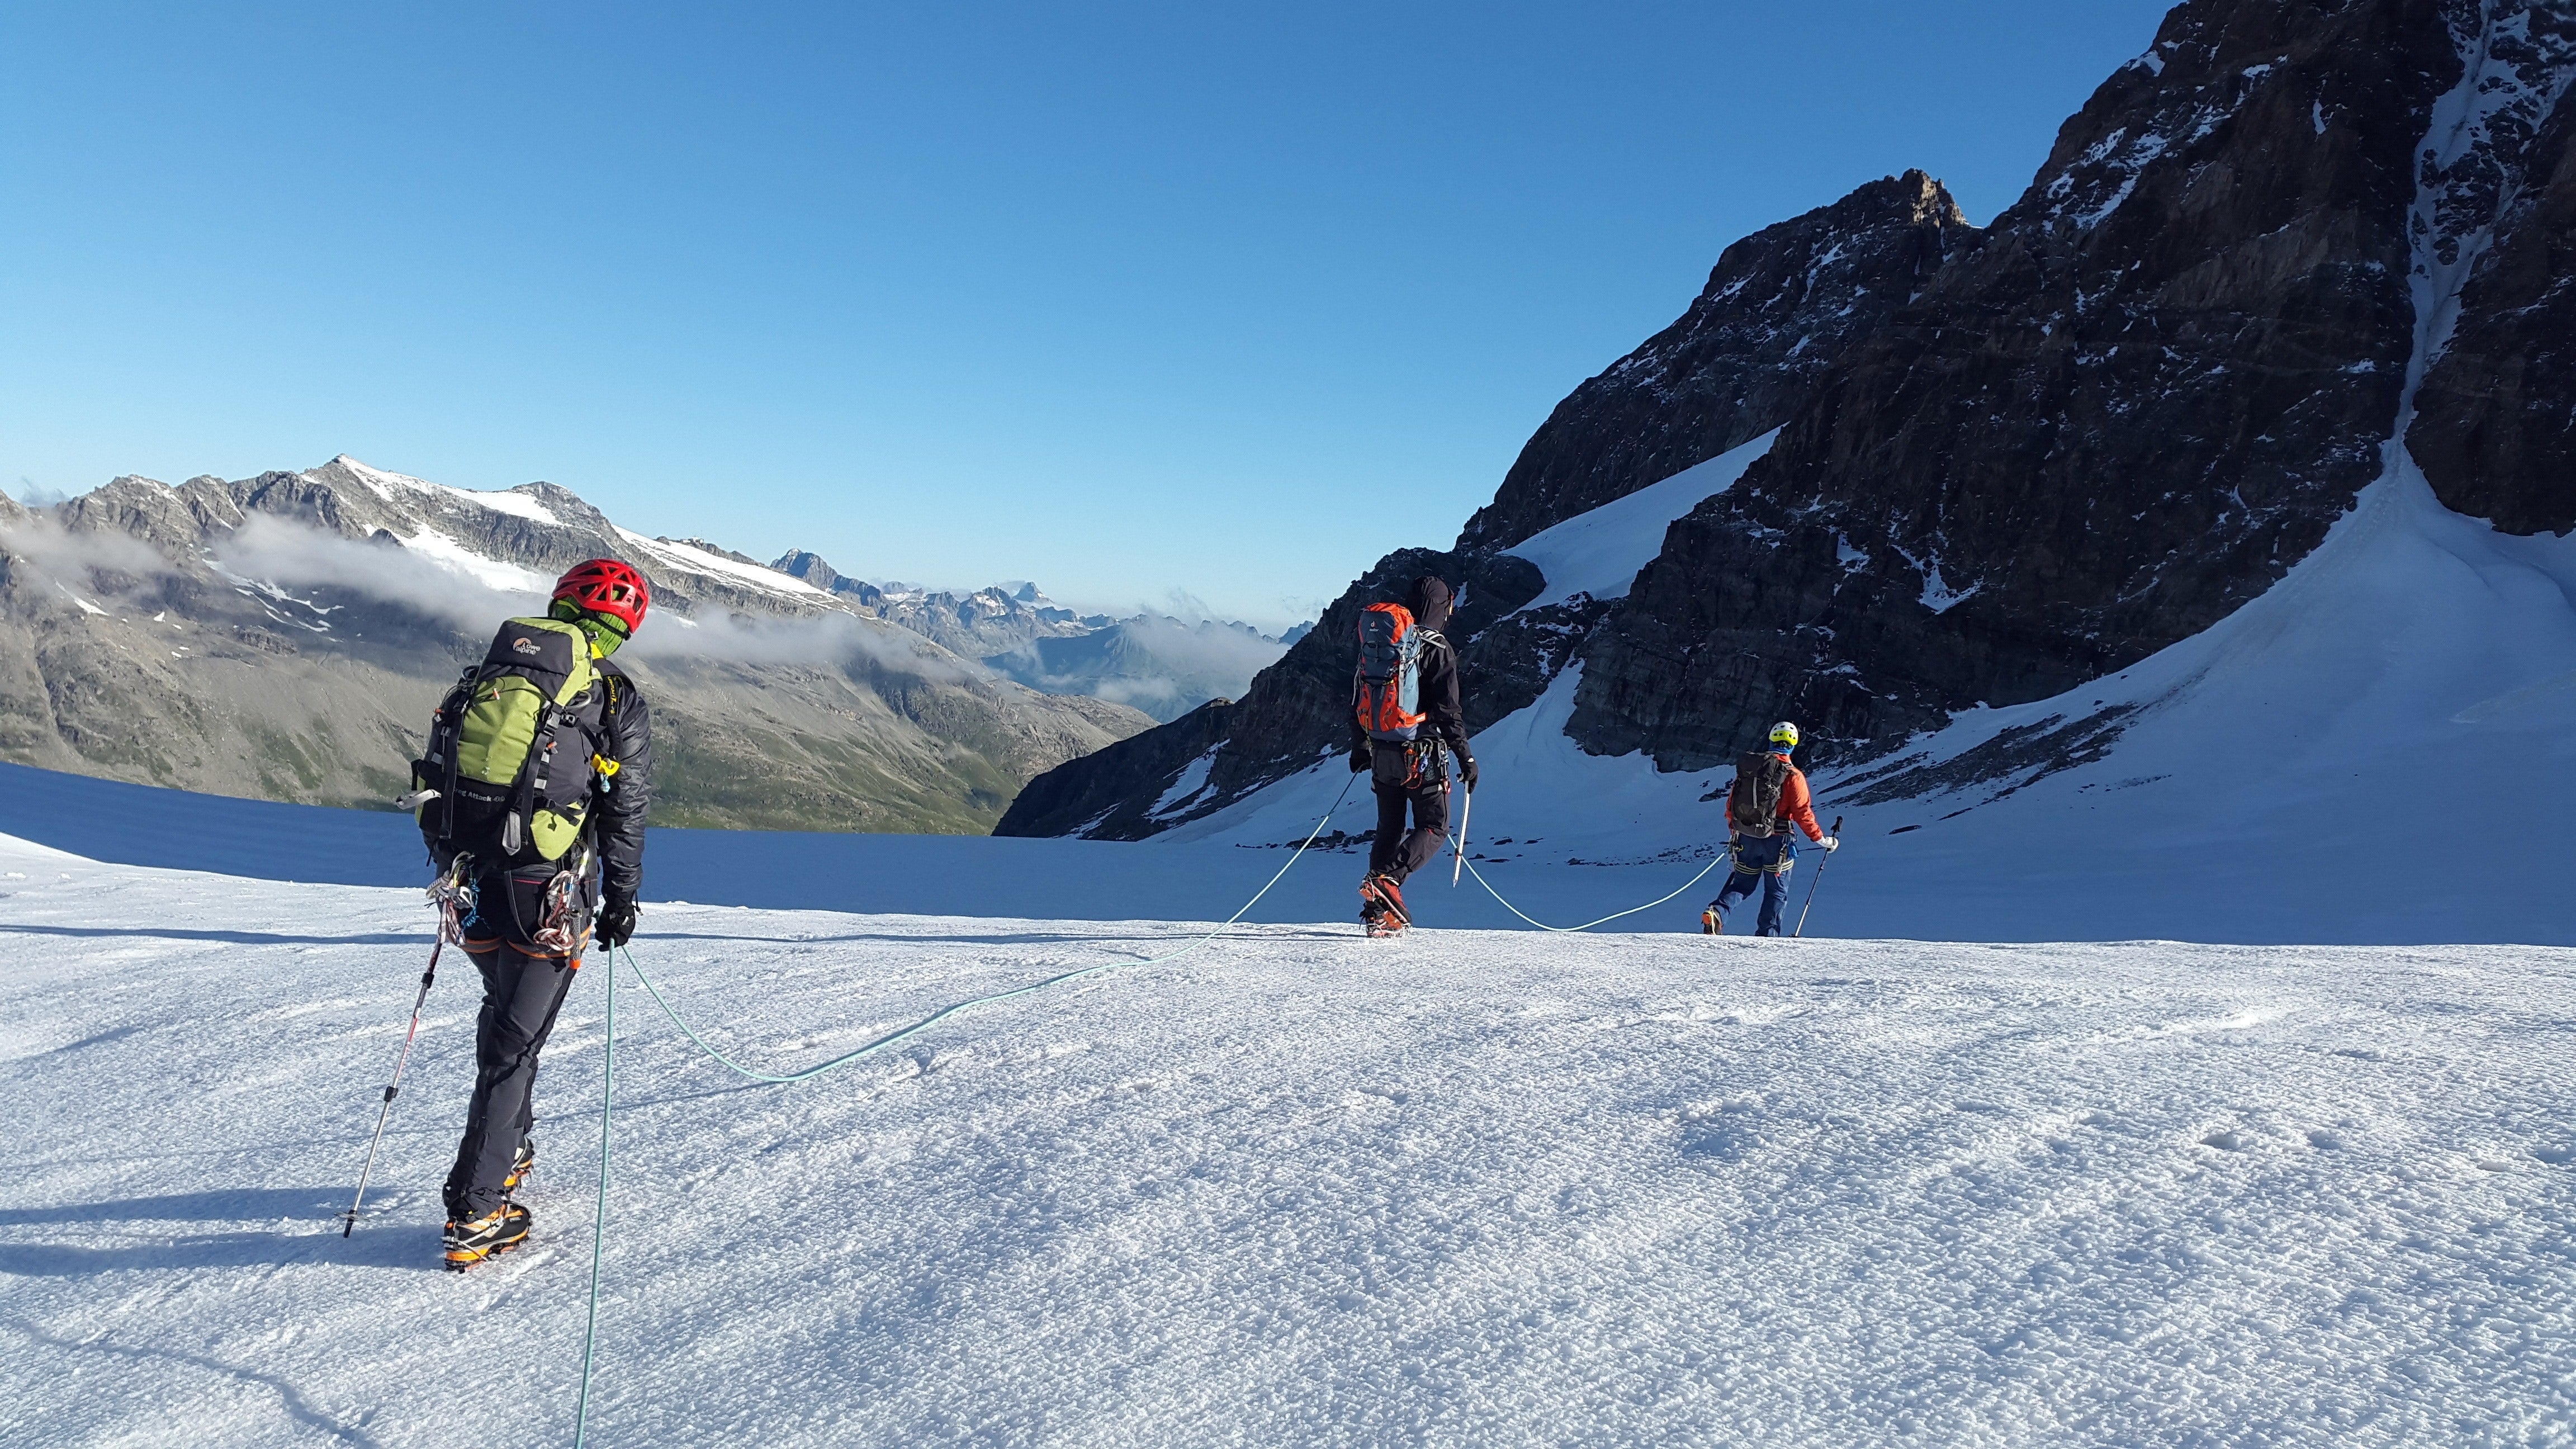
In rocky terrain where there is a risk of falling, poles should be in your rucksack. They absolutely do not belong on your wrists. If you attach hiking poles to the outside of your rucksack, you should make sure that they are attached correctly. Otherwise they can become an obstacle and get caught on rocks, for example.
Stick bows
The hiking pole loops should really only be used on completely flat terrain. If your hands are in the pole loop and you stumble, you are tied up and can neither hold on nor support yourself.

The loops can be omitted completely or included with the handle.
Related blog posts
Everything you need to know about hiking trails
The bâtons de randonnée are much more than a simple piece of cool equipment. They offer you many advantages and make your hike an absolute moment. However, certain preconceptions and false ideas persist.
Le billet de blog suivant apporte de la lumière dans les ténèbres. Apprendre:
- What are the health benefits of hiking trails?
- Comment utiliser les bâtons de randonnée
- Quels bâtons vous conviennent le mieux
- Comment ajuster les poteaux
- Quelles sont les options de transport ?
- Comment reconnaître les bons bâtons de randonnée
Are you more of the video genre? Pas de problème, nous abordons le sujet en détail dans nos conseils d'achat
Conseils vidéo sur les bâtons de randonnée " Comment trouver les bons bâtons de randonnée
Pourquoi les bâtons de randonnée sont-ils utiles ?
You've probably often been asked: "Why are hiking bikes useful? " The reasons for which someone uses hiking boots can be very different. In principle, having Bâtons de randonnée have many positive characteristics and advantages:
1. un soutien commun
Les bâtons de randonnée ont un effet soulageant
- pieds,
- Jambes,
- Genou
- et retour.
Especially when descending a slope, the mountain is very heavily loaded. By using your mountaineering boots, you will save energy, your concentration will not decrease so quickly and you will be safer during the descent.

2. brine
The majority of hiking accidents occur through glisser or trébucher. If you are also fatigued and your concentration diminishes, the risk of falling is even greater.
The randonnée bâtons are like extensions of your chest that support you and offer you better adherence. This gives you additional stability and improves your sense of balance.
3. posture et respiration
The randonneurs who use the bâtons de randonnée can simultaneously improve their posture. Si vous avez une grave... En plein air Sac à dos If you put it on your back, the straps support your vertical posture. Cela soulage votre colonne vertébrale de la meilleure façon possible.
Bâtons de randonnée à savoir provoquer l'entrée posture droite. It is almost impossible not to walk out with the hiking boots.
- Vos épaules ne peuvent pas " s'effondrer " devant.
- De plus, la posture droite favorise la respiration. Vous pouvez respirer plus facilement.
Expert advice: Conscious breathing is essential in endurance sports so that you can stay focused for longer, avoid fatigue and thus remain accident-free.
4. security
As you can see from the previous points, the hiking boots help you in several ways. Vous pouvez rester sans accident plus longtemps en...
- Vos articulations soutenues,
- favoriser votre équilibre,
- Vous n'exercez pas de pression supplémentaire sur votre posture, mais favorisez plutôt une posture saine.
Generally speaking, this aid to walking has a positive effect on your energy balance, so you can really benefit from walking during your hikes in the mountains with the bikes.
5th Marche nordique
Le mouvement dynamique de la marche nordique
- fatigue le cœur et la circulation,
- stimulates metabolism,
- renforce les muscles et les os
- et s'attaque aux kilos en trop.
If you balance the alpine bikes properly from front to back, you will also strengthen your chest, legs and back.

Instructions pas à pas : régler correctement les bâtons de randonnée

Étape 1 : Choisir les bons bâtons de randonnée
Before adjusting your hiking boots, it is important to choose the model that best suits your needs. Pay attention to the length, the material and the poles of the shoes to ensure that they are adapted to your size and style of hiking.

Étape 2 : Déterminez la longueur optimale
LeBâtonsde randonnée ils devraientAdaptéau terrain devenir. The boots should be slightly longer on the descent and slightly longer on the ascent. However, as a general rule, the alpine towers must be fixed for as long as possible.
- que la main puisse facilement saisir la poignée,
- tandis que le bras est à angle droit par rapport au sol.
- L'avant-bras is parallèle au sol et plié au level du coude.
Quels bâtons de randonnée pour quelle morphologie ?
Many companies offer direct lines to determine the length adapted to the height. However, the way in which a building is adjusted can be very individual. As described below, it is important that the base adjustment is at the right angle.
Quelle doit être la longueur des bâtons de marche nordique ?
Since this question is often specific to the northern buildings, we will address it separately here.
- The distance between the belt and your body must be around half the length of a breast.
- As soon as your chest is tilted at an angle of 90 degrees, the bâtons must end at the level of your forefoot.
- The principle of 90 degrees is exactly the same as that of the classic "bâtons de randonnée".
- There is also a method for calculating the length. To do this, multiply your taille in centimètres by 0.7. The result is the length of the building.

Étape 3 : Ajustez la hauteur des bâtons de randonnée
Recherchez le mécanisme de réglage sur vos bâtons de randonnée. It can be a turning wheel, a pliage system or a pressure wheel. Desserrez le fermoir pour ajuster les bâtons. Tirez ou poussez les tiges télescopiques pour régler la hauteur souhaitée. Make sure that the marks on the parts correspond to ensure that the two parts are positioned at the same height.

Étape 4 : Ajustez les dragonnes
The hiking boots are generally supplied with straps that allow you to hold the boots without tightening them. Glissez votre main dans la boucle et ajustez la taille de la boucle pour qu'elle s'adapte confortablement. You should adjust the sling in such a way that it can be easily slid inside and outside without being too loose or too tight.

Étape 5 : Vérifiez les conseils
Check the points of your hiking boots to ensure that they are intact and sufficiently flexible to offer good adhesion on various surfaces. If necessary, you can replace or replace the used fasteners.

Étape 6 : Test de fonctionnement et réglage fin
Before setting off for a longer hike with the hiking boots that you have prepared, do a little test. Take a few steps and check that the length and straps are comfortable and comfortable. Adjust the parameters if necessary to obtain an optimal hiking experience.
Comment bien marcher avec des bâtons de randonnée ?
When hiking, we often start walking without thinking about our walking technique. This is not surprising at all. After all, our functioning is automatic.
However, if you want to exploit the full potential of your mountain bikes, you should pay attention to a few points when using them:
1. ajustez correctement la taille
First of all, adjust your hiking boots to the right size. Consult our instructions step by step.
2. tenez correctement la poignée
A common error is a poor pressure, where the ball is often simply enfilée from the top. Vous devez passer correctement la boucle par le bas afin de pouvoir exercer une pression sur le bâton même avec une main ouverte ou lâche.
This allows you to open your hands during the backswing without sacrificing any comfort.
Conseil d'expert : Pour éviter que vos mains n'aient des crampes, vous devez vous assurer de garder votre prise lâche lorsque vous effectuez le swing.
Important : La boucle ne doit être utilisée que sur un terrain relativement plat. If you tombez et vous emmêlez, vous ne pourrez pas saisir la poignée ou vous soutenir. The risk of injury is therefore much higher.
3. posture correcte
In order to achieve the best possible effect, it is advisable to always hold the bales close to your body. On terrain plat, the bats are positioned diagonally in relation to the jowls and are used alternately, according to the natural movement pattern.
4. marcher sur un terrain escarpé
On the ground, two-storey use is the most private option. During assembly and disassembly, the frames are generally positioned on both sides and you can easily move them with your two feet. This guarantees stability and support.
5. descendez
The double floor technique is also the best choice in descente. You don't need to push the points of the bales into the terrain, but rather to secure or hold the pole in order to be able to realize a specific technique. In this way, you do not slip and avoid chutes.
6. traversées
During the croisement, the poles do not need to be adjusted differently. It is sufficient to hold the mounting bracket under the poignée and, from the descente side, to set the poignée as a bouton par le haut.
7. terrain et traversées très raides
Vous devez traverser des terrains très escarpés et effectuer des traversées sans utiliser de boucles. The bâton must be used "only" as a support. There is also the possibility of using a bâton on two hands.
"It's an old-fashioned method, as alpinists used to do back then. According to Wolfgang Loacker, guide de montagne et de ski expérimenté à Montafon."
In principle, you can only go off-road if you are sufficiently fit and experienced, or if you are accompanied by an expert.
Fixez des bâtons pliants au sac à dos
On certain stretches or in the buses and trains, you don't need footbridges. Flat shoes ont ici un avantage décisif.
They can be folded into a single load and are extremely easy to transport thanks to their small size and low weight. Here's what you need to know about transporting your randonnée bikes:
Les bâtons dans le sac à dos
Idéalement, vous ne devez attacher aucun équipement à l'extérieur du sac à dos.
"It's safer to keep your hiking boots in your backpack. On the one hand, they can easily be lost and in the event of a chute, the risk of injury is higher," explains Wolfgang Loacker, mountain and ski guide from Austria.
In addition, hiking in the mountains is done with the bag à dos hiking packs, which are more difficult and more dangerous. The weight tends to go uphill and downhill. This puts your lower back to the test and demands more strength.
Le conseil sur le sac à dos
The fixation option depends a lot on your pack à dos. In the majority of cases, trekking and randonnée packs à dos have straps and cords that allow you to insert and remove the bags.
Pour les boucles (la pointe) est insérée en bas. La petite boucle est utilisée pour les bâtons sans plaques, et la grande boucle est utilisée pour les bâtons avec plaques.
Les plaques generally prevent the points of the bâtons from slipping. But you can Plaque de bâton can also be rejected in just a few steps.
Sangles de compression
Les sangles de compression sont pour la plupart des boucles situées à droite ou à gauche du sac à dos qui peuvent resserrées. The hiking boots are therefore closed and tightened. This means that your bags will not swing forward and will rest securely and safely on your backpack.
Velcro and serre-câbles
An alternative is to use external Velcro attachments and cable straps to attach the hiking bags to your backpack. These methods require that you already have an existing system on your bag à dos where you can attach your Velcro external or your cable attachments. In particular, the Velcro method is only for transport adaptation.
Comment transporter des bâtons de randonnée dans un avion ?
The randonnée or trekking bikes are not authorized in the main bags. This also applies to telescope Bâtons de randonnéewhich can be carried. This is because hiking or trekking bikes are considered dangerous objects at safety checkpoints, as they can potentially be used as weapons.
Hiking boots can only be loaded in registered bags. The pliable or telescopic hiking boots are an advantage here. Ceux-ci peuvent facilement être rangés dans une valise ou un sac à dos. There are no additional costs to pay and the case can be unpacked for storage.
À bâtons non pliables il faut en avoir un frais supplémentaires doit être payé car c'est un bagage volumineux et ce type de bâtons ne rentre pas dans la valise. The only exception to main bags concerns medical aids such as quills or cannulas if they are necessary for a medical reason.
Quelle astuce pour quelle surface ?
During your visit, you will often be confronted with different surfaces. That's why our bâtons de randonnée are also supplied with various accessories.
- Les accessoires pour asphalte sont particulièrement adaptés à une utilisation sur des surfaces dures. They protect the metal point of the walkway from inutile abrasion.
- Pour une utilisation en montagne, vous devez utiliser vos bâtons sans attache supplémentaire.
- Unless you are hiking on the bumps. Nous vous recommandons de visser ici les fixations de boue. They will prevent the naufrage. As their name indicates, you can also use them in the ground, on the ground and on the sand.
Les accessoires de marche nordique inclus vous permettent de marcher rapidement et d'augmenter votre vitesse plus facilement.
Puis-je marcher sur la neige et la glace avec des bâtons de randonnée ?
Oui! Thanks to the included snow plates, you can also use your hiking boots in winter. The accessories are ideal for use on snow. If you want to traverse snow-covered passages, you can use the pointe without an embout. This offers you maximum support.

Conclusion : Quels sont les bons bâtons de randonnée ?
Your personal requirements come first. This is the first indication of the way in which you should choose your bikes so that they become a "good" bike for you. The size and weight will help you in this respect. When it comes to good hiking boots, the second priority must always be the quality/price ratio. Comparisons and experience reports can be useful here.
If you are not sure of the occasions for which you will be using the bâtons, it is advisable not to make any purchases that are too specific. However, some of the bâtonsquefor several fields of application can be used for purchasing.
However, it's important to choose the right frame depending on the use for which it is intended. If you mainly need a hut for trekking in the open country, an aluminum telescopic hut should suffice.
However, if you also want to hike for several days or in the mountains, the pliable aluminum or carbon fiber hikes are recommended. There is no clear answer as to what constitutes a good hiking boot and what does not.
If it has been used and manipulated incorrectly, the cheapest and lightest carbon brick will be of no use to you. It is much more important to take care of the material and to know your own needs in order to choose an adapted clay.
FAQ on the subject of bâtons de randonnée :
Dois-je choisir des bâtons de randonnée fixes ou télescopiques ?
Be that as it may, it is not possible to answer this question in general terms. The use of the different models is partly a question of taste. On the other hand, it also depends on the field of application. If you appreciate the light weight and small size, you should choose the telescopic trekking poles.
They are installed and ready to be used in no time at all. If, on the other hand, you appreciate the rigidity and the fact that you need a lot of stakes, then solid hiking stakes are more suitable.
Mes bâtons de randonnée ne sont plus détectés : que faire ?
If your hikers' bikes can no longer be locked, you can consider several possible solutions:
Checkthe locks: Make sure that the locks or pins of the hikers' bikes are properly locked. Sometimes, they may be damaged or may not lock properly.
Nettoyer les bâtons : Salt, salty or humid conditions can affect the mechanisms of your hiking boots. Nettoyez soigneusement les poteaux pour vous assurer qu'ils fonctionnent correctement.
Graisser les fixations : Si les loquets sont bloqués ou difficiles à déplacer, vous pouvez appliquer un peu de lubrifiant ou un spray de silicone sur les mécanismes pour les faire bouger à nouveau en douceur.
Comment nettoyer mes bâtons de randonnée ?
As long as they are properly treated and worn, hiking boots can be a reliable companion for many years. If your hiking boots are worn, you should adjust them to their full length and clean them with a clean chiffon. This also applies if your shoes come into contact with salt or water.
Make sure that the salt does not penetrate into the various segments, as this could impair the function. If you want to give your hiking boots a longer break, make sure you store them in a safe and clean place. A humid sunroom or garage is not suitable.


