25. Januar 2023
Erreichung neuer Höhen: Wandern in Garmisch rund um und auf die Zugspitze
Teil 1 unserer neuen Outdoor-Blog-Serie 'Die schönsten Wanderungen'

Die Region um die Zugspitze bietet das ganze Jahr über eine Vielzahl von Wandermöglichkeiten mit unterschiedlichen Schwierigkeitsgraden durch wilde und unberührte Landschaften.
Was gibt es Schöneres, als die Tage zu nutzen, um die Natur zu erkunden und die Schönheit der Berge zu genießen? Wir haben uns entschlossen, eine neue Outdoor-Blog-Serie zu starten, in der wir euch die schönsten Wanderungen in Deutschland, Österreich und der Schweiz vorstellen werden. In unseren Outdoor Blog Beiträgen werden wir euch Informationen über die verschiedenen Wanderwege, die Aussicht, die Schwierigkeitsgrade und alles, was man für eine erfolgreiche Wanderung braucht erörtern. Freut euch auf atemberaubende Landschaften und lasst euch inspirieren. Folge uns auf alpinloacker.com oder melde dich für unseren Newsletter an, um keine der kommenden Blog-Posts zu verpassen.
Den Anfang machen wir im bayerischen Garmisch-Partenkirchen. Die Zugspitzregion mit Deutschlands höchstem Berg ist ein Erlebnis für die Sinne und verfügt über 300 Kilometer Wanderwege. Mit nur circa einer Fahrstunde von München entfernt ist es ein beliebtes Reiseziel im Dreiländereck und ebenso gut erreichbar mit Bus oder Bahn. Ob erfahrener Bergsteiger, Kletterhang-Liebhaber, Familienausflug oder Trailrunning, in der Bergwelt rund um Garmisch-Partenkirchen findet jeder eine Wanderung nach seinem Geschmack. Die Zugspitze mit 2.962m ist ein Muss für jeden Gipfelstürmer und mit ein paar Tipps und Tricks auch für Anfänger zu schaffen. Wer nur die atemberaubende Aussicht genießen will, lässt sich von der Zugspitzbahn hoch fahren. Da es in der Umgebung der Zugspitze keine Berge von vergleichbarer Höhe gibt, hast du die Möglichkeit vier Länder von dort aus zu entdecken: Deutschland, Italien, Österreich, und die Schweiz. Einige der auffälligsten Gipfel in der Nähe sind der Großglockner mit 3.798 Metern, die Wildspitze mit 3.768 Metern, der Ortler mit 3.905 Metern und der Piz Bernina mit 4.049 Metern.

Die Zugspitze selber ist mit 2.962m Deutschlands höchster Berg und setzt eine gewisse Erfahrung, sowie Trittsicherheit voraus.
Leichte Wanderwege mit tollen Aussichten für die ganze Familie
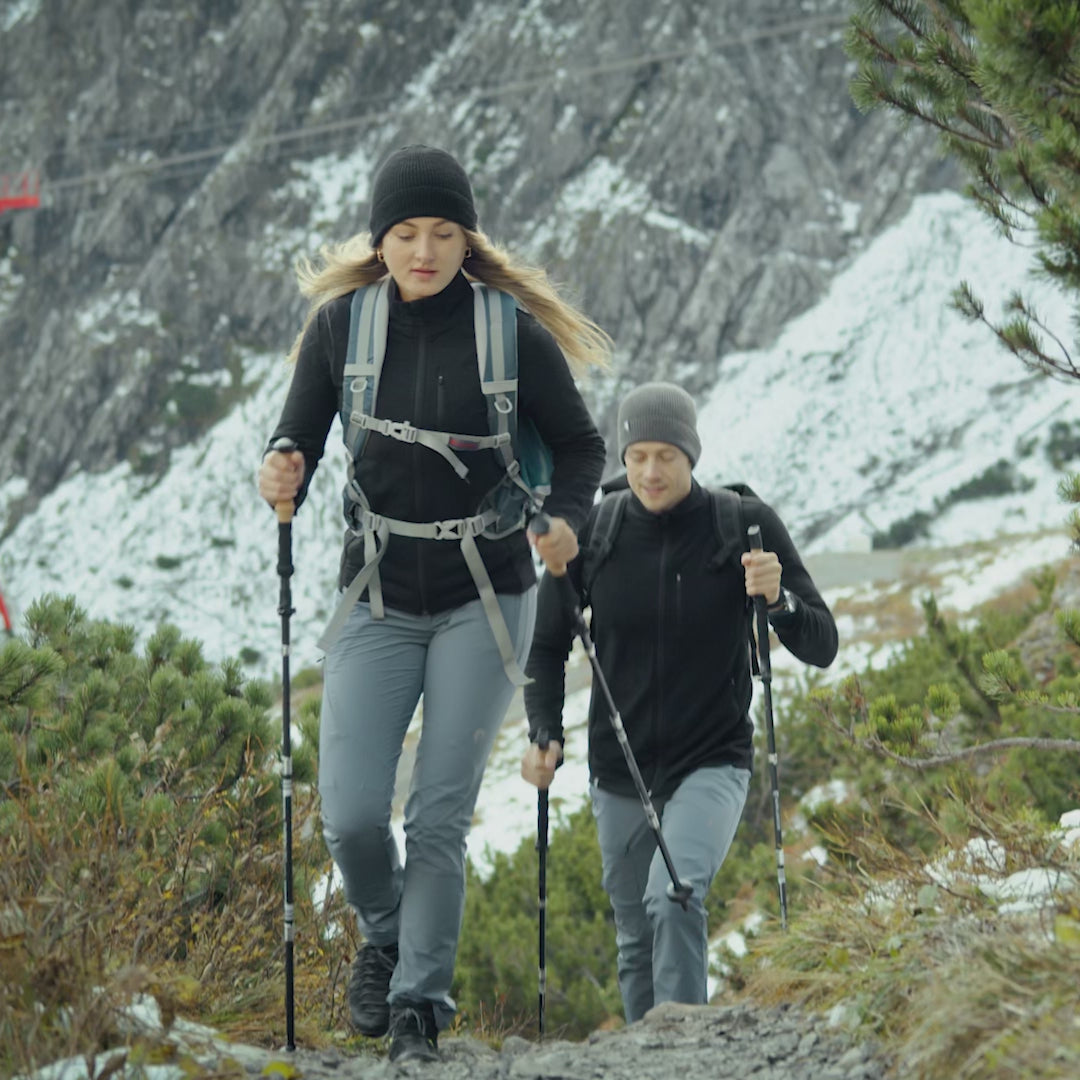
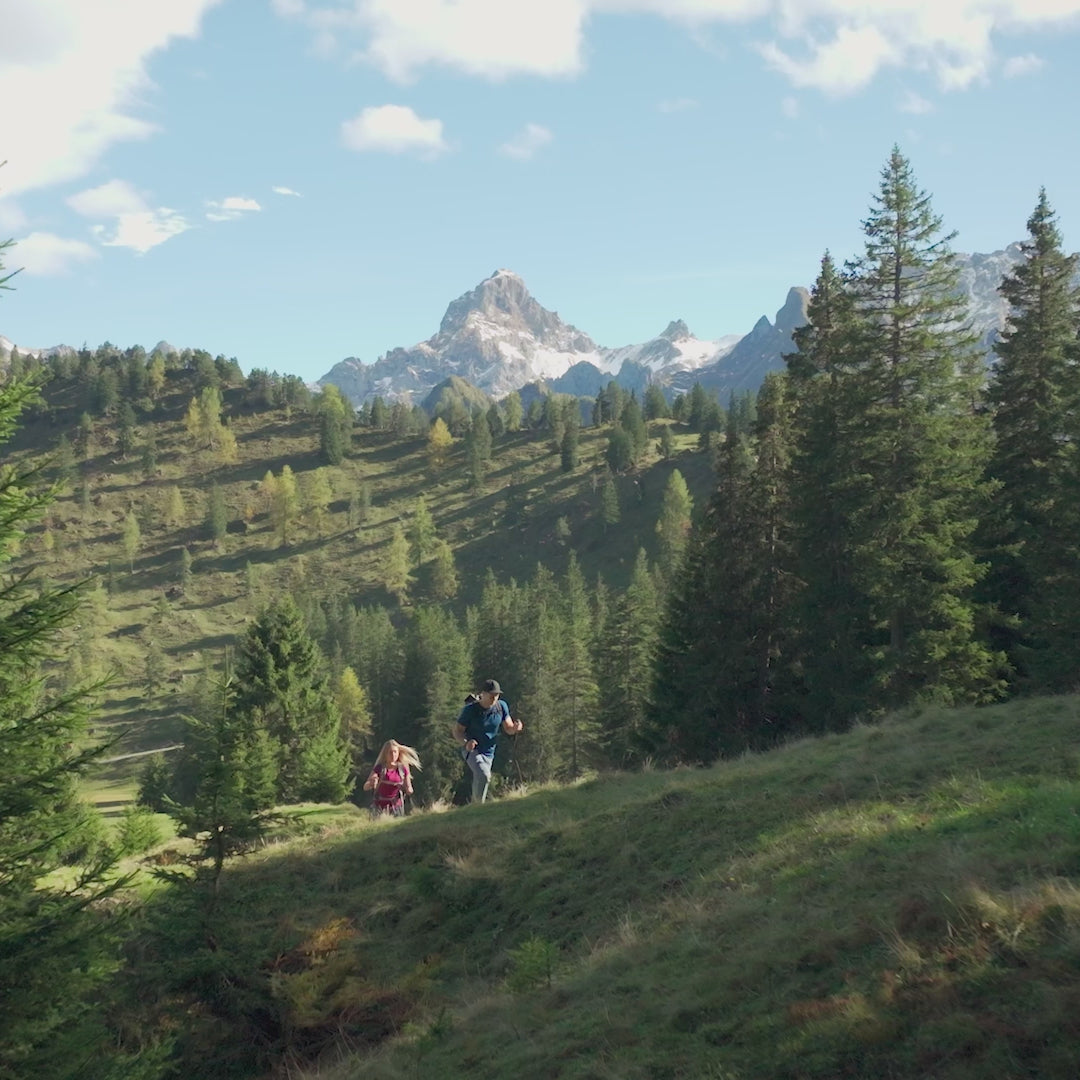
Eine besonders beliebte Wahl für Anfänger und Familien sind die vielen, leichten Wanderungen in der Region. Ein Highlight ist definitiv die Besteigung des Wank Berges (Höhenmeter: ca. 1100 hm - Auf- & Abstieg). Er bietet eine atemberaubende Aussicht auf die Bergketten und Zugspitze, sowie auf die berühmte Olympia-Skisprungschanze. Einkehren lässt sich wunderbar in der Sonnenalm oder im Wankhaus. Der Aufstieg kann teils etwas anstrengend sein - hier können Wanderstöcke Abhilfe schaffen. Die Route lässt sich dank der Mittelstationen ebenso je nach Belieben abkürzen. Für die ganz Kleinen eignet es sich, die Wankbahn hochzunehmen und gemütlich runter zu wandern.
Ein ebenso beliebtes Ziel für leichte Wanderungen in Garmisch ist der Eibsee - ein malerischer See mit herrlicher Aussicht auf die Zugspitze. Die perfekte Rundwanderung inklusive Badespaß im Frühling, Sommer und Herbst. Im Winter ist die Schlittenwanderung rund um den See bei Familien sehr beliebt - jedoch kann es teilweise zu vereisten Abschnitten kommen. Hier empfehlen sich Gamaschen und Grödel, welche vor nassen Socken und Ausrutschen schützen.
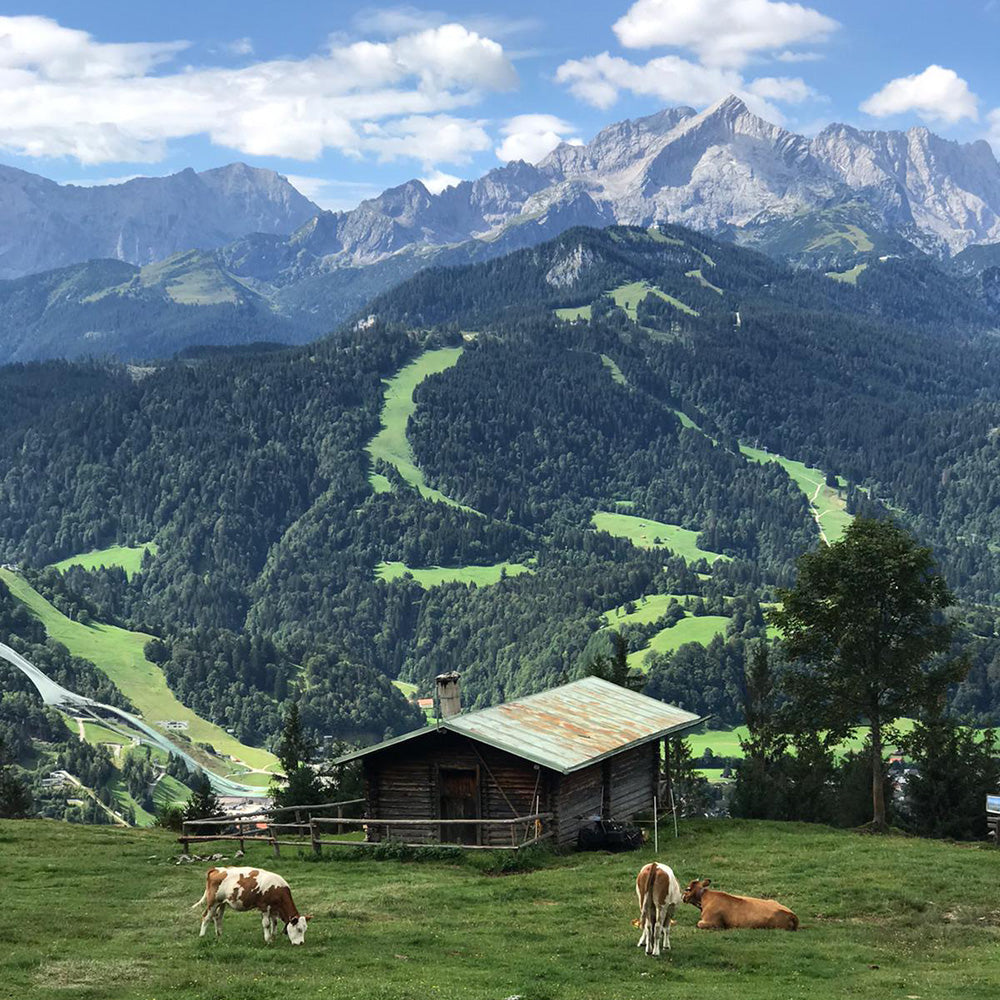
Vom Wank Berg aus hat man nach einer leichten Wanderung einen wunderschönen Ausblick auf die Zugspitz Region und die Olympia Sprungschanze
Ein weiteres Highlight ist ein Besuch der Partnachklamm. Eine beeindruckende Schlucht mit rauschendem Gebirgsbach und spektakulären Felsformationen. Der Weg durch die Klamm ist gut ausgebaut und führt durch enge Passagen und über Holzbrücken. Die Wanderung zur Partnachklamm beginnt am Olympiastadion und verläuft entlang des Flusses Partnach bis zur Talstation der Graseck-Seilbahn. Ein asphaltierter Pfad führt dann weiter zum Eingang der Klamm und entlang des Flusses über Brücken, Tunnel und Galerien mit beeindruckenden Aussichten in die tief eingeschnittene Schlucht. Am Ende der Klamm öffnet sich der Partnachfluss zu einem breiten Tal, das zum Spielen und Entspannen einlädt. Da es an einigen Stellen recht feucht werden kann und viele Pfützen vorhanden sind, sind Regenjacke und Regen Gamaschen empfehlenswert für diese Strecke.
Ein abwechslungsreicher Rückweg führt über Graseck. Weiter geht es über steile Serpentinen entlang der Fahrstraße bis Wildenau, zurück zum Ausgangspunkt beim Olympiastadion. Die Partnachklamm ist das ganze Jahr über geöffnet (das Ticket kann man vor Ort oder online lösen). Im Winter kann man die bizarre Schönheit von Eis und Schnee bewundern. Der Weg ist gesäumt von Eiszapfen, die an manchen Stellen sogar zu beeindruckenden Vorhängen gefroren sind. Das kristallklare Wasser des Flusses erscheint besonders blau und es entsteht ein besonderes Flair für eine eindrucksvolle Erfahrung. In der kalten Jahreszeit empfehlen sich aber unbedingt leichte Steigeisen für Wanderschuhe, um die Rutschgefahr zu vermindern. Ebenso ist es eindeutig kühler und Thermobekleidung, wie zum Beispiel Merino Unterwäsche ist empfehlenswert.
Für die erfahrenen Wanderer ist die Partnach der Start für die klassische Route auf die Zugspitze, die 1820 der Erstbesteiger Josef Naus genommen hatte. Hier wanderst du über die Bockhütte, die Reintalangerhütte und die Knorrhütte bis hinauf zum Zugspitzplatt und dann zum Gipfel.

Mystische Wege mit einer Länge von 699 Metern und einer Tiefe von etwa 80 Metern bietet die Partnachklamm.

Der Eibsee bietet nicht nur Abkühlung nach einer langen Wanderung im Sommer, sondern auch eine atemberaubende Kulisse.
Für Gipfelstürmer
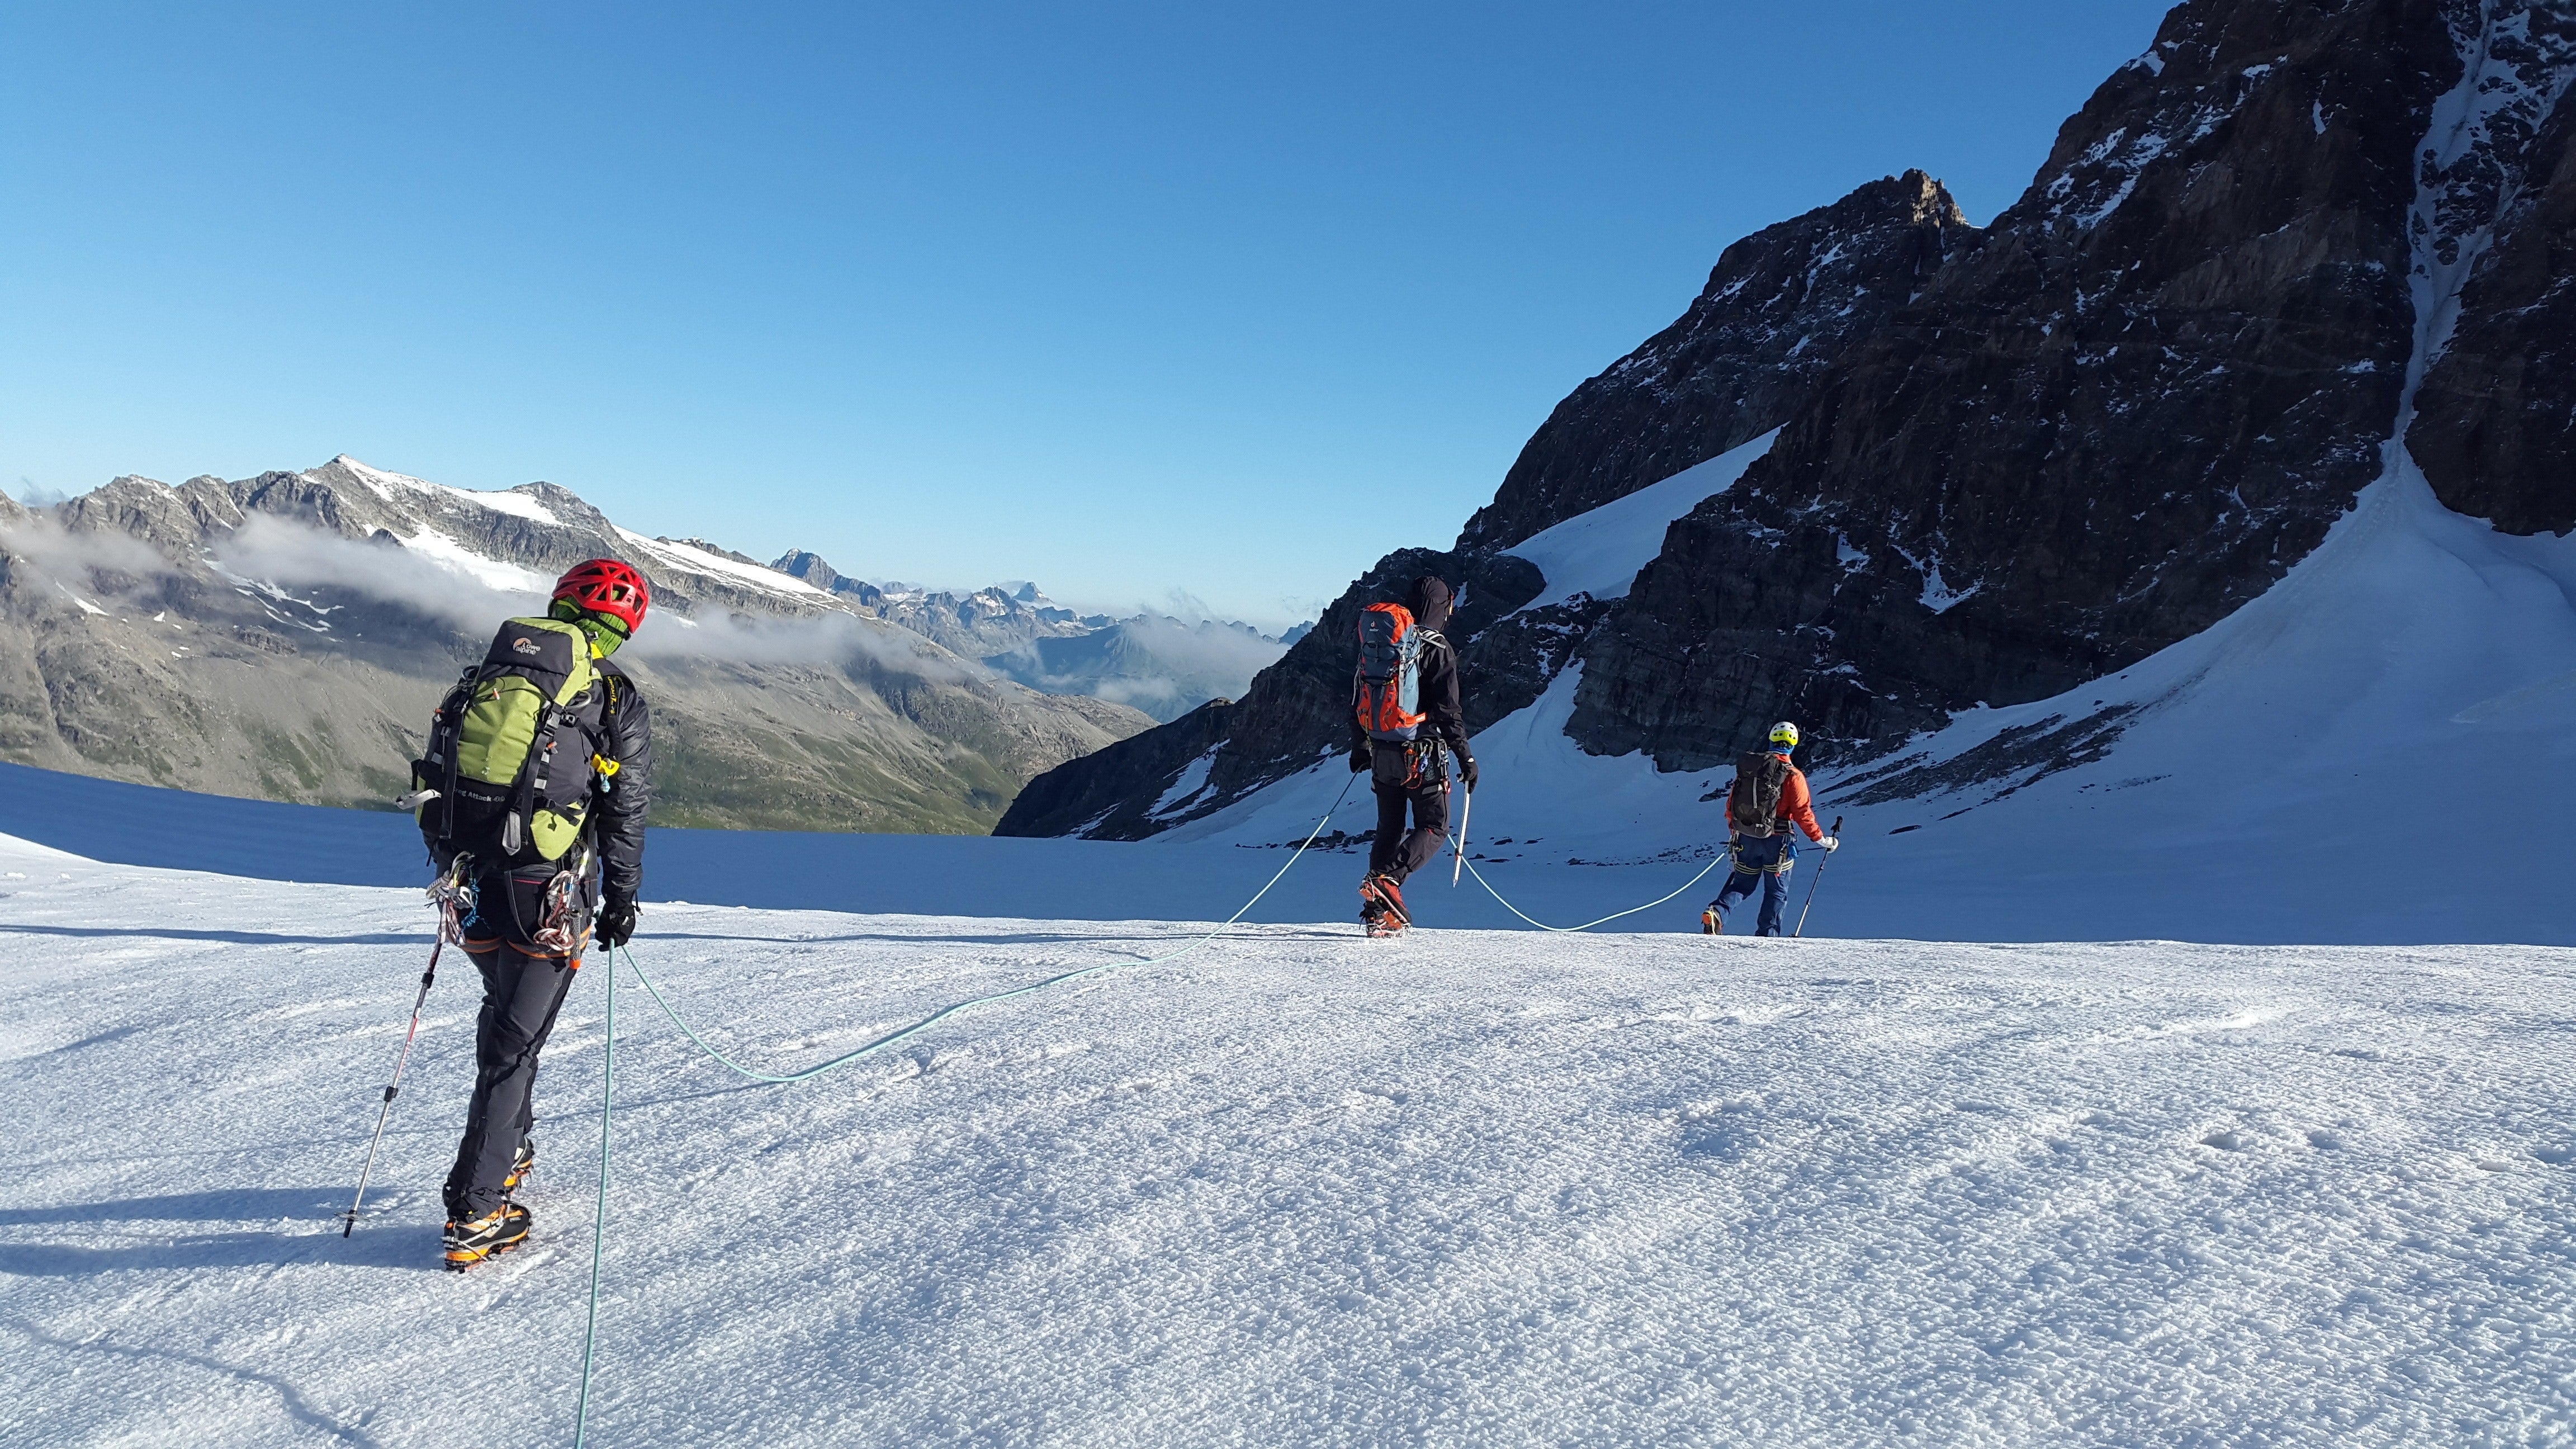
Ein Muss ist natürlich die berühmte Zugspitze: Die Hochsaison für eine Besteigung ist im Sommer von Juni bis September. Vorsicht: Im Früh- und Spätsommer kann es auch noch in höheren Lagen schneien - Thermobekleidung ist bei ständigem Temperaturwechsel hier unbedingt nötig. Manche Routen – etwa durch das Höllental – werden deutlich heikler, daher ist die richtige Wanderausrüstung ebenfalls extrem von Bedeutung! Hier haben wir 4 Routen aufgelistet, die zur Zugspitze führen. Mit der Zugspitzbahn kommt jeder in sieben Minuten hoch. Wer zu Fuß aufsteigt, braucht hingegen sieben bis acht Stunden. Eine Besteigung der Zugspitze ist konditionell anspruchsvoll, aber technisch gut machbar – sofern man den richtigen Weg wählt, die richtige Wander Kleidung trägt und sich mit einem guten Trinksystem ausgestattet hat. Teleskop- oder faltbare Wanderstöcke kommen hier perfekt zum Einsatz und schützen Gelenke wie Muskeln. An matschigen und eisigen Stellen helfen Leichtsteigeisen und Gamaschen. Der ständige Temperaturwechsel setzt gute Wanderbekleidung voraus - hier empfehlen sich Merino Midlayer und Merino Unterwäsche sowie isolierende Jacken und Regenschutz.
1. Die Reintal-Route ist ein einfacher Weg, der von Garmisch-Partenkirchen aus durch die Partnachklamm über die Reintalangerhütte (1370 Meter) und Knorrhütte (2052 Meter) zur Station "Sonnalpin" führt. Es besteht die Möglichkeit, den Weg mit der Bergbahn abzukürzen. Übernachtungen auf diversen Hütten sind möglich, jedoch sollte man sich vorher über die Kapazitäten informieren.
2. Die Höllental-Route ist die anspruchsvollste zum Gipfel - sie verläuft über die Höllentalangerhütte (1387 Meter), die einen Gletscher und einen Klettersteig führt. Absolute Erfahrung im Alpin Sport und die richtige Outdoor Ausrüstung sind hier unbedingt notwendig, ebenso wie Schwindelfreiheit. Es besteht die Möglichkeit, eine geführte Tour mit erfahrenen Bergführern zu buchen.
3. Der Klettersteig "Stopselzieher" ist ein Klettersteig ab Wiener Neustädter und erfordert Trittsicherheit, Schwindelfreiheit, gute Kondition und gute Outdoor Ausrüstung. Dieser Anstieg ist anspruchsvoller als der Weg durchs Reintal und weniger spektakulär als die Route durchs Höllental. Hüttenübernachtungen sind möglich, jedoch sind oft eigene Schlafsäcke, wie zum Beispiel ein Hüttenschlafsack und Verpflegung erforderlich. Es empfiehlt sich, sich vorab beim DAV über die Regulierungen zu informieren.
4. Die Gatterl-Tour ist eine leichte Tagestour, die 16 km lang ist und über das Gatterl auf der Grenze zwischen Deutschland und Österreich führt. Sie ist eine der einfacheren Routen zur Zugspitze. Es ist jedoch wichtig zu beachten, dass man sich hier immer noch in hochalpinen Gebiet befindet. Es gibt auch die Möglichkeit, die Gletscherbahn vom Zugspitzplatt aus zum Gipfel zu nutzen. Der Weg führt über Geröll und Schneefelder, vorbei an den Diensthütten der bayerischen Zollwache, bis zur bewirtschafteten Knorrhütte. Ebenso Ist ein kleiner Klettersteig von ca. 100 Höhenmetern zu meistern, der jedoch sehr einfach und auch leicht ohne Sicherung begehbar ist.

Die Zugspitze - der höchste Berg Deutschlands und Erhebung mit dem nördlichsten Gletscher der Alpenregion.
Fazit
Die Liste an Wandertouren und unzähligen Möglichkeiten für jede Art von Bergsport rund um die Zugspitze, Garmisch, das Karwendelgebirge und die Alpenregion ist lang. Für die meisten war der erste Besuch in der 26.000 Einwohner Stadt sicher nicht der letzte. Da Garmisch zur Ferienzeit nicht nur Wanderer, sondern auch Skifahrer, Eisläufer und Radfahrer anlockt, empfiehlt sich die Anreise am besten in den ruhigen Monaten zwischen den Haupt-Saisonen. Eins ist jedenfalls sicher - In Garmisch kommen alle Bergfreunde auf ihre Kosten!
Ähnliche Blog Beiträge
Everything you need to know about hiking poles
Hiking poles are much more than just cool equipment. They offer you numerous advantages and make your hike an absolute highlight. However, there are still some prejudices and misconceptions.
The following blog post brings light into the darkness. Learn:
- What health benefits hiking poles have
- How to use trekking poles
- Which sticks suit you best
- How to adjust the poles
- What transport options are there?
- How you can recognize good hiking poles
Are you more of a video type? No problem, we go into the topic in detail in our buying advice
Video advice on hiking poles » How to find the right hiking poles
Why are hiking poles useful?
You have probably often asked yourself: “When are trekking poles even useful?” Why someone uses hiking poles can have very different reasons. In principle have Hiking poles many positive characteristics and Advantages:
1. Joint support
Hiking poles have a relieving effect
- feet,
- Legs,
- Knee
- and back.
Particularly when walking downhill will the Knee very heavily loaded. By using your mountaineering poles, you save energy, your concentration doesn't wane so quickly, and you are safer when descending.

2. Balance
Most Accidents while hiking happen through Slipping or stumbling. If you are also tired and your concentration drops, the risk of falling is even greater.
The hiking poles are like extensions of your arms that support you and give you better grip. This gives you additional stability and improves your sense of balance.
3. Posture and breathing
Hikers who use trekking poles can simultaneously improve their posture. If you have a severe... Outdoors Backpack If you carry it on your back, the sticks support your upright posture. This relieves your spine in the best possible way.
Hiking poles namely provoke the walk in upright posture. It is almost impossible not to walk upright with hiking poles.
- Your shoulders cannot ‘collapse’ in front.
- In addition, the upright posture promotes breathing. You can breathe more easily.
Expert tip: Conscious breathing is essential in endurance sports so that you can concentrate for longer, you don't get tired so quickly and therefore remain accident-free.
4. Security
As you can see from the previous points, hiking poles help you in many ways. You can stay accident-free for longer by...
- Your joints supported,
- promote your balance,
- You don't put additional strain on your posture, but rather promote a healthy posture.
In general, this walking aid has a positive effect on your energy balance, so you can really enjoy walking when hiking in the mountains with sticks.
5. Nordic walking
The dynamic movement of Nordic walking
- strains the heart and circulation,
- stimulates metabolism,
- strengthens muscles and bones
- and tackles excess pounds.
If you diligently swing the mountaineering poles back and forth, you will also strengthen your arms, shoulders and back.

Step-by-step instructions: adjust hiking poles correctly

Step 1: Choose the right hiking poles
Before you adjust the hiking poles, it is important that you choose the right model for your needs. Pay attention to the length, material and handles of the poles to ensure they fit your height and hiking style.

Step 2: Determine the optimal length
TheHiking poles should demAdapted to terrain become. The poles should be slightly longer when descending and slightly shorter when ascending. As a rule, however, the mountaineering poles should be set as long as
- that the hand can easily grasp the handle,
- while the arm is at a right angle to the floor.
- The forearm is parallel to the floor and bent at the elbow.
Which hiking poles for which body size?
Many companies offer guidelines for the correct length for height. However, how a stick is adjusted can be very individual. As described above, it is important that the basic setting is at a right angle.
How long should Nordic walking poles be?
Since this question often arises specifically for Nordic walking poles, we will address this question separately here.
- The distance between the stick and your body should be about half an arm's length.
- When your arm is bent at a 90 degree angle, the sticks should end at your forearms.
- The 90 degree principle is exactly the same as with conventional “trekking poles”.
- Additionally there is the method for calculating the length. To do this, multiply your height in centimeters by 0.7. The result is the stick length.

Step 3: Adjust the height of the hiking poles
Look for the adjustment mechanism on your hiking poles. This can be a twist lock, a folding system or a snap lock. Loosen the clasp to adjust the poles. Pull or push the telescopic rods to adjust the desired height. Make sure the marks on the pieces match to ensure both sticks are set at the same height.

Step 4: Adjust the hand straps
Hiking poles usually come with hand straps that allow you to hold the poles without tightly gripping them. Slip your hand through the loop and adjust the size of the loop so that it fits comfortably. You should adjust the strap so that you can easily slide it in and out without it being too loose or too tight.

Step 5: Check the tips
Check the tips of your hiking poles to make sure they are intact and sharp enough to provide good grip on various surfaces. If necessary, you can swap out the tips or replace worn tips.
Step 6: Test run and fine adjustment
Before you go on a longer hike with the hiking poles you have adjusted, do a short test run. Take a few steps and check that the length and settings are comfortable and feel good. Adjust settings as needed to achieve the optimal hiking experience.
How do you walk properly with hiking poles?
When hiking, we often just start walking without thinking about our walking technique. This is not surprising either. After all, our running is automated.
However, if you have the full If you want to use the potential of your trekking poles, you should pay attention to a few points when using them:
1. Adjust the size correctly
First of all, adjust your hiking poles to the correct size. See our step-by-step instructions.
2. Hold the handle correctly
A common mistake is the wrong grip, where the loop is often simply threaded from above. You should correctly reach through the loop from below so that you can exert pressure on the pole even with an open or loose hand.
This allows you to open your hands during the backswing without sacrificing any relief.
Expert tip: To prevent your hands from cramping up, you should make sure to keep your grip loose when making the swing.
Important: The loop should only be used on relatively flat terrain. If you fall and become entangled, you will not be able to grab the handle or support yourself. The risk of injury is therefore much higher.
3. Correct posture
To achieve the best possible effect, it is advisable to always hold the sticks close to your body. On flat terrain, the poles are diagonal to the legs and are used alternately, according to the natural movement pattern.
4. Walking on steep terrain
In steep terrain, double-decker use is the variant you should use. When ascending and descending, the poles are usually placed every other step and you push yourself up powerfully with both arms. This ensures stability and relief.
5. Go downhill
The double-deck technique is also the best choice when going downhill. You should not drill the tips of the poles into the terrain, but rather grip or hold the handle so that you can perform a clean technique. This way you don't slip and avoid falls.
6. Crossings
When crossing, poles do not necessarily have to be adjusted differently. It is enough if you hold the uphill pole below the handle and on the downhill side grasp the handle like a knob from above.
7. Very steep terrain and traverses
You should pass through very steep terrain and traverses without using loops. The stick should ‘only’ be used as a support. There is also the option of holding a stick with both hands.
"It's an old method, the way mountaineers did it back then. According to Wolfgang Loacker, experienced mountain and ski guide in Montafon."
In principle, you should only walk on steep terrain if you are fit enough and have experience, or have an expert with you.
Attach folding sticks to the backpack
On some stages or on buses and trains you don't need your hiking poles. Folding sticks have a decisive advantage here.
They can be folded up in no time and are extremely easy to transport due to their small pack size and weight. This is what you should know about transporting your hiking poles:
The sticks in the backpack
Ideally, you should not attach any equipment to the outside of the backpack.
“It is safer to keep trekking poles in your backpack. On the one hand, they can easily get lost and if you fall, the risk of injury is higher," says Wolfgang Loacker, Austrian mountain and ski guide.
In addition, mountain hiking is done with sticks Hiking backpack are attached, more difficult and dangerous. The weight pulls backwards and downwards. This puts strain on your spine and takes strength.
The tip on the backpack
The attachment option depends very much on your backpack. In most cases, trekking and hiking backpacks have loops and hooks that make it possible to insert and thread the poles.
For loops (the tip) is inserted at the bottom. The small loop is used for sticks without plates, and the large loop is used for sticks with plates.
The plates usually prevent the stick tips from slipping. Otherwise you can Stick plate can also be turned down in just a few steps.
Compression straps
Compression straps are mostly loops on the right or left of the backpack that can be tightened. The hiking poles are, so to speak, enclosed and tightened. This means your poles don't swing back and forth and sit firmly and securely on your backpack.
Velcro and cable ties
An alternative are external Velcro fasteners and cable ties to secure hiking poles to the backpack. These methods require that you already have an existing system on your backpack where you can thread your external Velcro or cable ties. Especially the Velcro method is only for him Suitable for transport.
How do I transport hiking poles on a plane?
Hiking or trekking poles are not allowed in hand luggage. That also applies to telescope Hiking polesthat can be pushed together. The reason for this is that hiking or trekking poles are considered dangerous items at security checkpoints because they can potentially be used as weapons.
Hiking poles can only in checked baggage get picked up. Foldable or telescopic hiking poles are an advantage here. These can easily be stored in a suitcase or backpack. There is no additional fee to pay and the suitcase can be packed to save space.
At non-foldable sticks must have one additional fee must be paid because it is bulky luggage and this type of sticks does not fit in the suitcase. The only exception to hand luggage is walking aids such as crutches or canes if they are necessary for a medical reason.
Which tip for which surface?
On your tour you will often be confronted with different surfaces. That's why our hiking poles also come with various attachments.
- Asphalt attachments are particularly suitable for use on hard surfaces. They protect the metal tip on the hiking pole from unnecessary abrasion.
- For use in the mountains, you should use your poles without an additional attachment.
- Unless you're hiking over scree. We recommend screwing on the mud attachments here. They prevent sinking. As the name suggests, you can also use these in mud, on earth and sand.
The included Nordic walking attachments make it easier for you to walk quickly and push your speed.
Can I hike on snow and ice with hiking poles?
Yes! Thanks to the included snow plates, you can also use your hiking poles in winter. The attachments are ideal for use on snow. If you want to cross ice-covered passages, you should use the tip without an attachment. This gives you maximum support.
Conclusion: What are good hiking poles?
Your own needs come first. This is the first clue as to how you should choose your sticks so that it becomes a “good” stick for you. Height and body weight will help you in this regard. When it comes to good hiking poles, the second priority should always be the price-performance ratio. Comparisons and experience reports can help here.
If you are not sure what occasions you will use the poles for, it is advisable not to shop too specifically. But a few sticksthat for multiple areas of application can be used to purchase.
Otherwise, it is important to choose poles based on their intended use. If you mainly need the poles for relaxed hikes in the flatlands, aluminum telescopic poles should be sufficient.
However, if you also want to go on multi-day tours or in the mountains, foldable aluminum or carbon poles are recommended. There is no clear answer as to what makes a good hiking stick and what doesn't.
If used incorrectly and handled incorrectly, the most expensive and lightest carbon pole will no longer be of any use to you. It is much more important to deal with the material and know your own needs in order to choose a suitable stick.
FAQ on the topic of hiking poles:
Should I choose fixed or telescopic hiking poles?
Of course, this question cannot be answered in general. The use of the different models is, on the one hand, a matter of taste. On the other hand, it depends Use also depends on the area of application. If you value low weight and small pack size, you should choose telescopic hiking poles.
These are set up and ready for use in no time. If, on the other hand, you value stiffness and demand a lot from the poles, then solid hiking poles are more suitable.
My hiking poles can no longer be detected: what can I do?
If your hiking poles can no longer be locked, there are some possible solutions you can try:
Check the closures: Make sure the clasps or clamps on the hiking poles are closed properly. Sometimes they can accidentally come loose or not lock properly.
Clean the sticks: Dirt, sand or moisture can affect the mechanisms of the hiking poles. Clean the poles thoroughly to ensure they are working properly.
Grease the fasteners: If the latches are stuck or difficult to move, you can apply some lubricant or silicone spray to the mechanisms to make them move smoothly again.
How do I clean my hiking poles?
When treated properly and cared for, hiking poles can be a reliable companion for many years. If your hiking poles get wet, you should adjust them to their full length and wipe them with a clean cloth. This also applies if your poles have come into contact with dirt or dust.
Be sure to avoid dirt getting into the individual segments, as this can impair functionality. If you give your hiking poles a longer break, be sure to store them in a dry and clean place. A damp basement or garage are not suitable.


